Table of Contents
Scope/Description
This article details the process of changing your OS from FreeNAS to Ubuntu/CentOS. It includes the process of importing the pool and making necessary changes.
Prerequisites
A FreeNas pool configured and Houston running on CentOS7/Ubuntu 20.04
Steps
FreeNAS System
- Take note of everything configured (Share, Groups-Users, IPs)
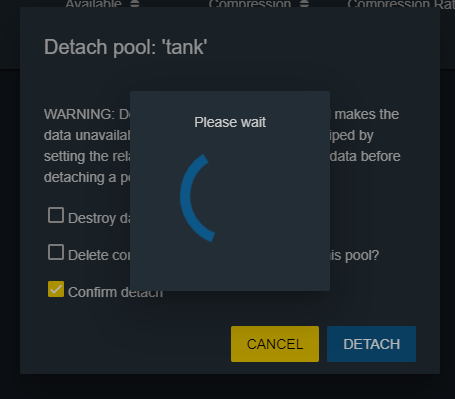
- Export the pool through the Web UI by detaching the pool. Click the cog on the pool and click detach
- To confirm export run “zpool import” in the shell
- Now remove the boot drives and boot with the new imaged boot drives with the new OS.
Houston
- Boot the system and log into Houston
- Update the system.
On CentOS7: yum update
On Ubuntu 20.40: apt update && apt upgrade
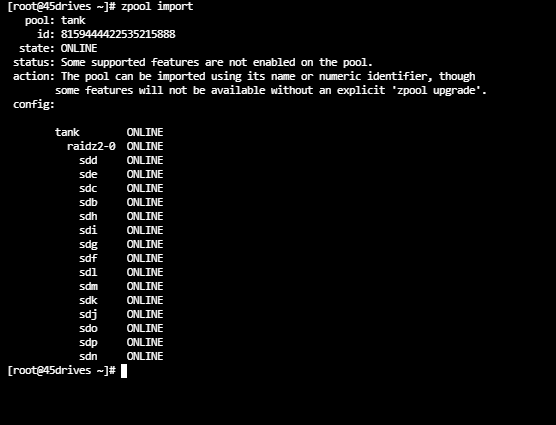
- Look for your FreeNAS pool by running the following command:
zpool import
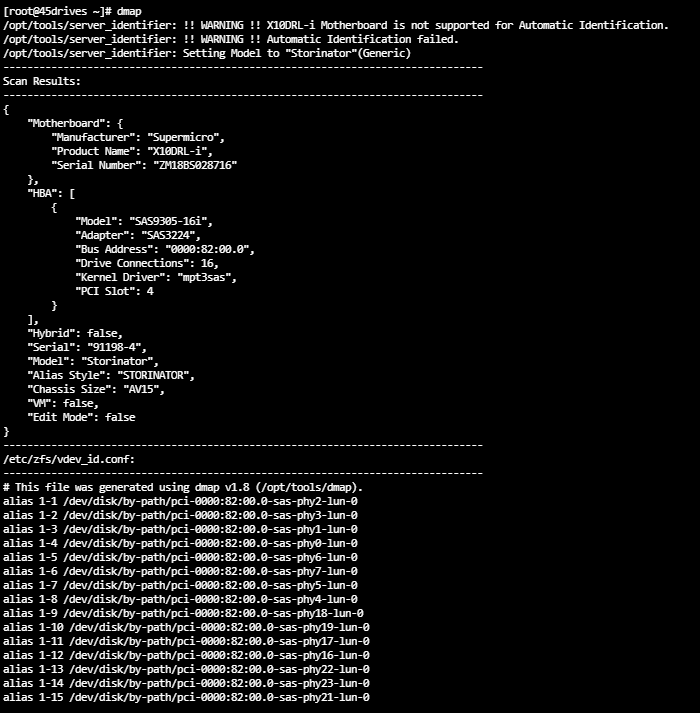
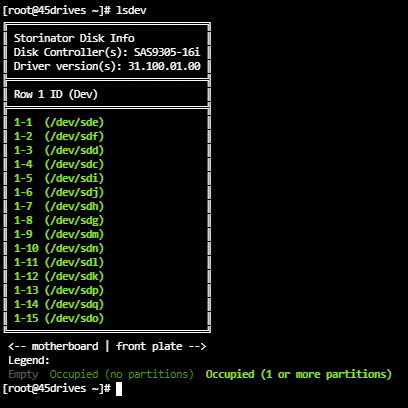
- To use our device aliasing tools run “dmap” in the terminal.
root@45drives:~# dmap
root@45drives:~# lsdev
- Go to the ZFS tab and click import pool
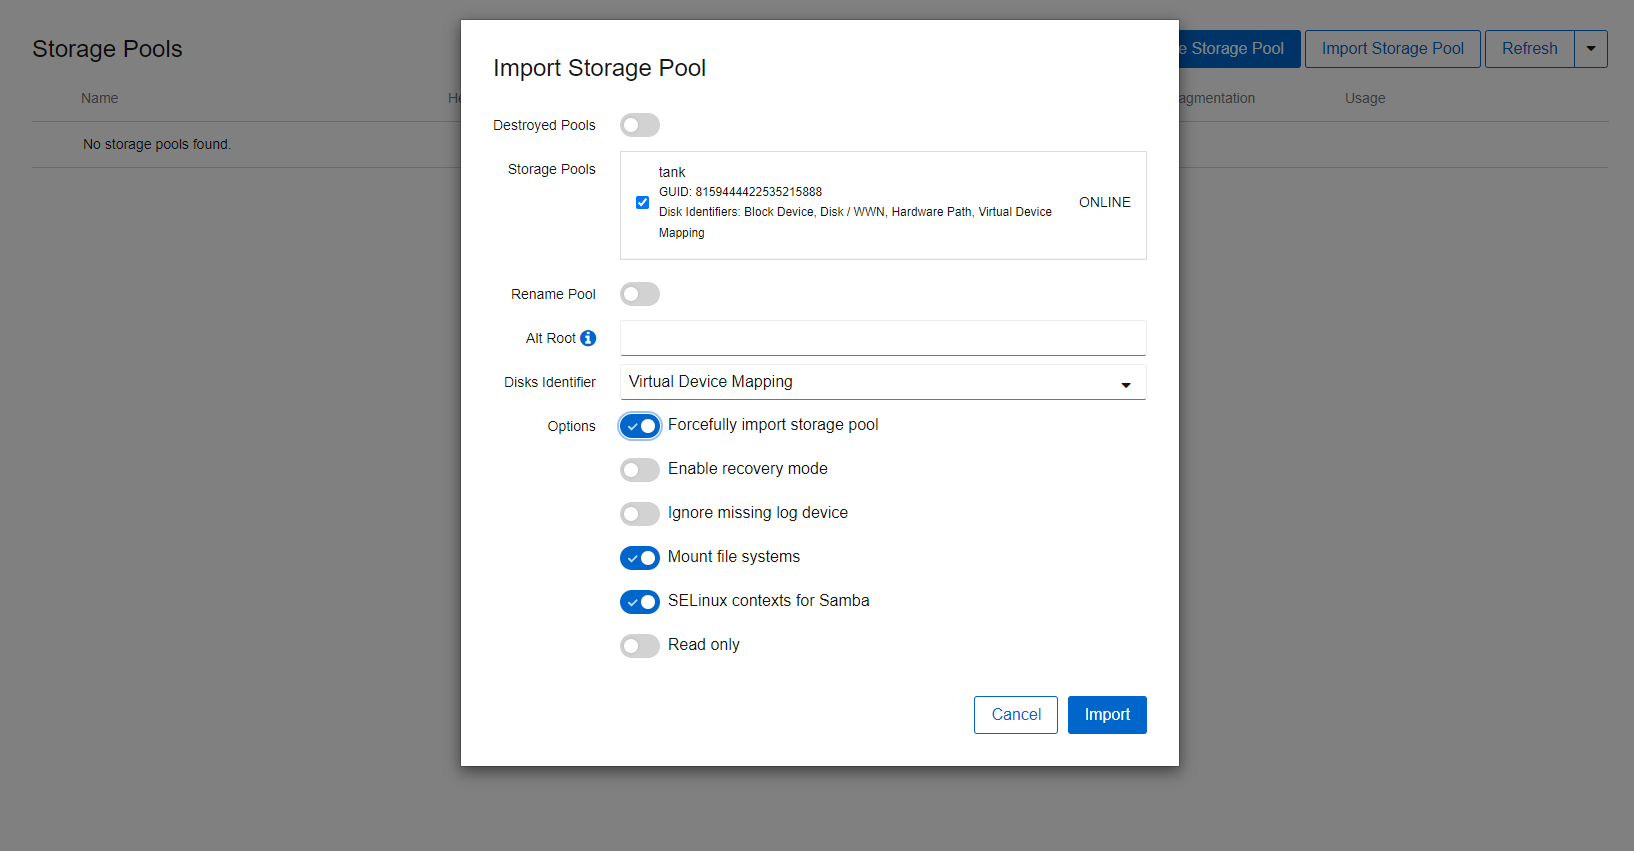
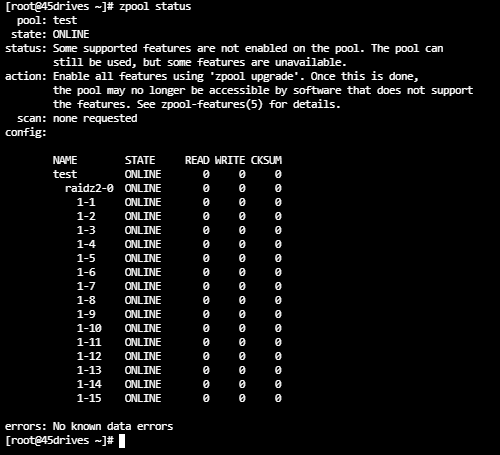
- Go to the shell and run “zpool status” to confirm
root@45drives:~# zpool status
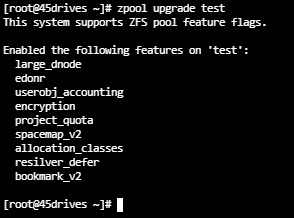
- Run “zpool upgrade (poolname)”
root@45drives:~# zpool upgrade poolname
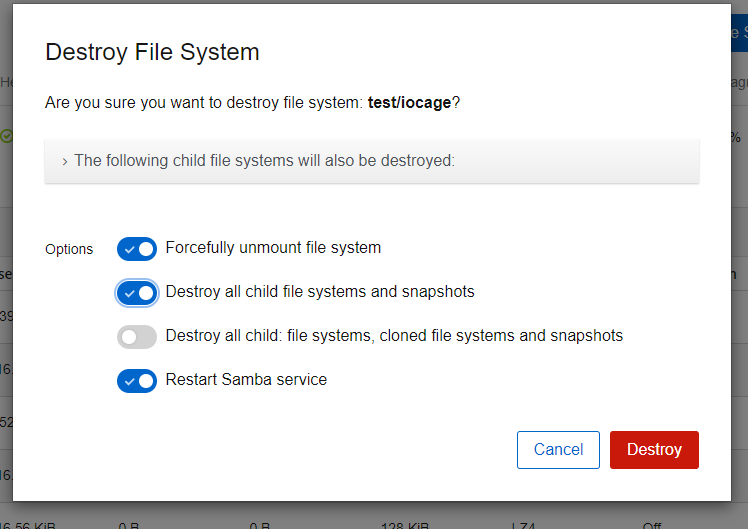
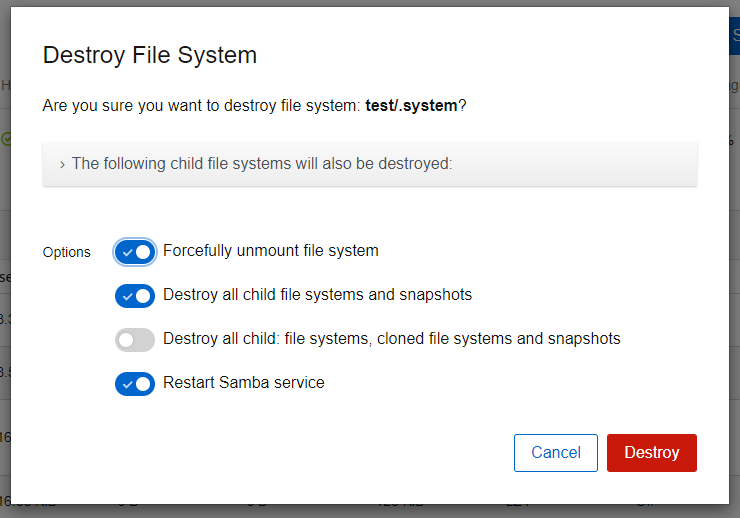
- Delete all the extra unused FreeNAS datasets
- To finish setting up your shares for certain use cases, see the guide(s) below.
KB450281 – Managing SMB/CIFS in Houston UI
KB450282 – Managing NFS in Houston UI
KB450299- Setup iSCSI Storage Server on Ubuntu 20.04 LTS
Verification
Troubleshooting
Views: 1505