Scope/Description
- This article will demonstrate how to create batches in killdisk to automate your work flow process.
Prerequisites
- Killdisk Industrial Installed
Steps
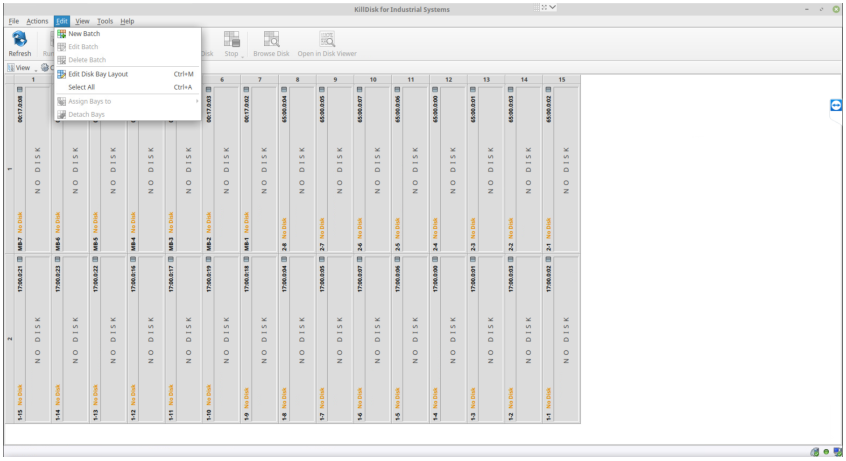
At the top of the Killdisk Software, go to Edit > New Batch
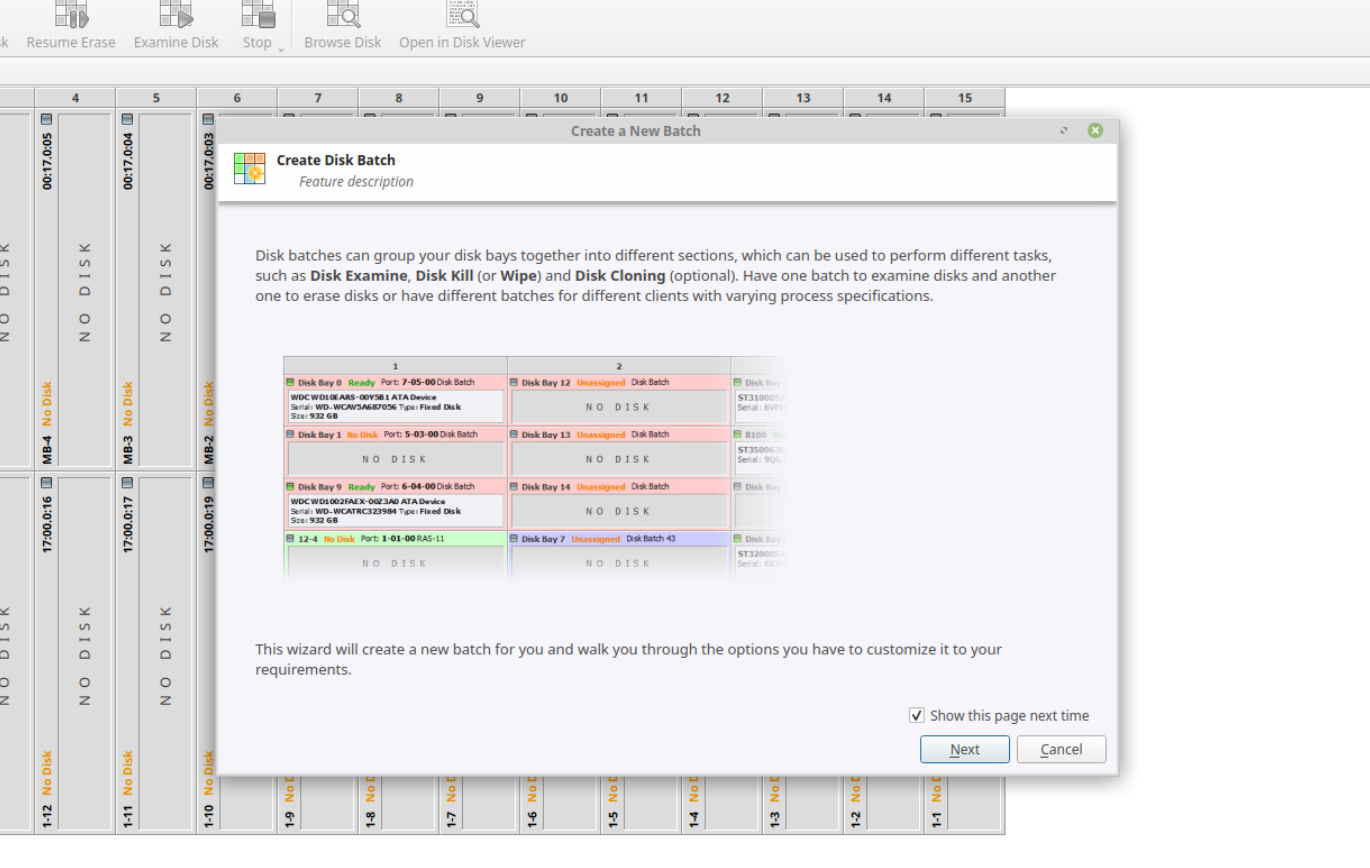
The Create Disk Batch Wizard will open up, Click Next
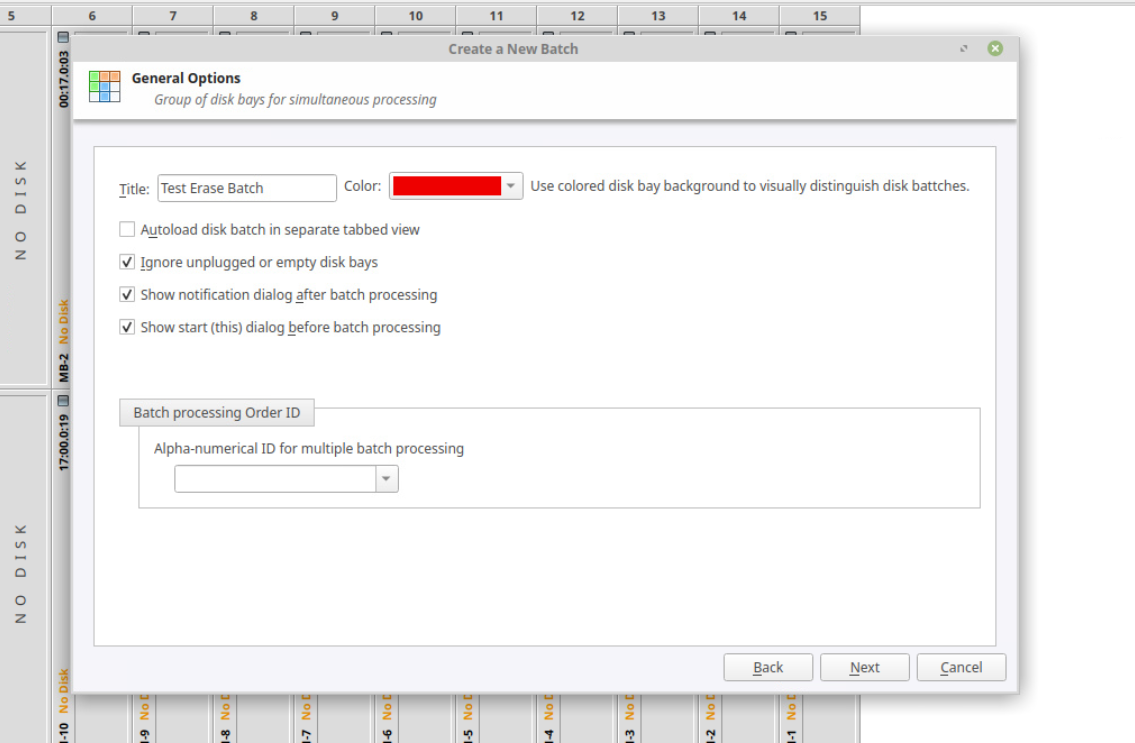
In the General Options, You will want to name your batch and select a colour that will be used to designate disk bay slots that are assigned to your batch. Naming is usually based on customer order number, purpose of the batch (wipe, clone, wipe method, etc).
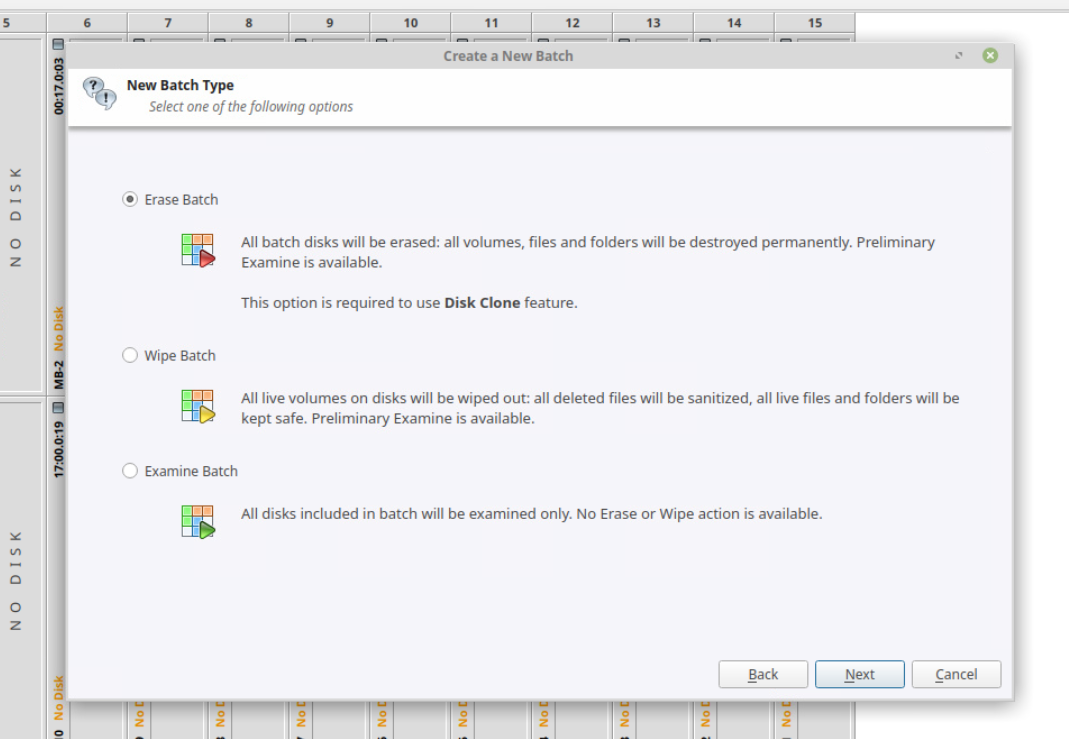
Select the type of Batch you want to create from the 3 options:
- Erase Batch
- Required to use Disk Clone
- Wipe Batch
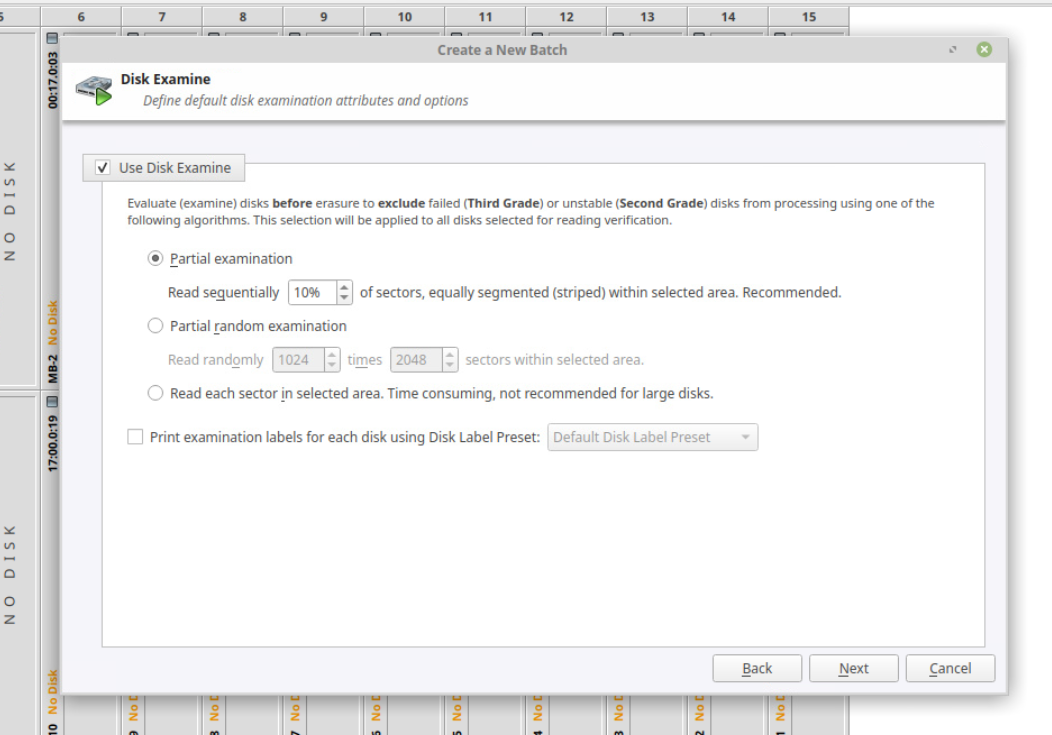
- Examine Batch
For the Disk Examination part, this is used to examine the disk for any errors that would cause failures if the drives are planned to be re-used. If Drives are just being destroyed after wiping, then this step may not be required.
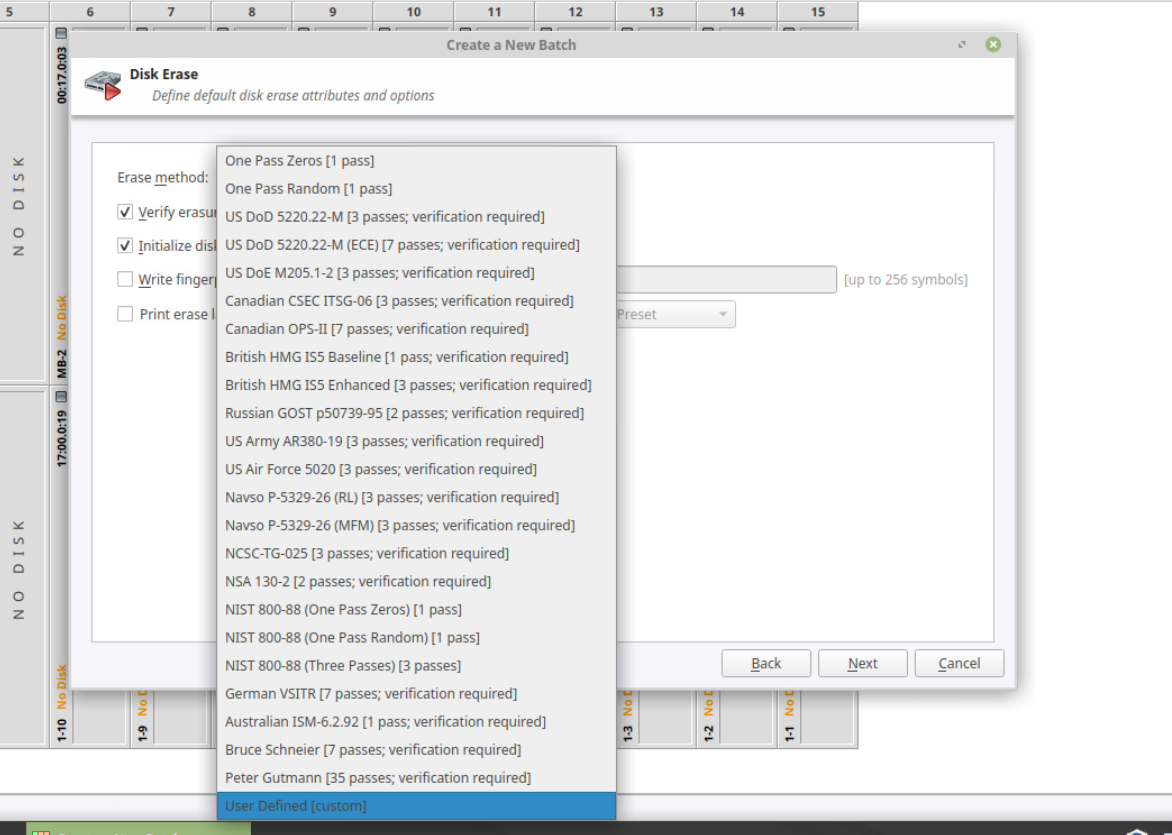
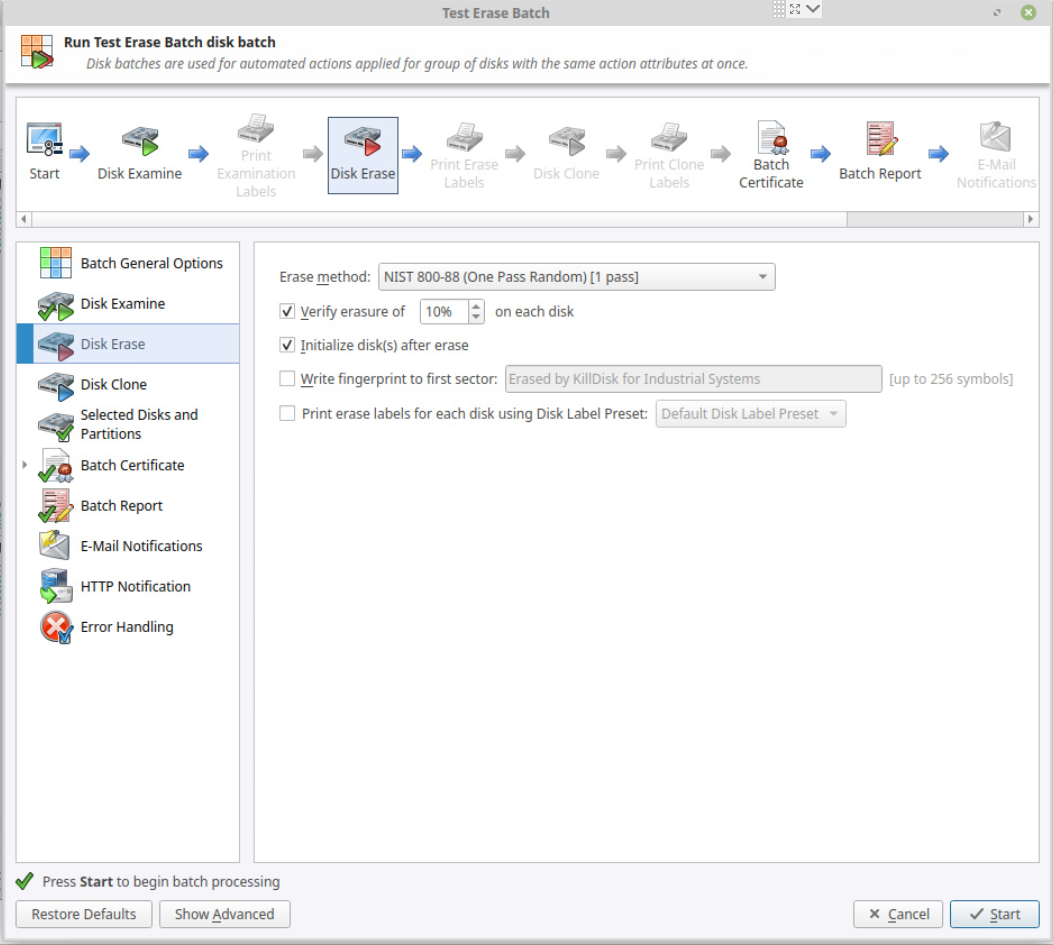
Next, for Disk Erasing Batches, you will select the Erase method you wish to use from the pre-loaded methods in the Killdisk software. The most popular amongst our customers are:
- NIST 800-88
- US DoD 5220.22-M
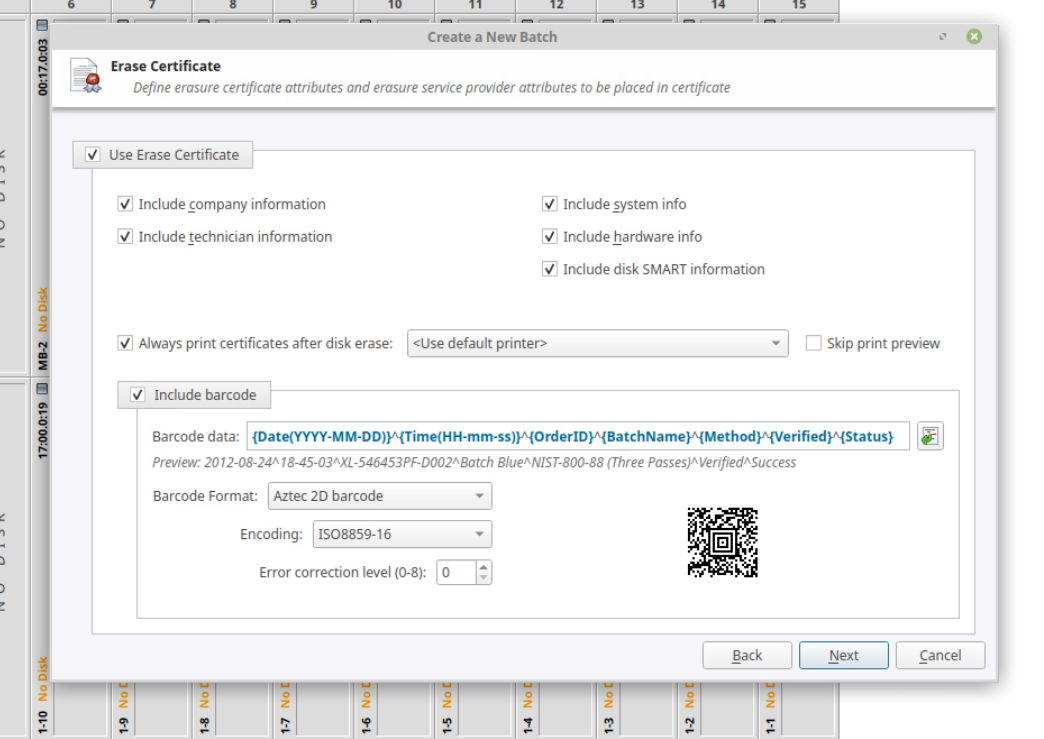
Next, you can select what information you may want to include or remove from the Erase Certificates.
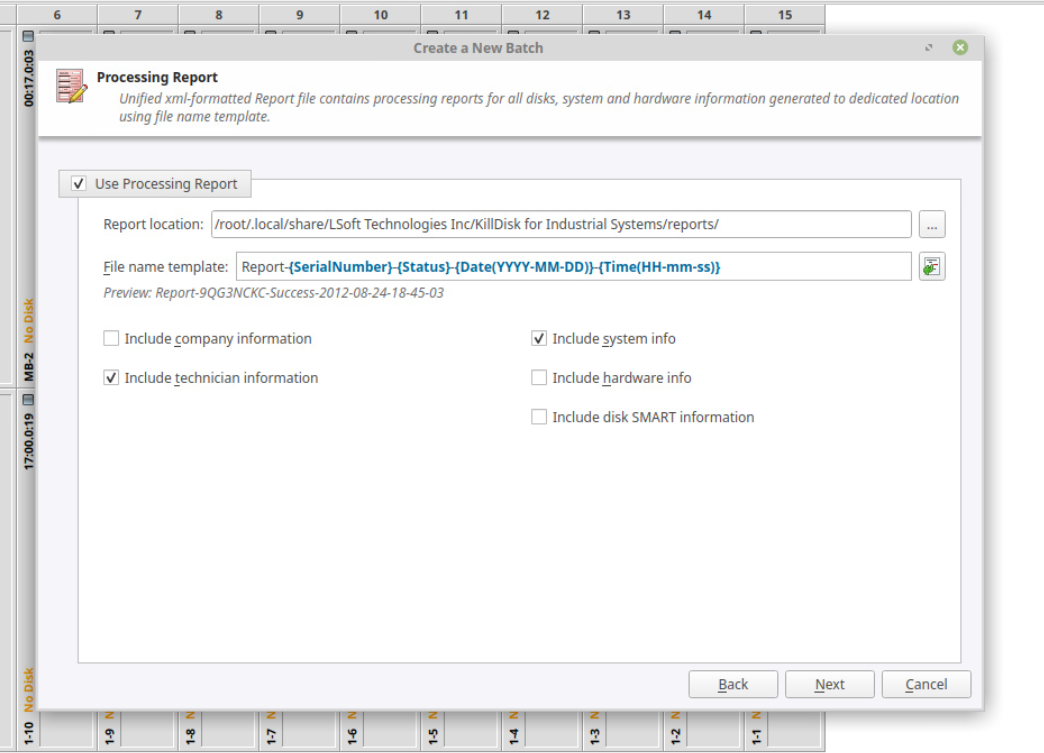
Next, same can be changed for the Processing Reports.
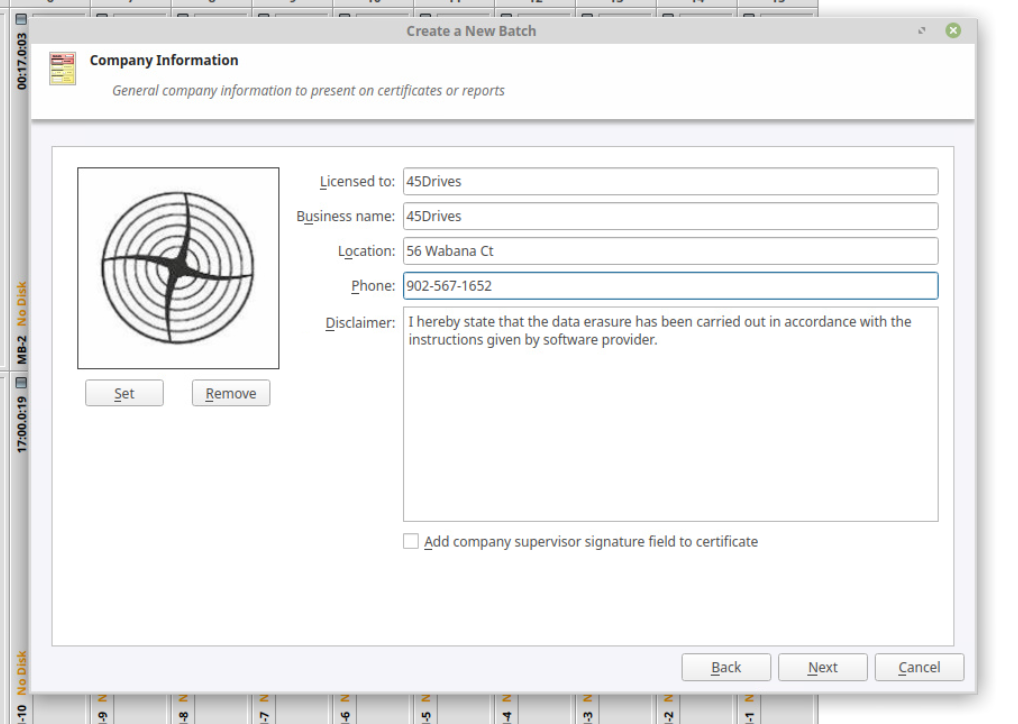
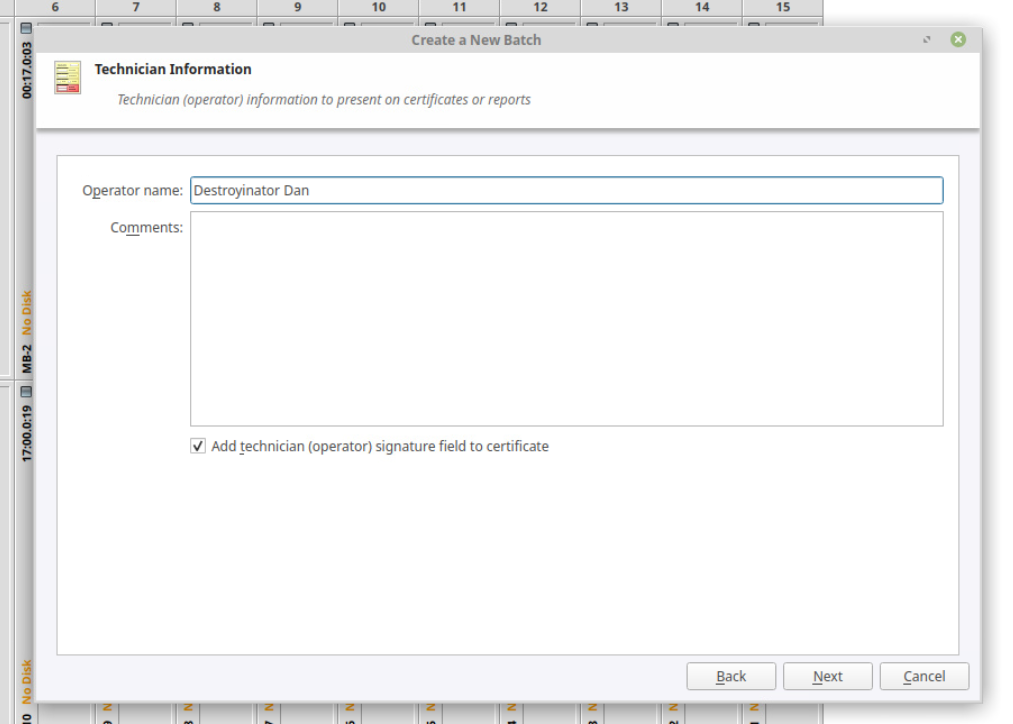
You are able to customize the Information for the customer’s company on the next page that will appear on the Certificates and Reports from completed batches.
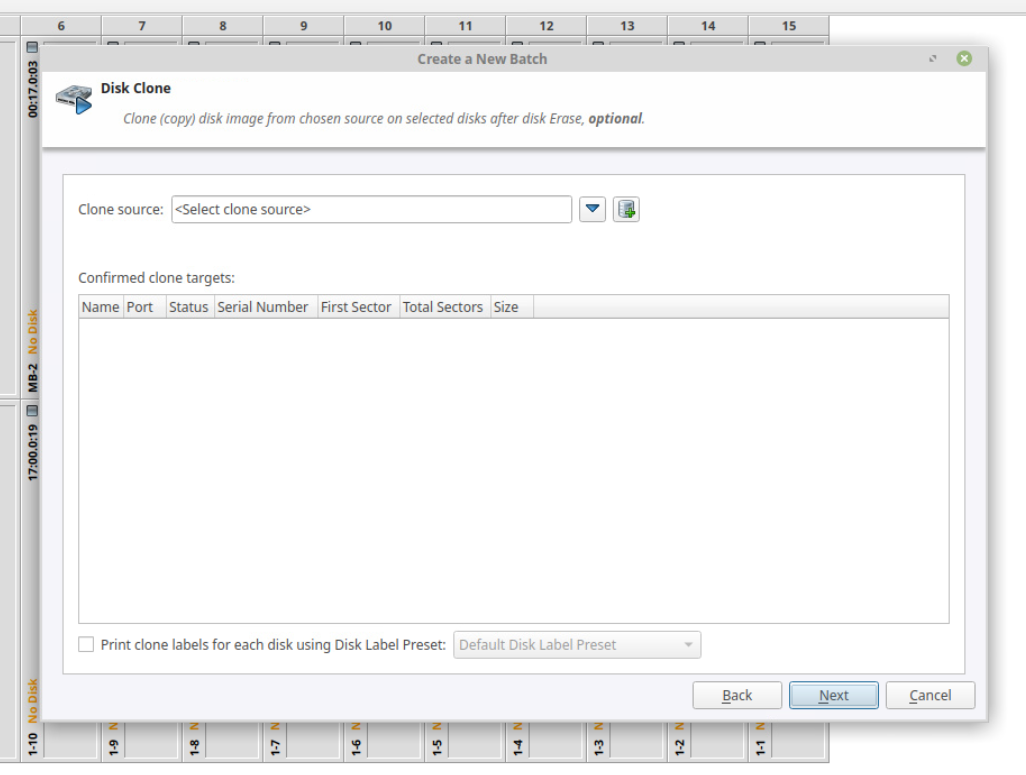
Last page is where you can use the Disk Clone feature. Prior to setting up this feature, you will have to predefine a slot as a clone source.
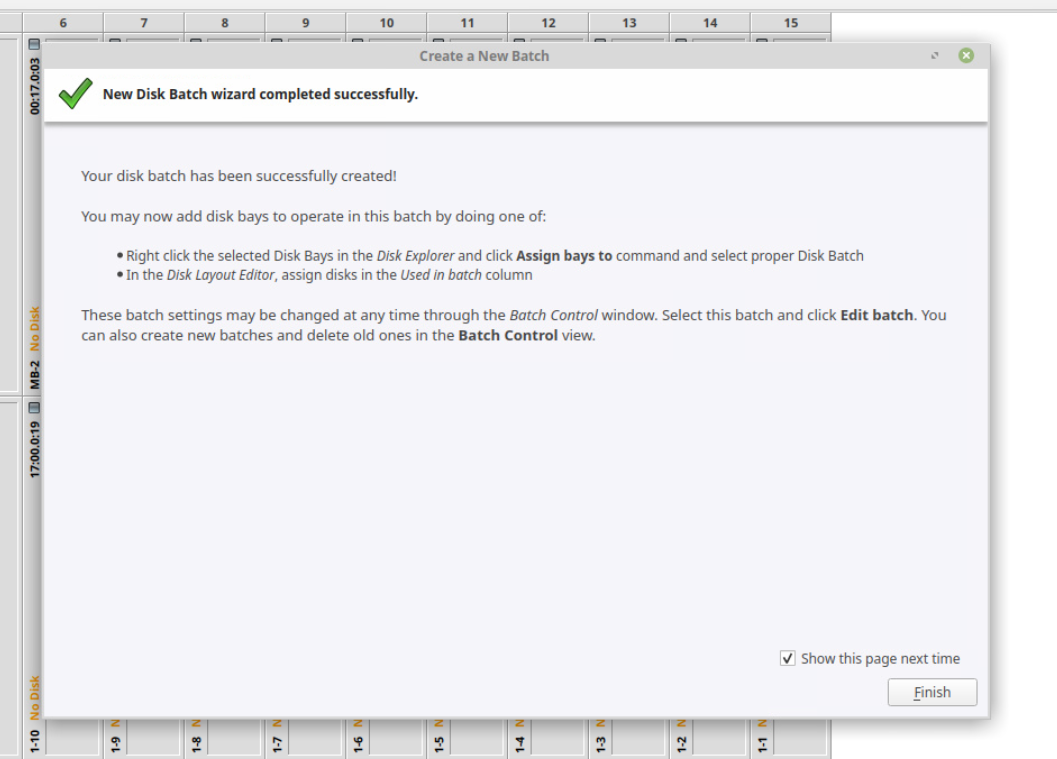
The new batch has been successfully created. You are now able to start assigning disk bays to your batch.
Assigning Disk Bays to Batches
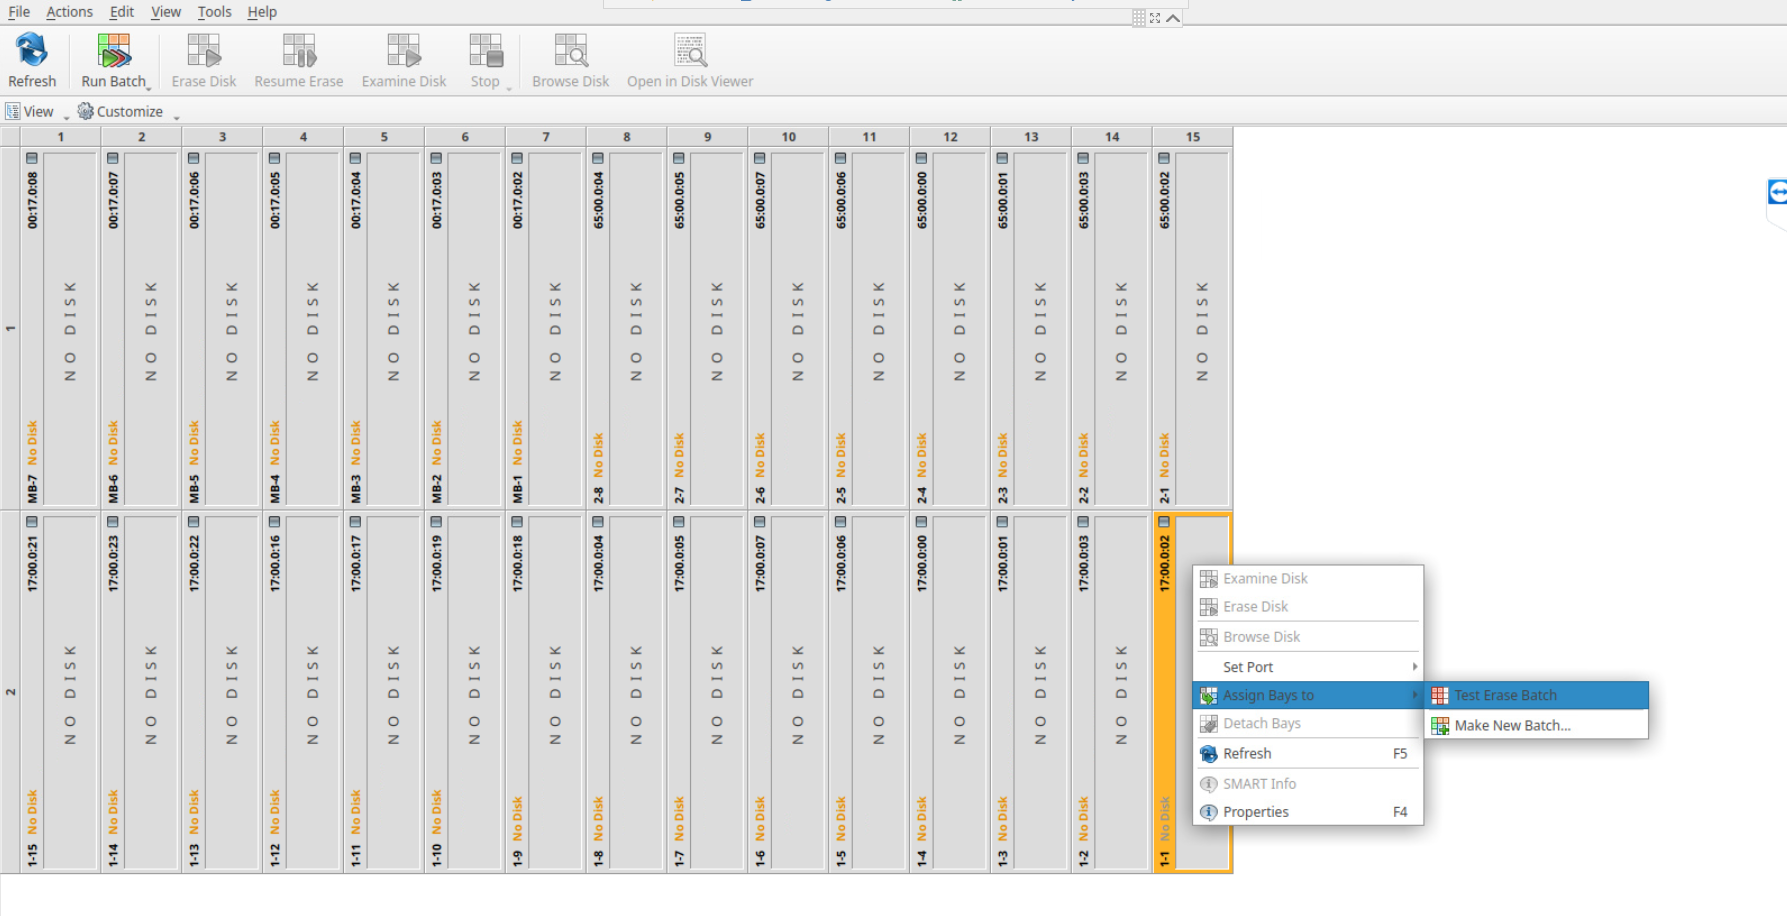
To start assigning disk bays to batches, no drives need to be inserted. Simply right-click on any of the drive slots in the Killdisk UI, scroll down to Assign Bays to > and select the batch you have previously created.
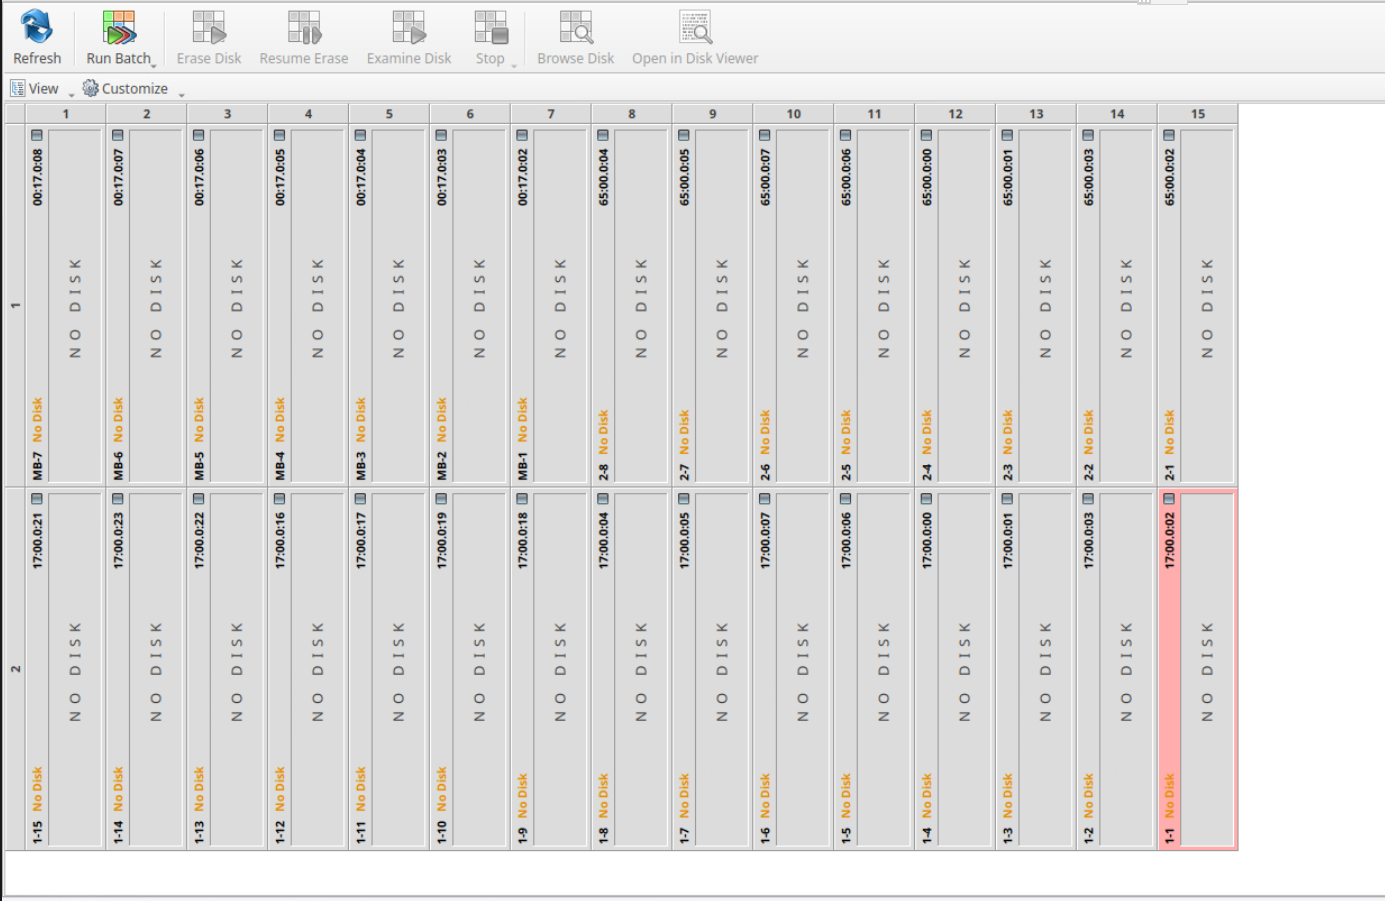
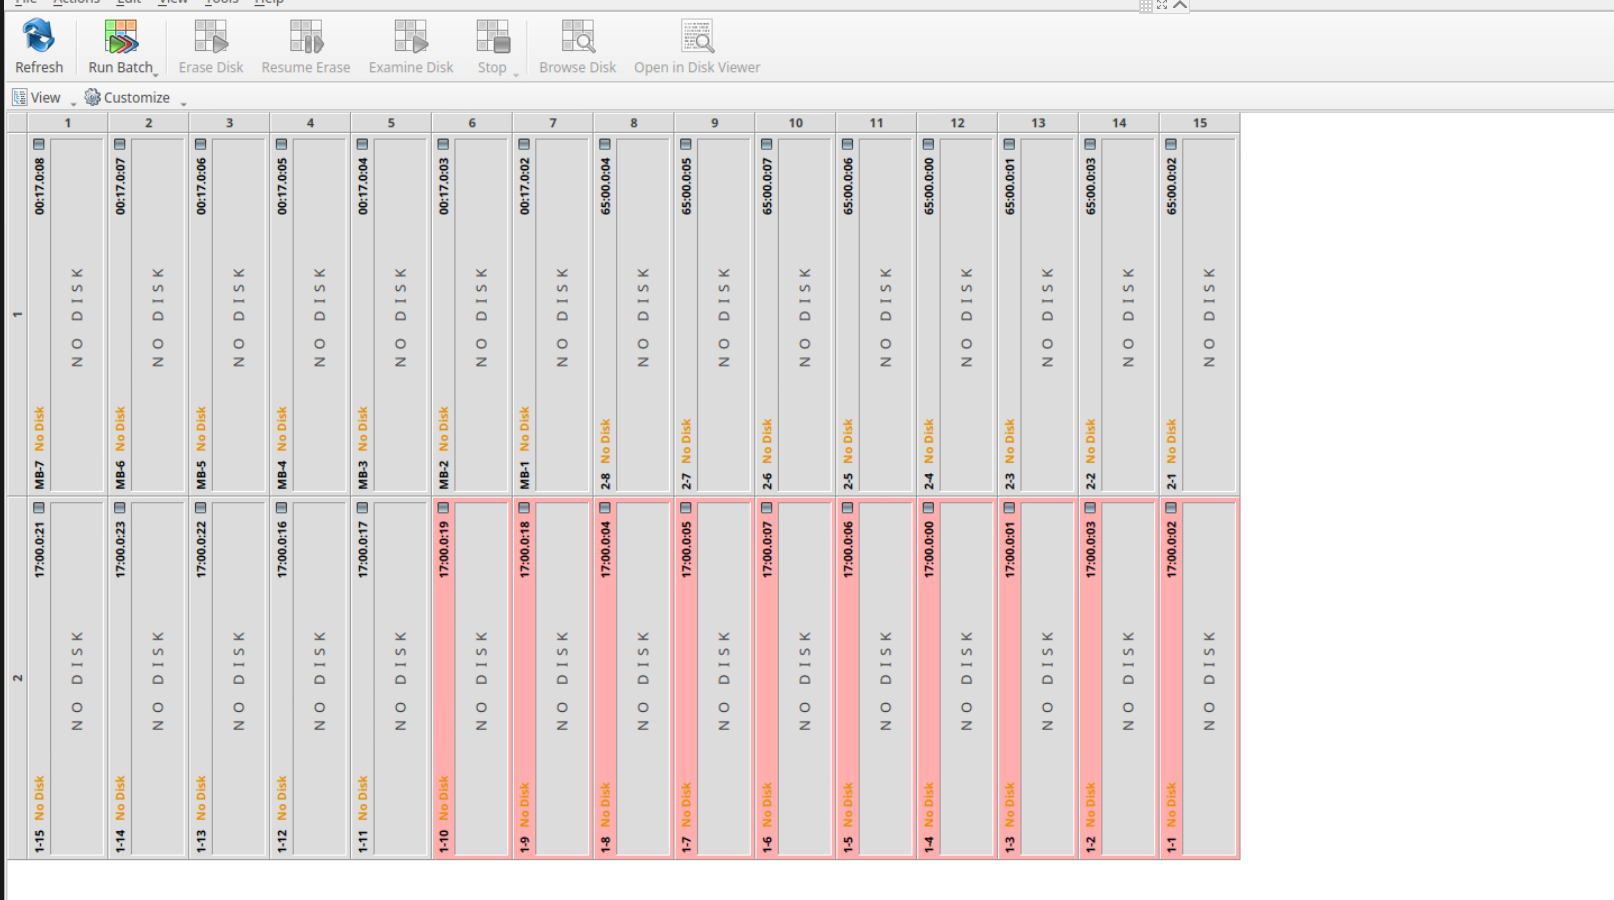
The Disk Bay will now appear in the colour that was selected during the creatation process. You are able to select any and all of the remaining disk bays in the software.
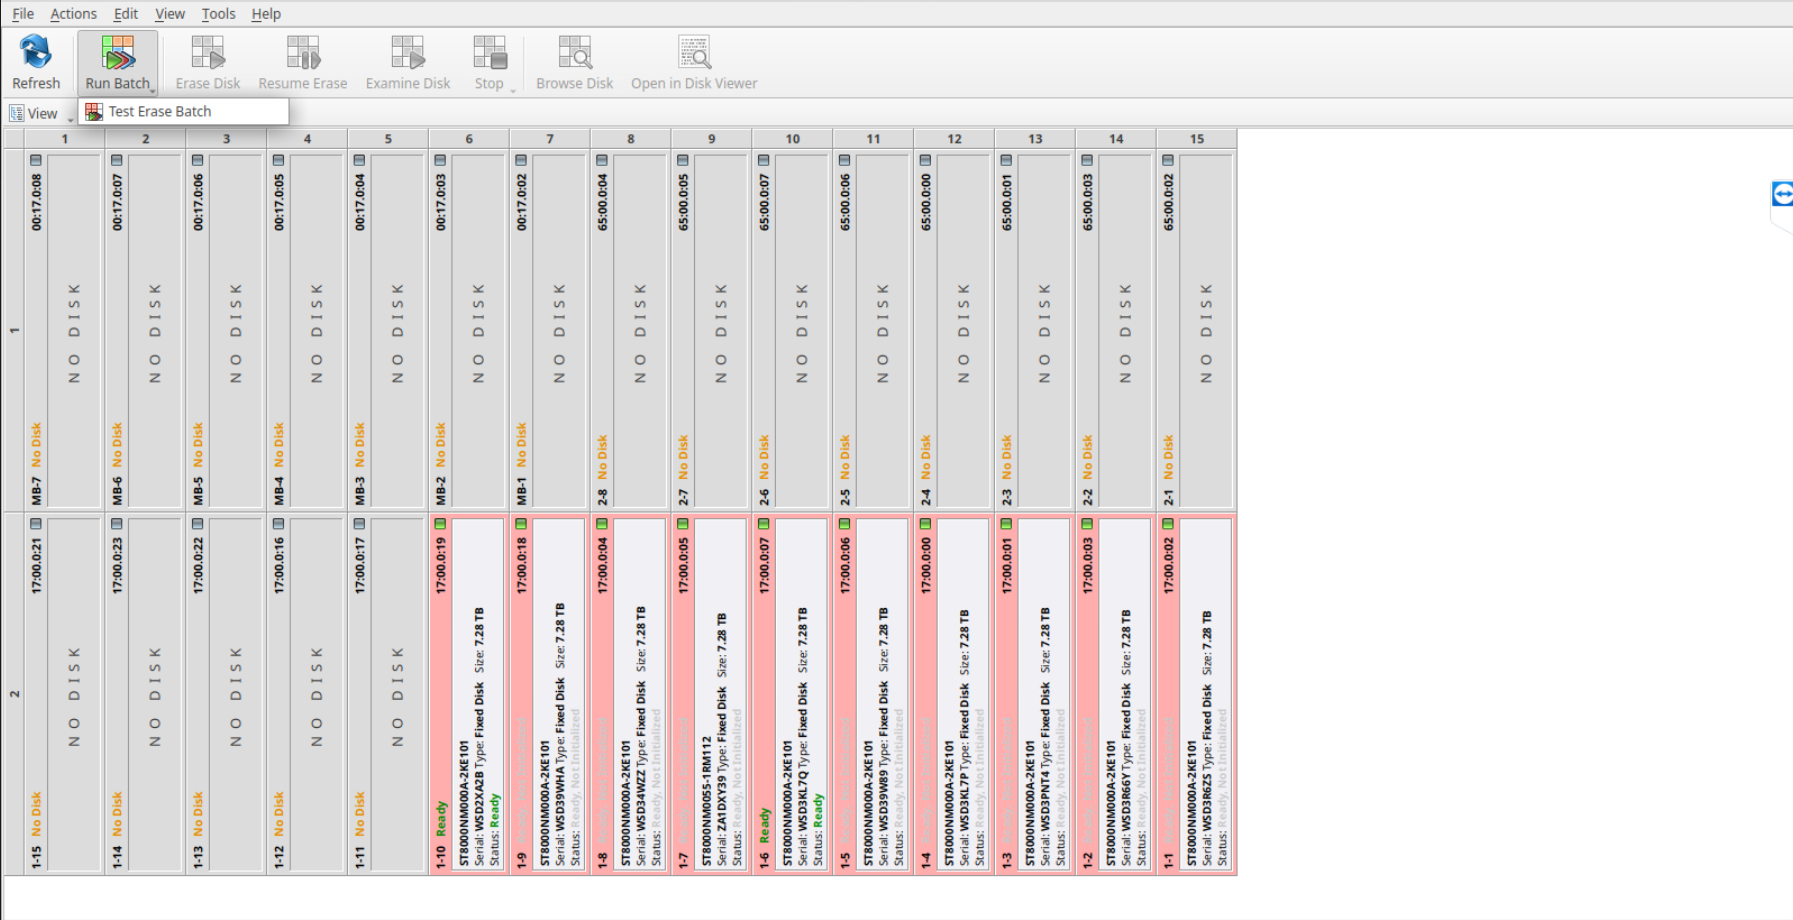
Once the bays that have been assigned to the batch and have been loaded with hard drives, click Run Batch and select your batch from the list that appears.
The Batch options will open to allow you a chance to make any one off changes or anything different then was set during the creation process. If nothing needs to be changed, you can click Start in the lower right corner.
Before running any erasure batch, you will need to confirm by typing in the keyphrase. This phrase can be changed to whatever the customer prefers or disabled. See here:
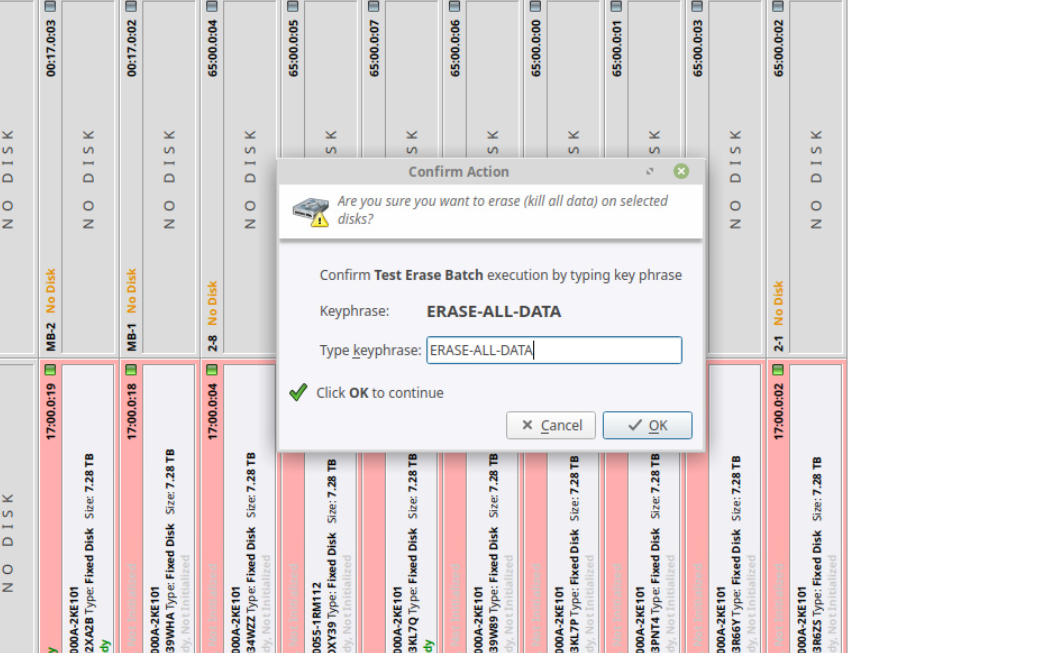
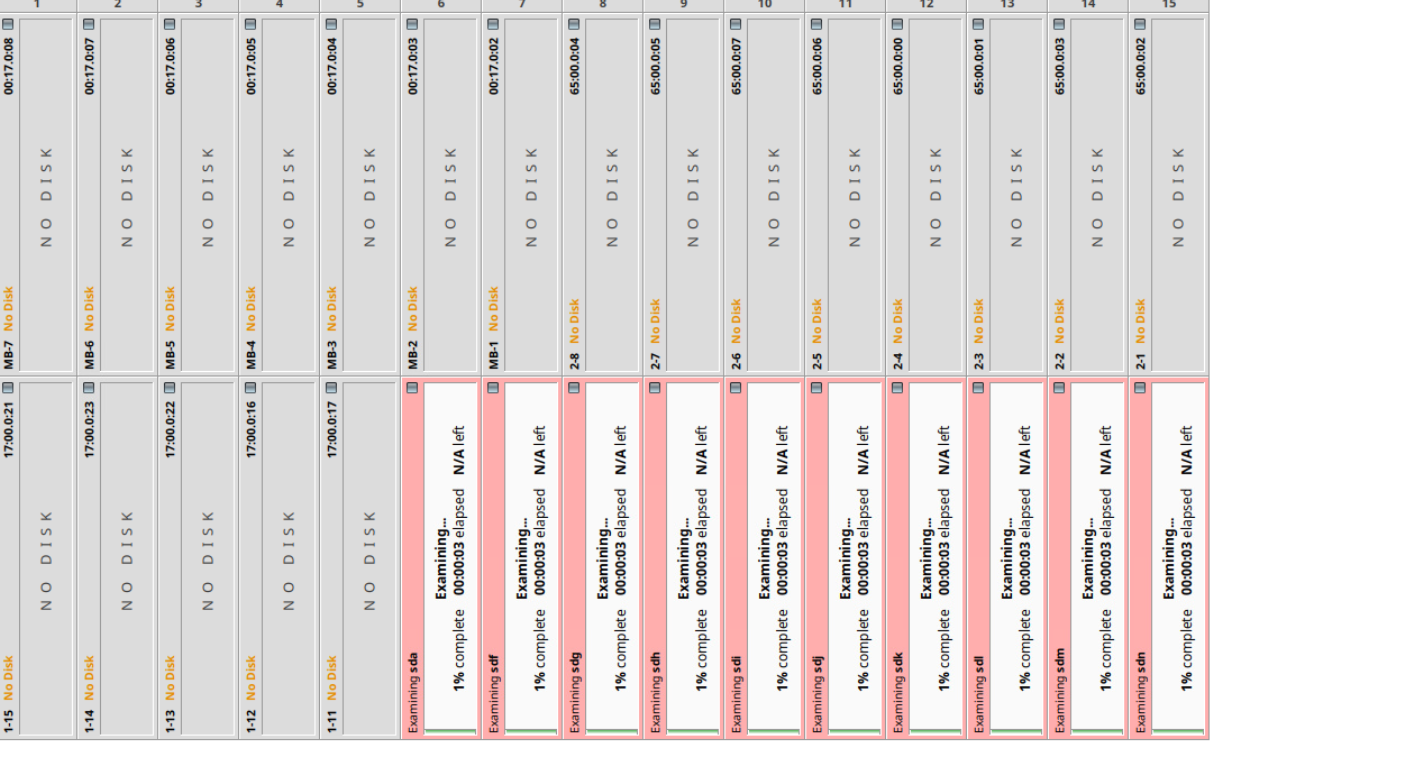
Once the keyphase is entered and clicked OK, the batch will begin simultaneously on all the drive slots assigned to the batch that are populated with drives.