Scope/Description
- This article details the process of creating a Linux user and assigning it a group through the Houston cockpit-identities module.
Prerequisites
- Houston Installed and Accessible
- Identities Module installed
Steps
Creating a Linux User
- Once Identities has been installed, you can open the module on Houston.
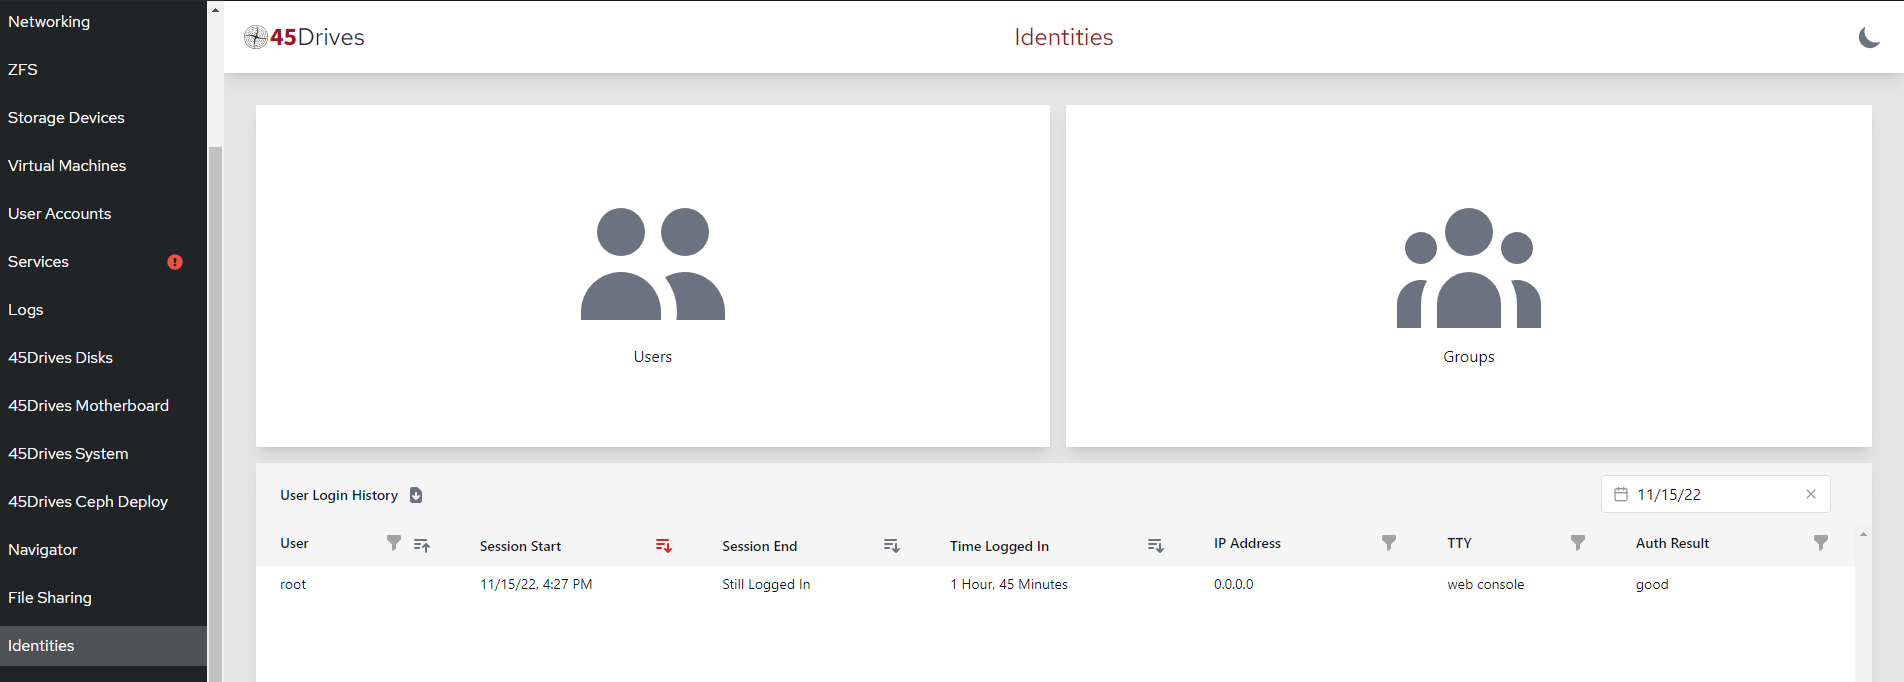
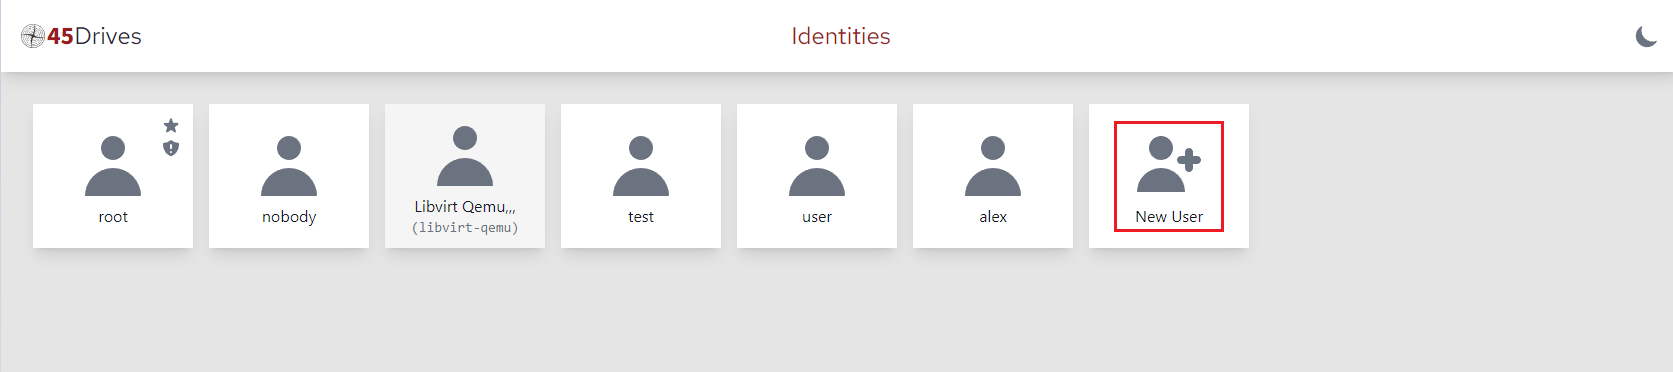
- Click the ‘Users’ section, this will open a page with a list of users. Select “New User”.
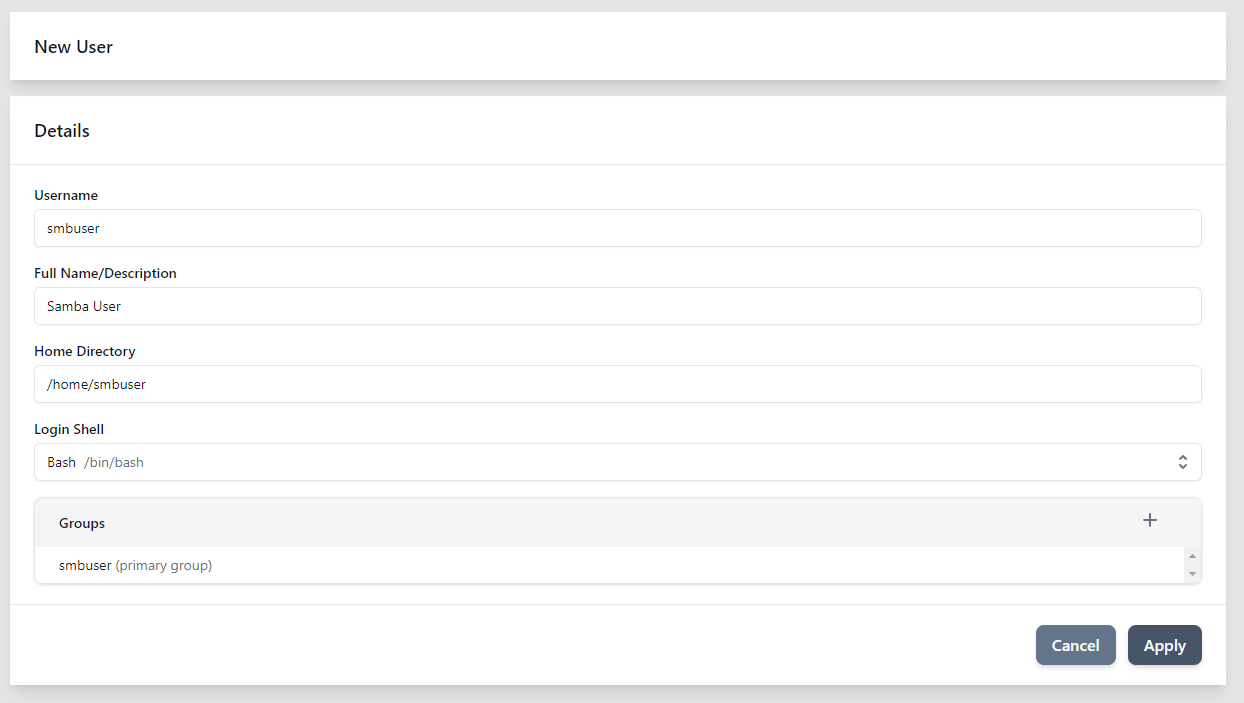
- Fill in the Username, Full Name/Description. Then click “Apply”. It is also possible to assign this new user to a group at the bottom of the prompt. If applicable it can be done here, or a user can be assigned at a later time.
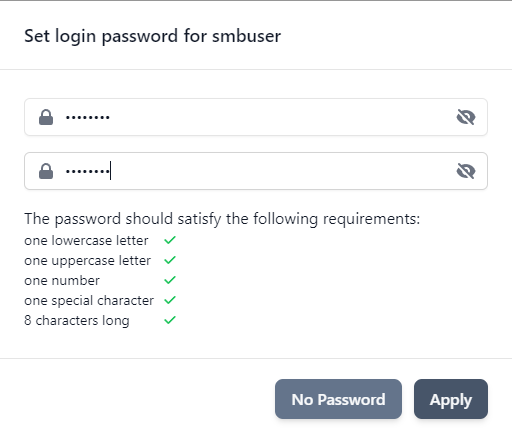
- A prompt will come up to set the users password. This is a local Linux password, it can be used to SSH into the machine, or to authenticate to Houston.
- The user generation will complete successfully. The user should now be able to authenticate to Houston or SSH with that password. The below sections will detail assigning a user to a specific group, and setting an SMB password if applicable.
Assigning a Linux Group to a User
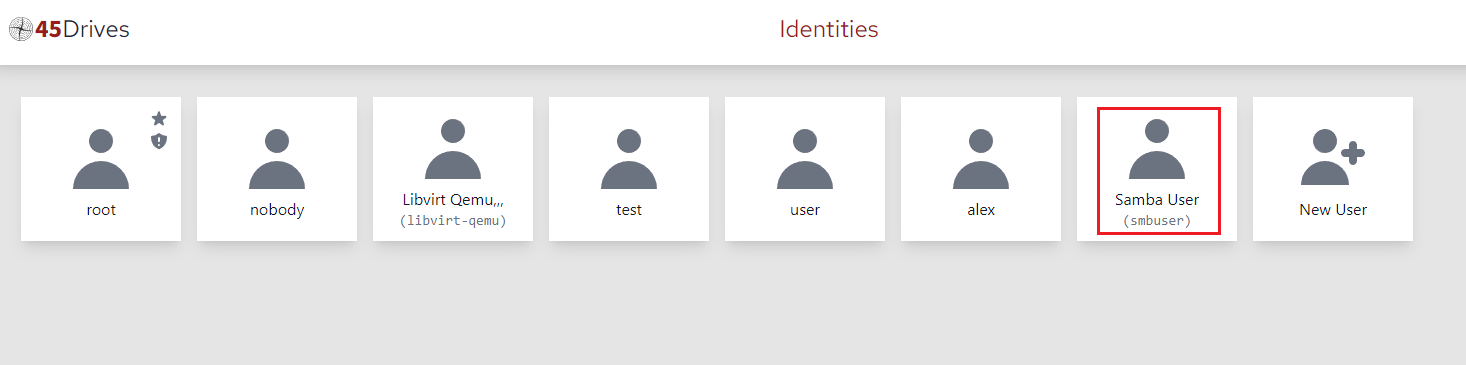
- In the “Users” section the new user should be seen. Click on the user to assign a group.
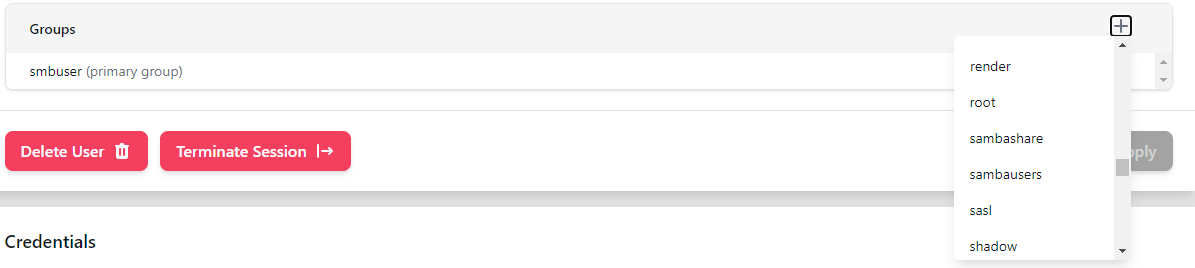
- Click on the “+” under the Groups section.

- A dropdown will popup and you can now select a group to assign to the user.
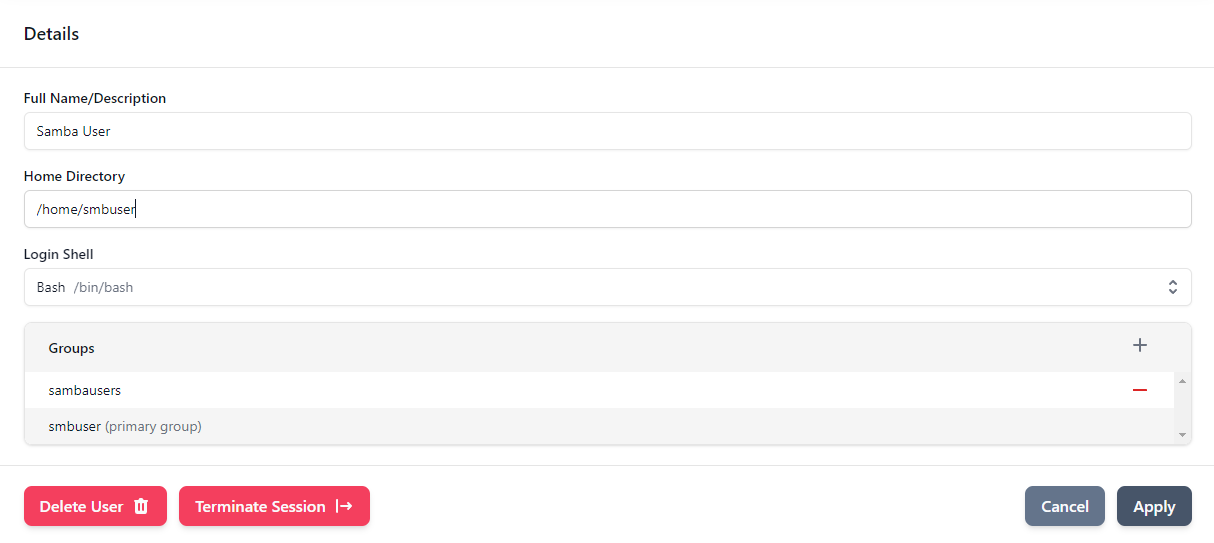
- The newly added group should be displayed under the Groups section. Click “Apply” to save changes.
Configuring a Samba Password for a User
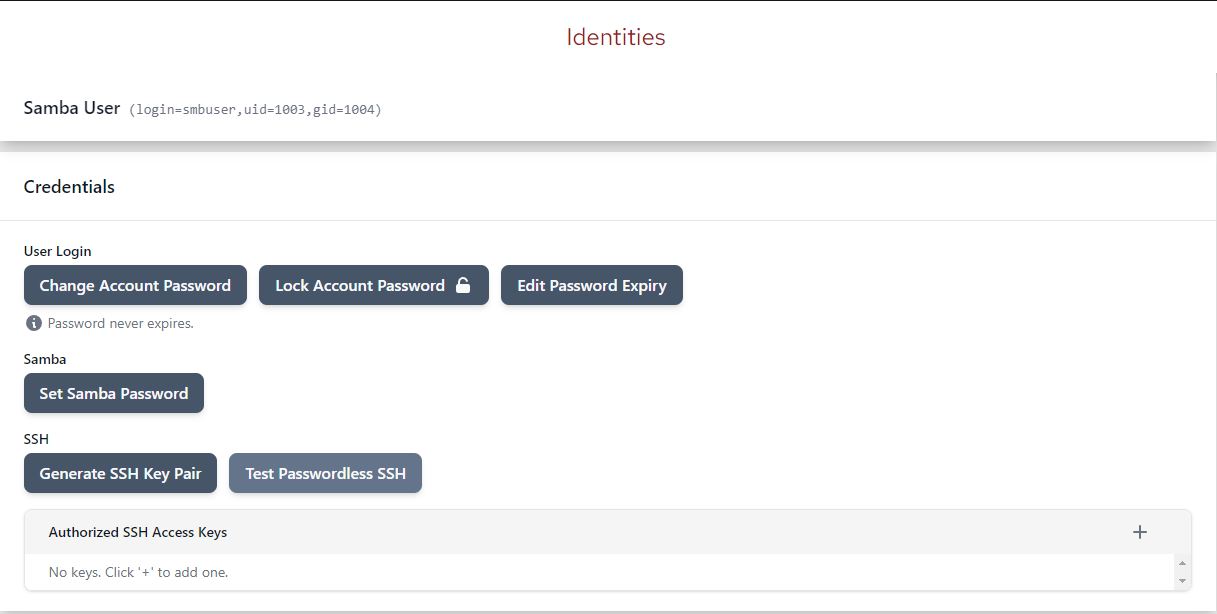
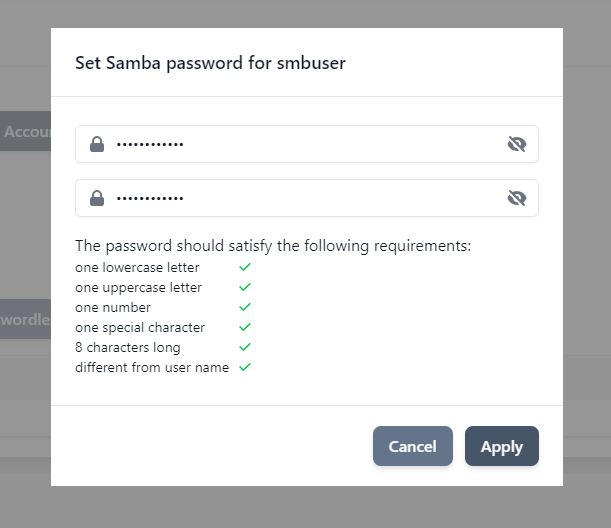
- Select the user you wish to assign a Samba password. The Samba password will need to be set to allow users to authenticate to Samba shares. It can be the same as the Linux password, but does not have to be. Click on “Set Samba Password”. Enter a password and click “Apply”.
Verification
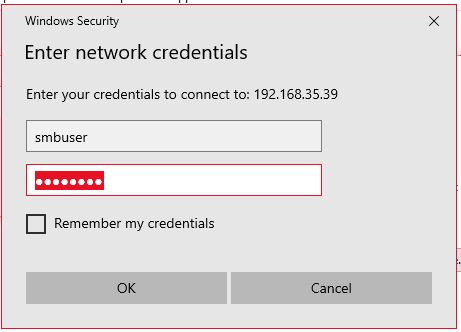
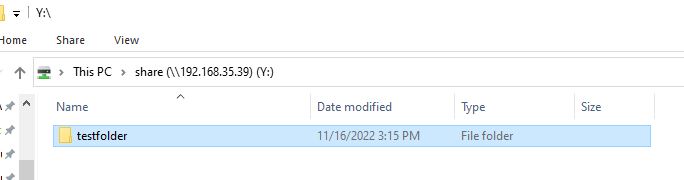
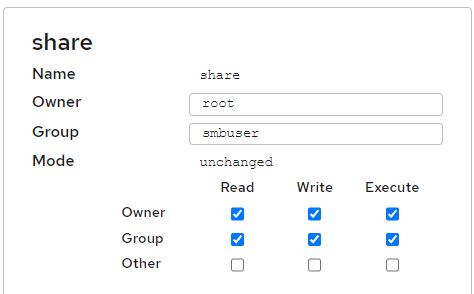
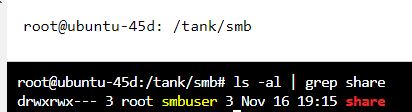
- Map a Samba share using the user you created earlier. I have a share called “share” that is accessible to anyone that is a member of the group “smbuser”.
Troubleshooting
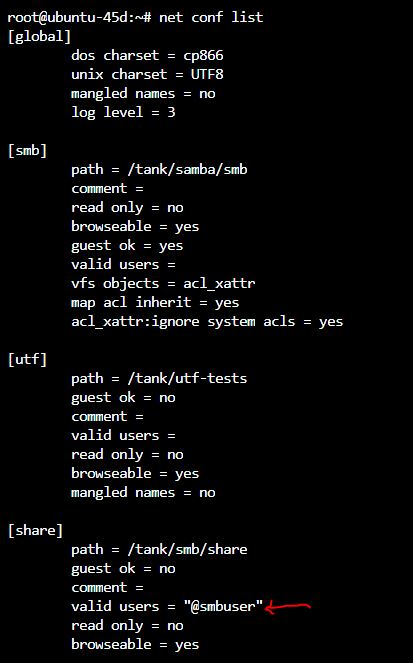
- Check that the share definition is correct and that there are no permission errors.
- Use a command like testparm -s or net conf list to see share details.
- Check that the share folder permissions are correct. You can change them when editing the share, through the terminal, or in the Houston Navigator tab.
Views: 981