Table of Contents
Scope/Description
- This guide will cover the process used to install and set up Nextcloud as an internet-facing application with an SSL certificate tied to a domain.
Prerequisites
- Rocky Linux installed and running with all 45Drives scripts
- A registered or otherwise hosted domain
- Ports 80, and 443 port forwarding on your router
- A DNS record from your domain to your public IP address
Steps
- To start we will add the Docker repository to our dnf list
dnf config-manager --add-repo=https://download.docker.com/linux/centos/docker-ce.repo
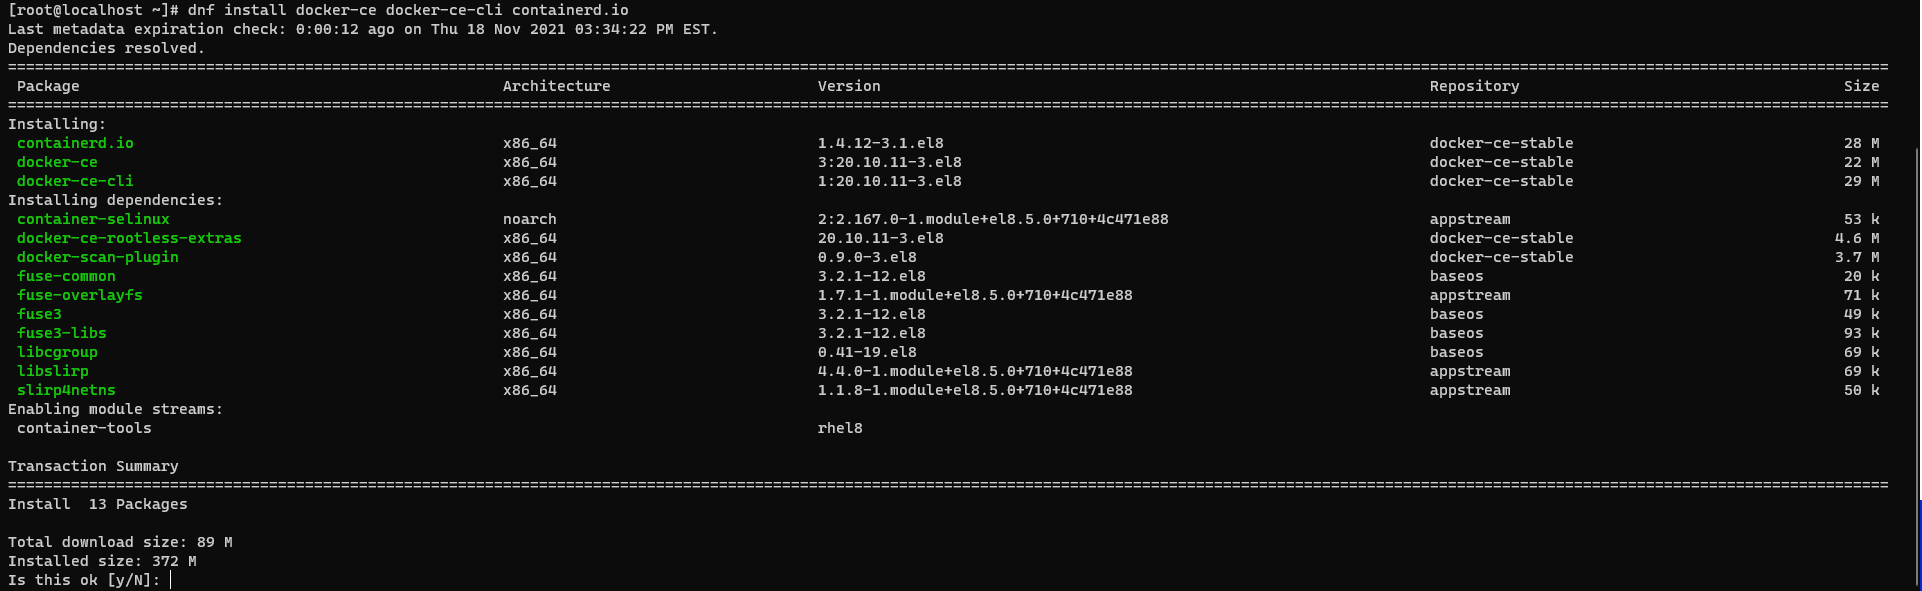
- We can then install the docker packages
dnf install docker-ce docker-ce-cli containerd.io
- We can then download and make docker-compose executable
curl -L "https://github.com/docker/compose/releases/download/1.27.4/docker-compose-$(uname -s)-$(uname -m)" -o /usr/local/bin/docker-compose
chmod +x /usr/local/bin/docker-compose
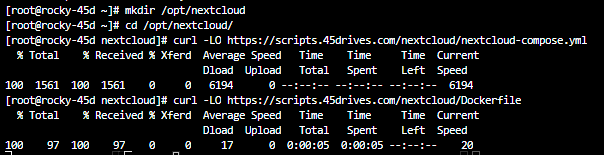
- We will now create a new directory called /opt/nextcloud, inside this directory, we will also make a .yml file called docker-compose.yml
mkdir /opt/nextcloud
- Pull the following two scripts into the created directory
curl -LO https://scripts.45drives.com/nextcloud/nextcloud-compose.yml
curl -LO https://scripts.45drives.com/nextcloud/Dockerfile
- We will rename the nextcloud-compose.yml to docker-compose.yml
mv nextcloud-compose.yml docker-compose.yml
- We can now run our docker file which will install Nextcloud, Ngnix, and the necessary databases
- Be sure to enable the docker service as well

systemctl enable --now docker
docker-compose up -d
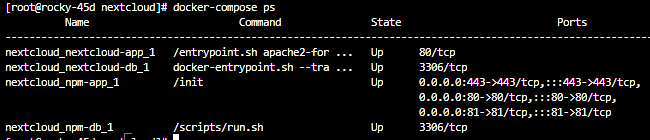
- You can confirm the docker containers are working correctly with the following command:
docker-compose ps
- Now navigate to [IP ADDRESS]:81 in a web browser, the default login is admin@example.com and changeme. You will need to change this username and password before proceeding.
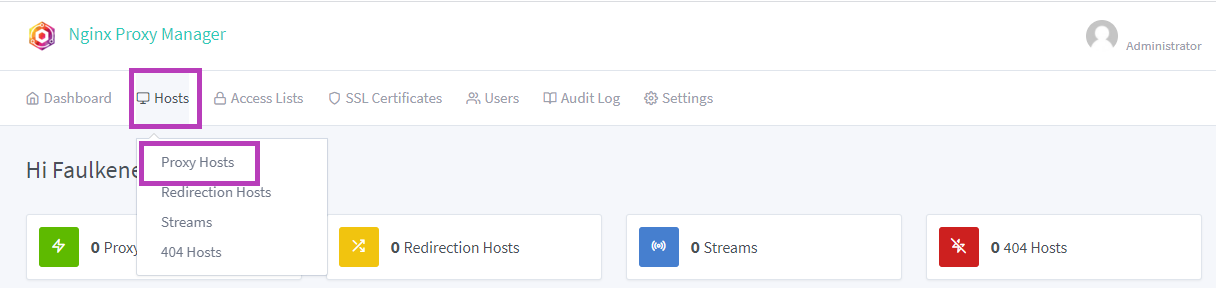
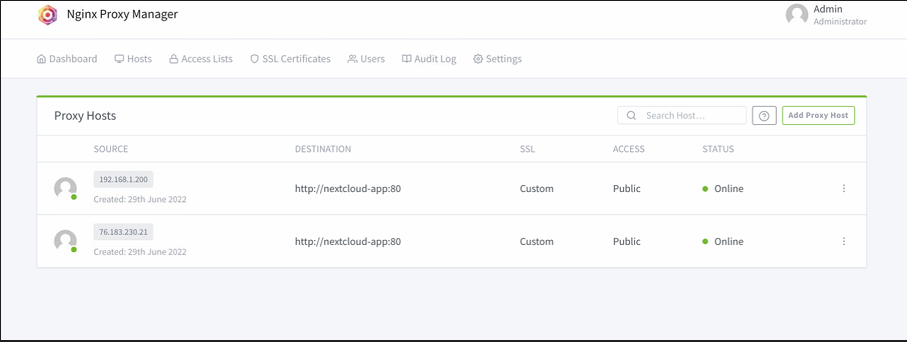
- Once you’ve changed the username and password for your Ngnix Proxy Manager you will be able to access the dashboard, here you will want to navigate to Hosts > Proxy Hosts
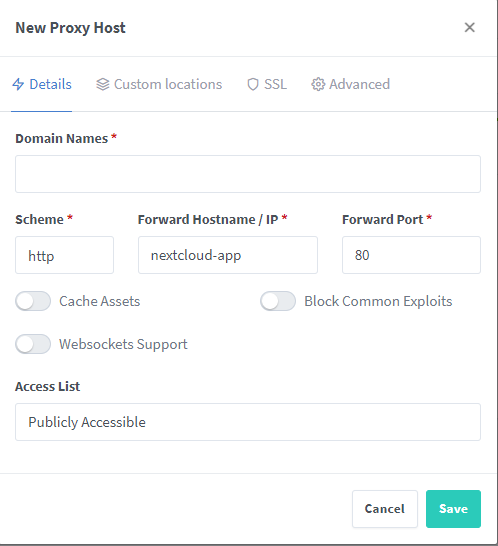
- In proxy hosts click the Add Proxy button, this will take you to the below window where you will enter your Domain Name, and fill out scheme, forward hostname and forward port
- At this point if you are using a self signed certificate continue on this guide.
- Move to the SSL tab of this window and enter the below information, make sure to add a valid email address incase you need to recover this certificate.
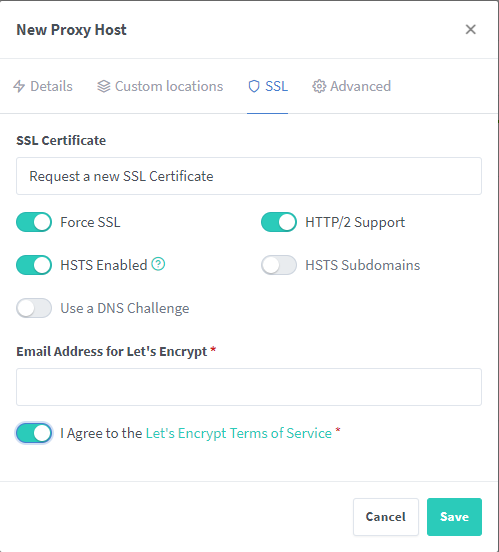
- click save, this will then create the proxy host pointing at the Nextcloud container with a valid certificate.
- You can now force the use of https by clicking edit on the proxy host, navigating to the SSL tab and ticking Force SSL, HTTP/2 Support, and HSTS Enabled on
Verification
- Verification of this process can be done by navigating to your domain/subdomain and accessing Nextcloud.
Troubleshooting
- If you are having issues in accessing the Nextcloud externally to your network via the WAN IP or Domain Name given, test by setting up the WAN IP as a source in Nginx Proxy Manager.
- If the SSL Certificate fails ensure that your firewall is not blocking port 80 (required to contact Lets Encrypt)
- If you are unable to access your nextcloud ensure that your ports are forwarded correctly, and that you’ve created a valid A record, keep in mind some DNS providers can take up to 48 hours to update
- If you are receiving network errors after removing an interface or IP from your host machine running the below commands will generally resolve the problem:
iptables -t filter -N DOCKER
systemctl restart docker.services
- Once docker is restarted pulling your container down and back up will resolve the networking error.
- If you are having a bad gateway error on your nginx after setup it may be caused by the docker container not creating the necessary config.json file. If this is the case simply create a config.json file in the /opt/nextcloud folder and enter the below text
{
"database": {
"engine": "mysql",
"host": "npm-db",
"name": "npm",
"user": "npm",
"password": "thisisjustatest",
"port": 3306
}
}
- If you are getting an “untrusted domain” from the nextcloud log in edit the following file and add your domain under the array
vim /var/lib/docker/volumes/nextcloud_nextcloud-data/_data/config/config.php
'trusted_domains' =>
  array (
   0 => 'localhost',
   1 => 'server1.example.com',
   2 => '192.168.1.50',
),
Views: 2356