Scope/Description
- This article will show how to create RBD images within the Ceph Dashboard for mounting on client machines.
Prerequisites
- Ceph Dashboard configured
- RBD Replication Storage Pool configured
- RBD EC Storage Pool with RBD Replication Metadata Pool configured
Steps
Accessing the Block/RBD Section
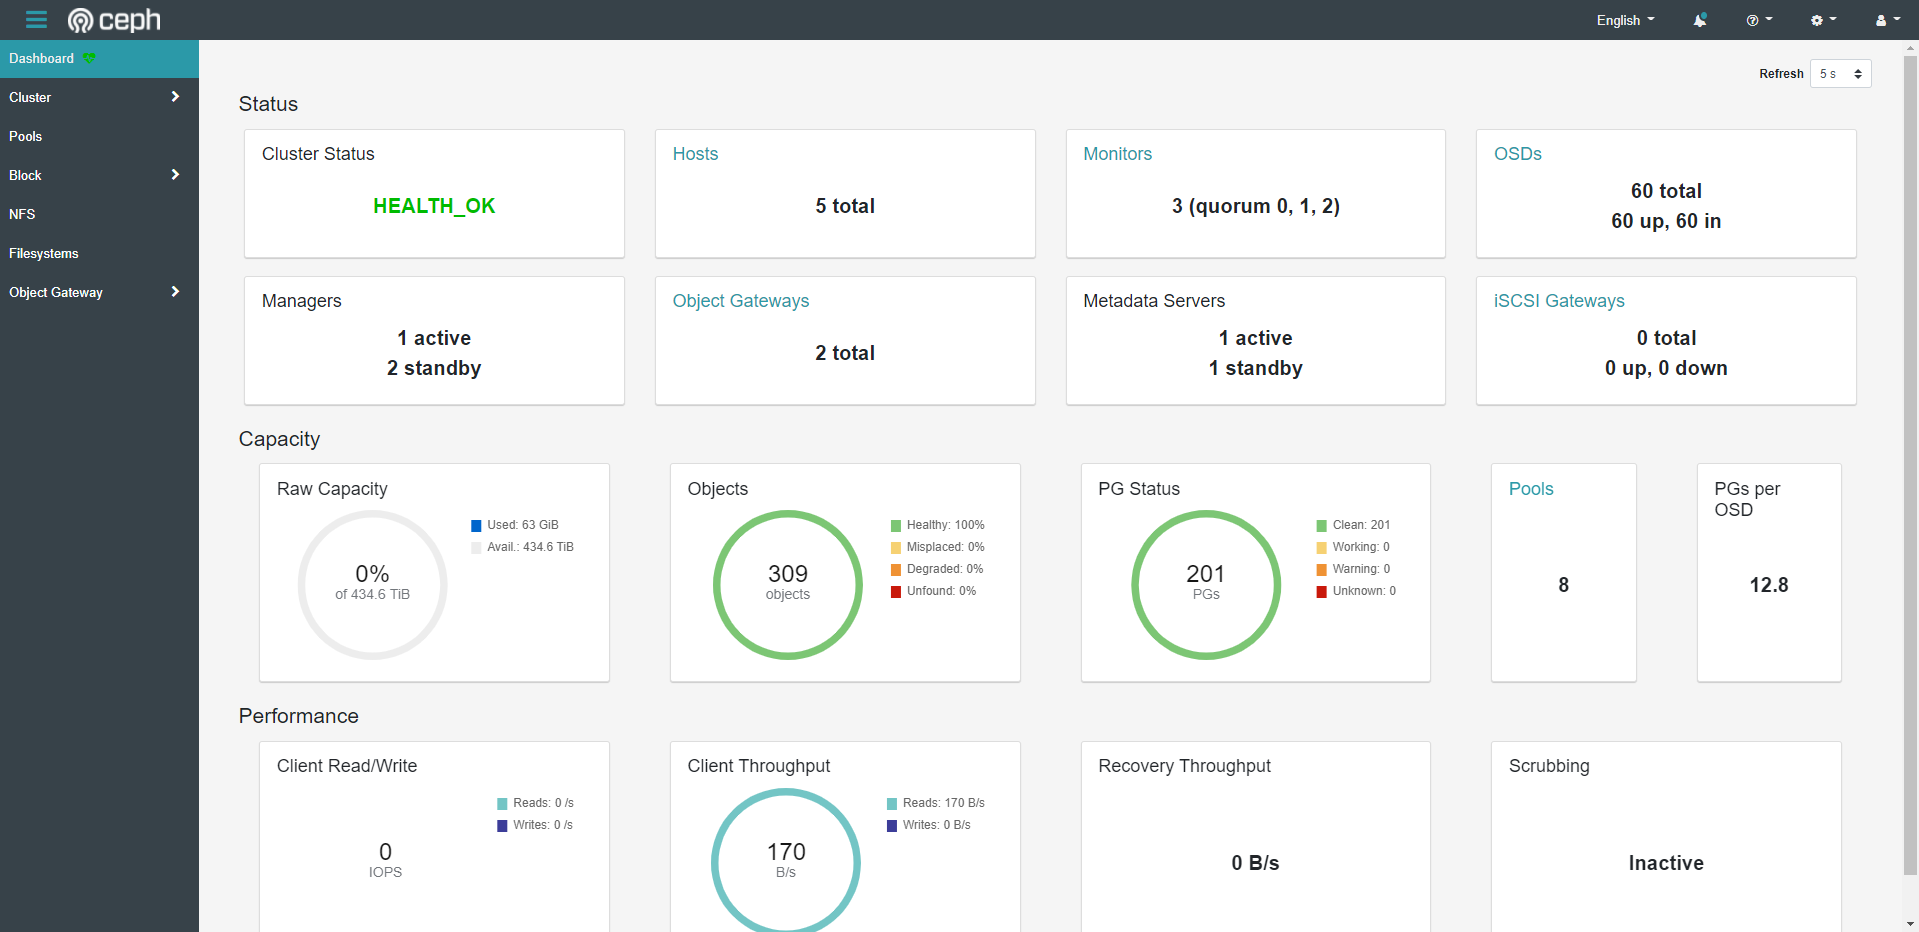
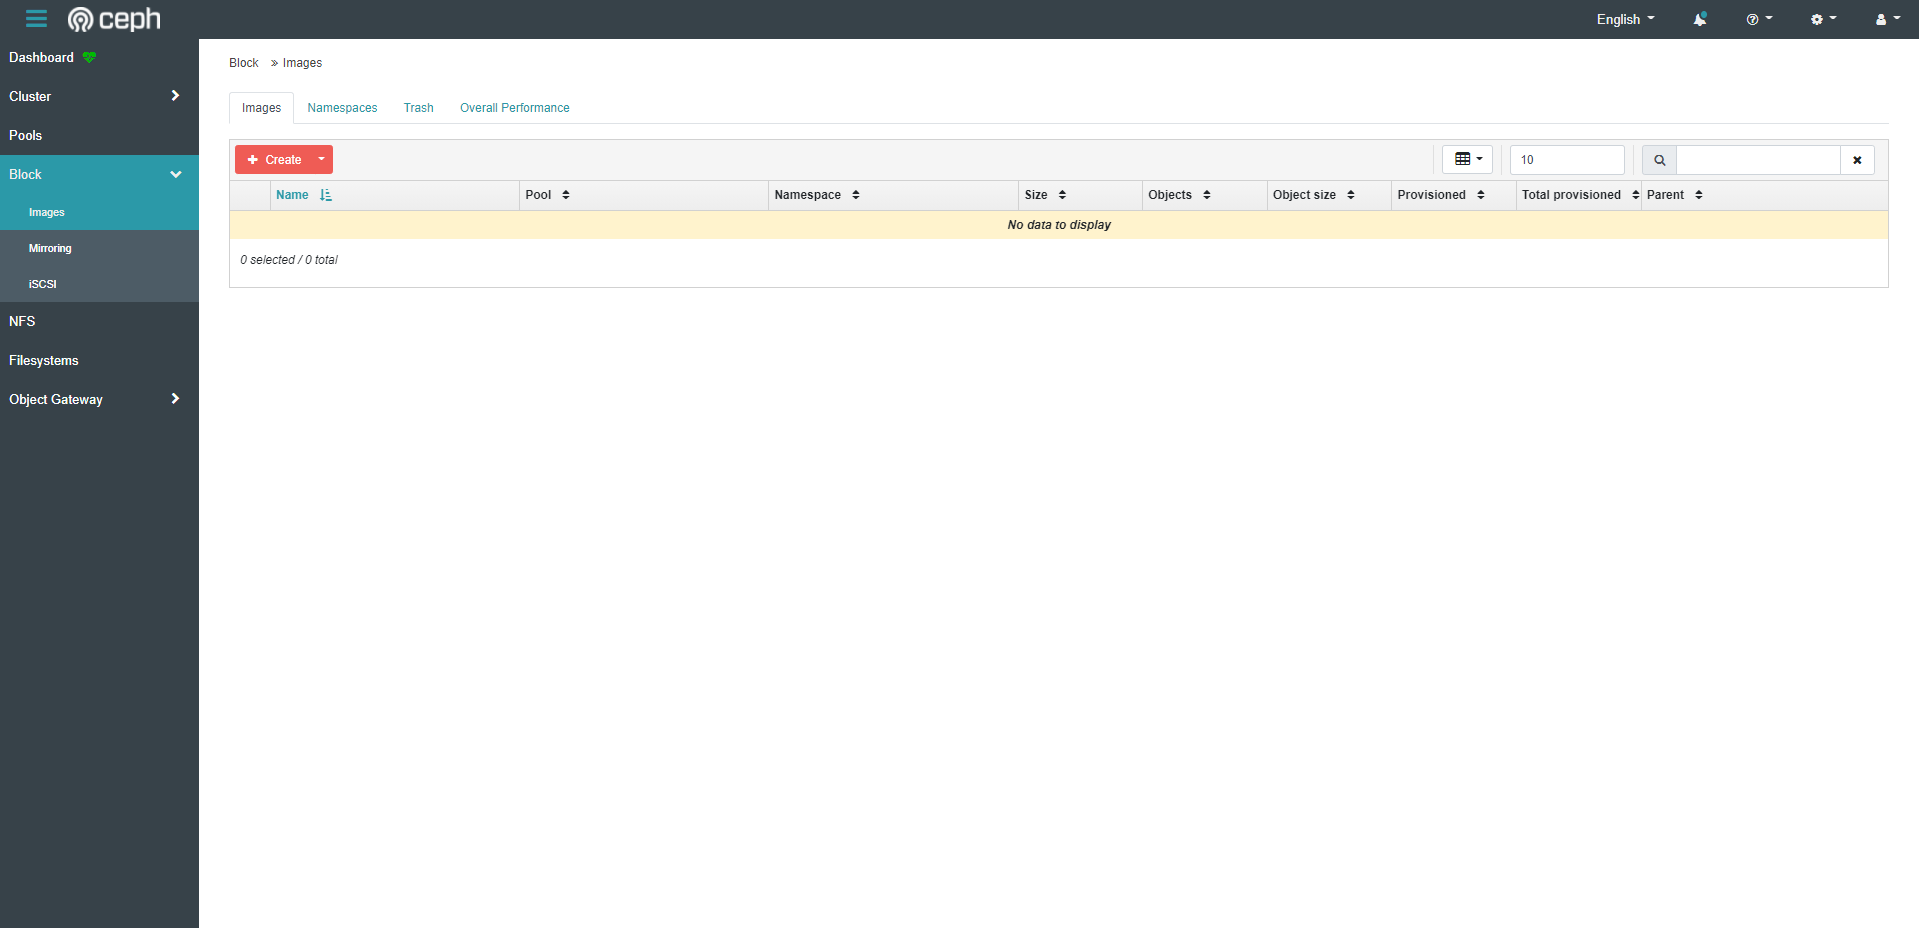
- First we’ll navigate to the Block section within the Ceph Dashboard. From here we’ll enter the images tab.
- When in the images tab, we can then select Create to begin creating our RBD image.
Creating and Sizing RBD image
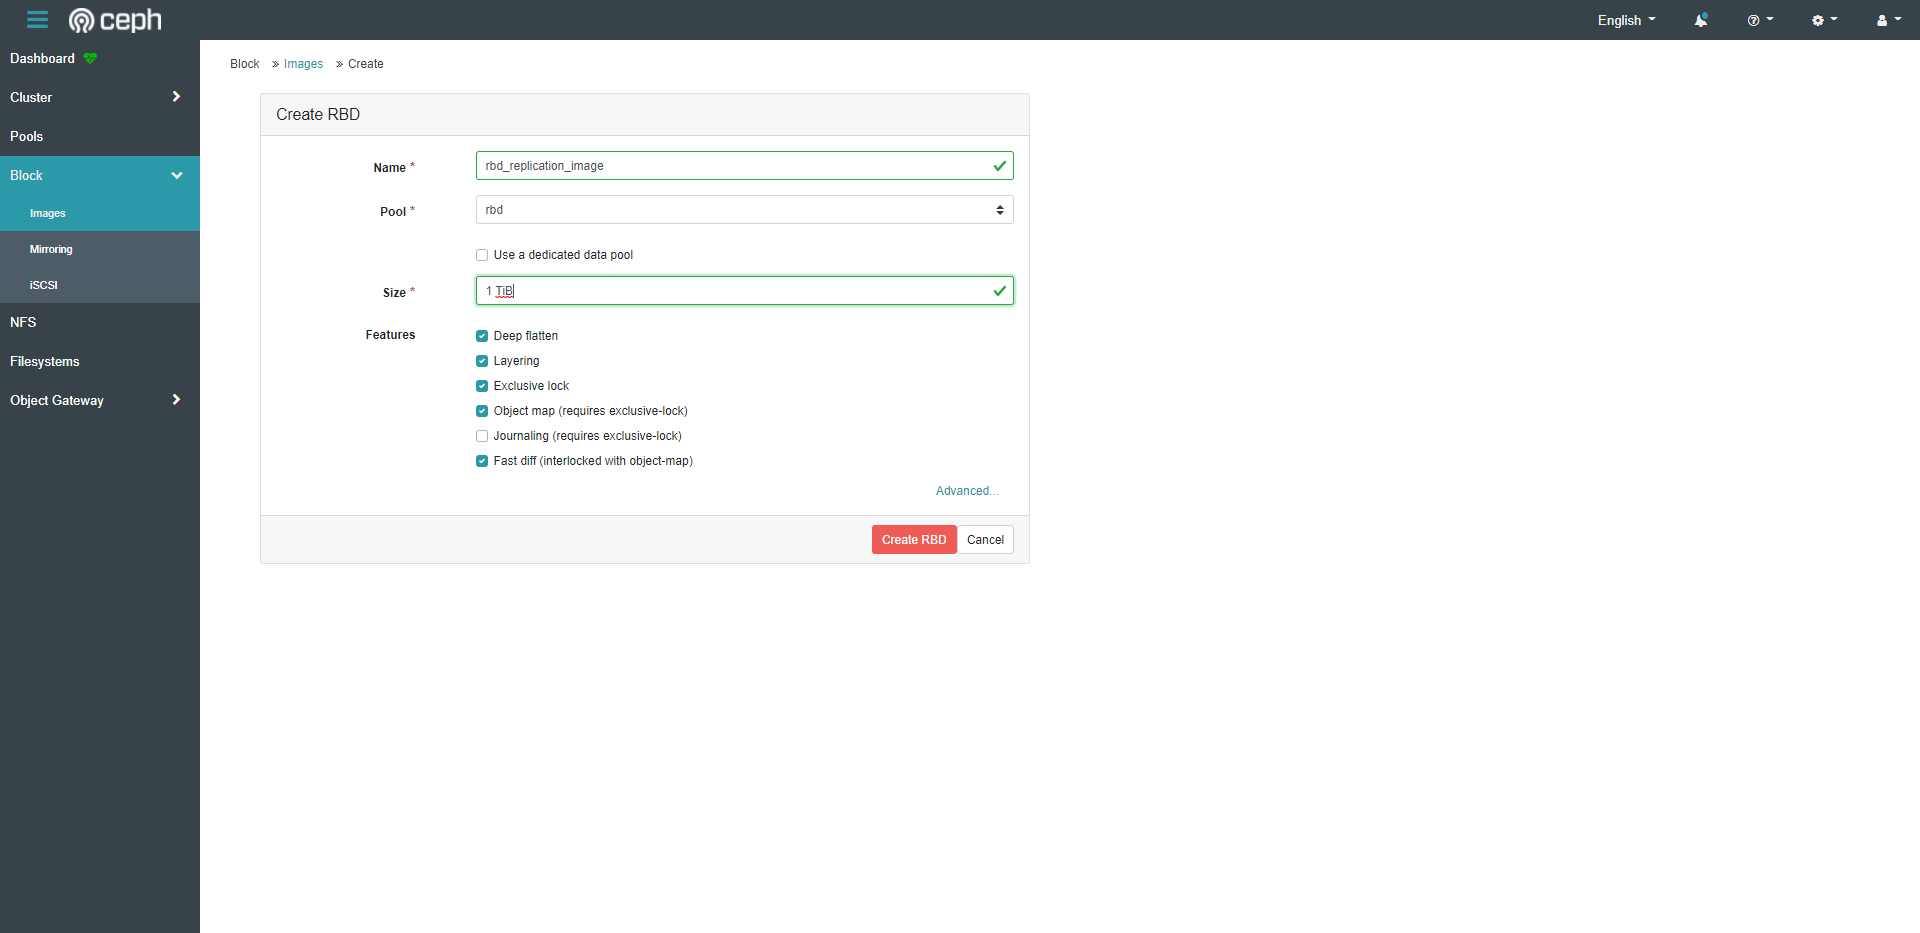
- Here we can name and size our RBD image. We can also select the pool that we will store our RBD image on. This process differs between using a Replication pool or an EC pool.
RBD with Replication Pool
- If using Replication pool we can simply select our Replication pool to store the RBD on, and give the size we want the image to be.
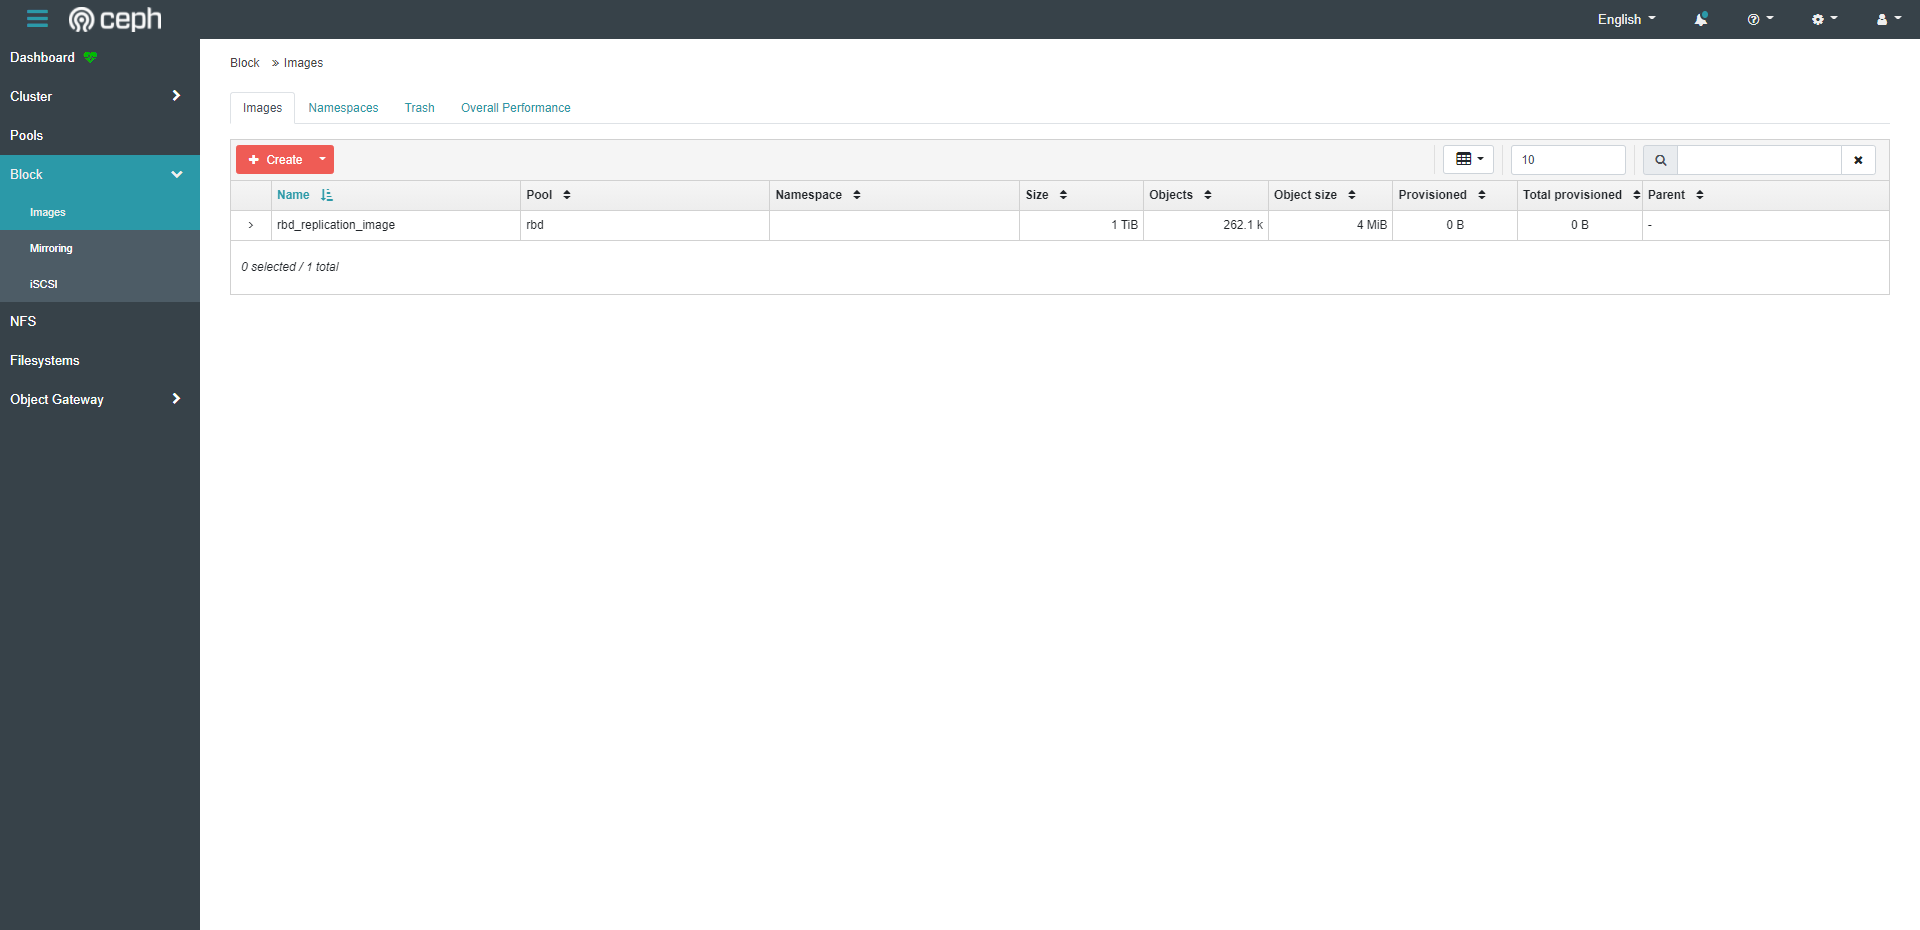
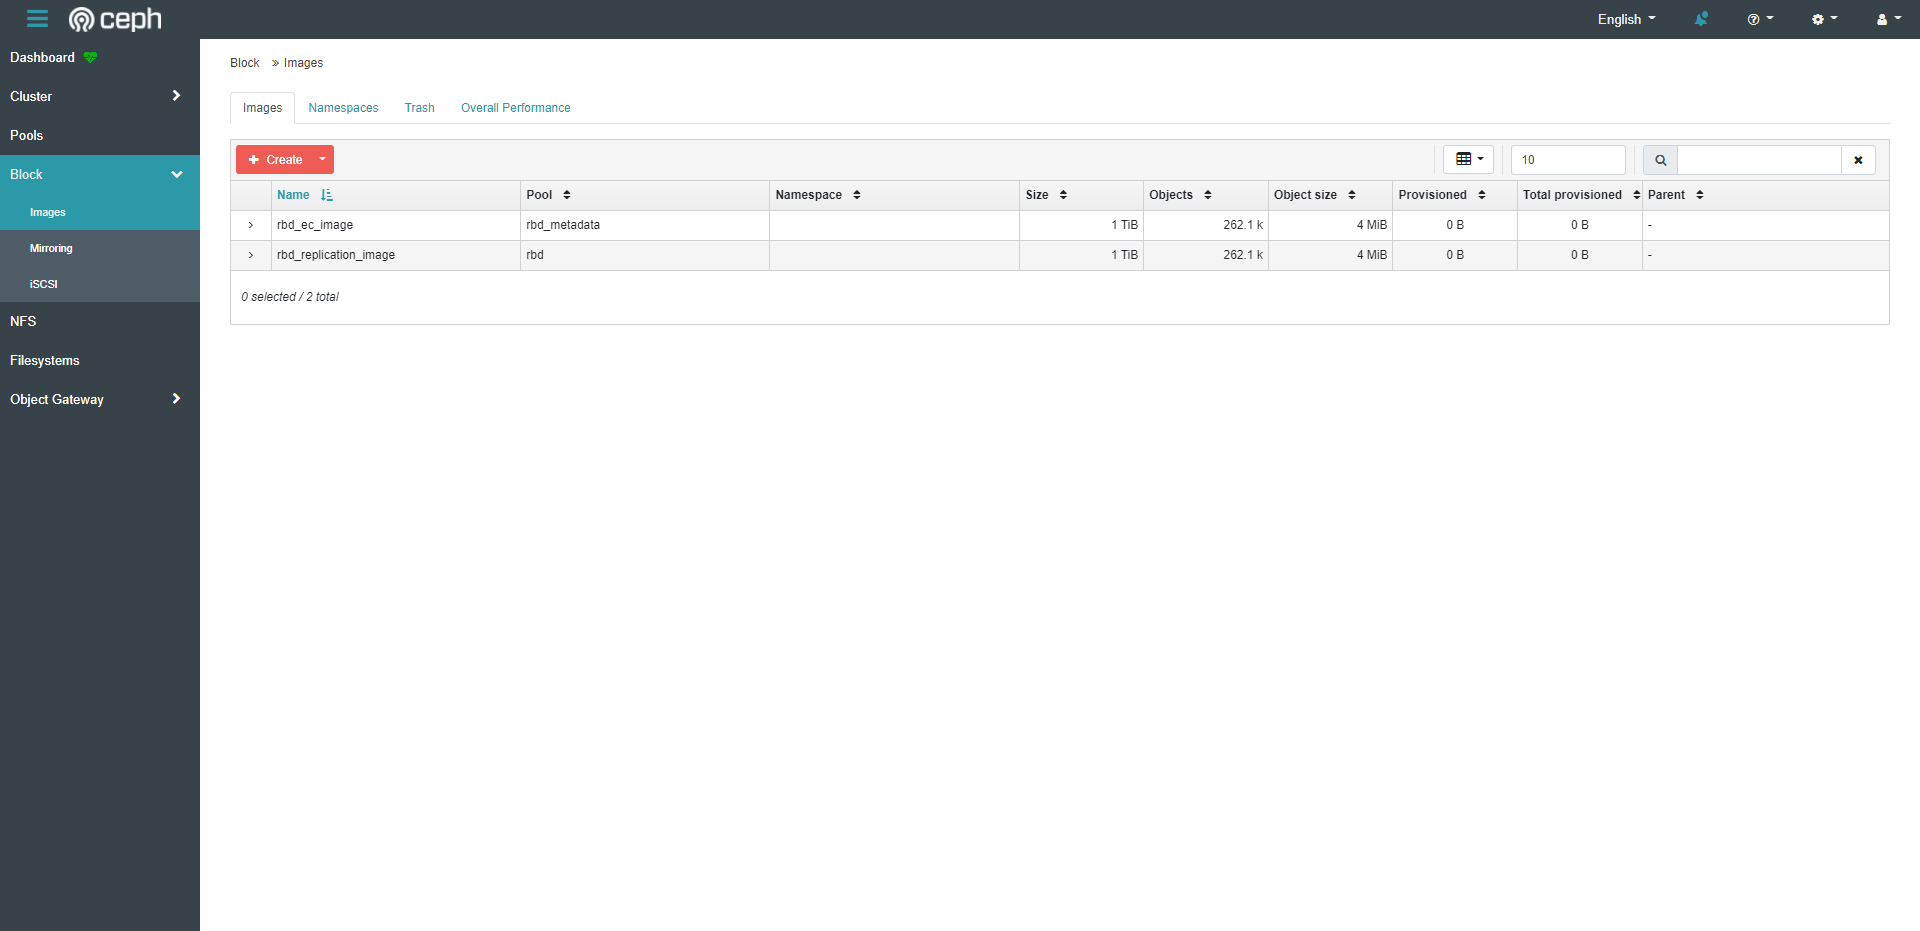
- Here we can see our RBD replication pool image is created
RBD with EC Pool
- If using EC pool we must have a replication RBD “metadata” pool in addition to our EC storage pool, and select the Use Dedicated Data Pool option where we then specify the EC pool.
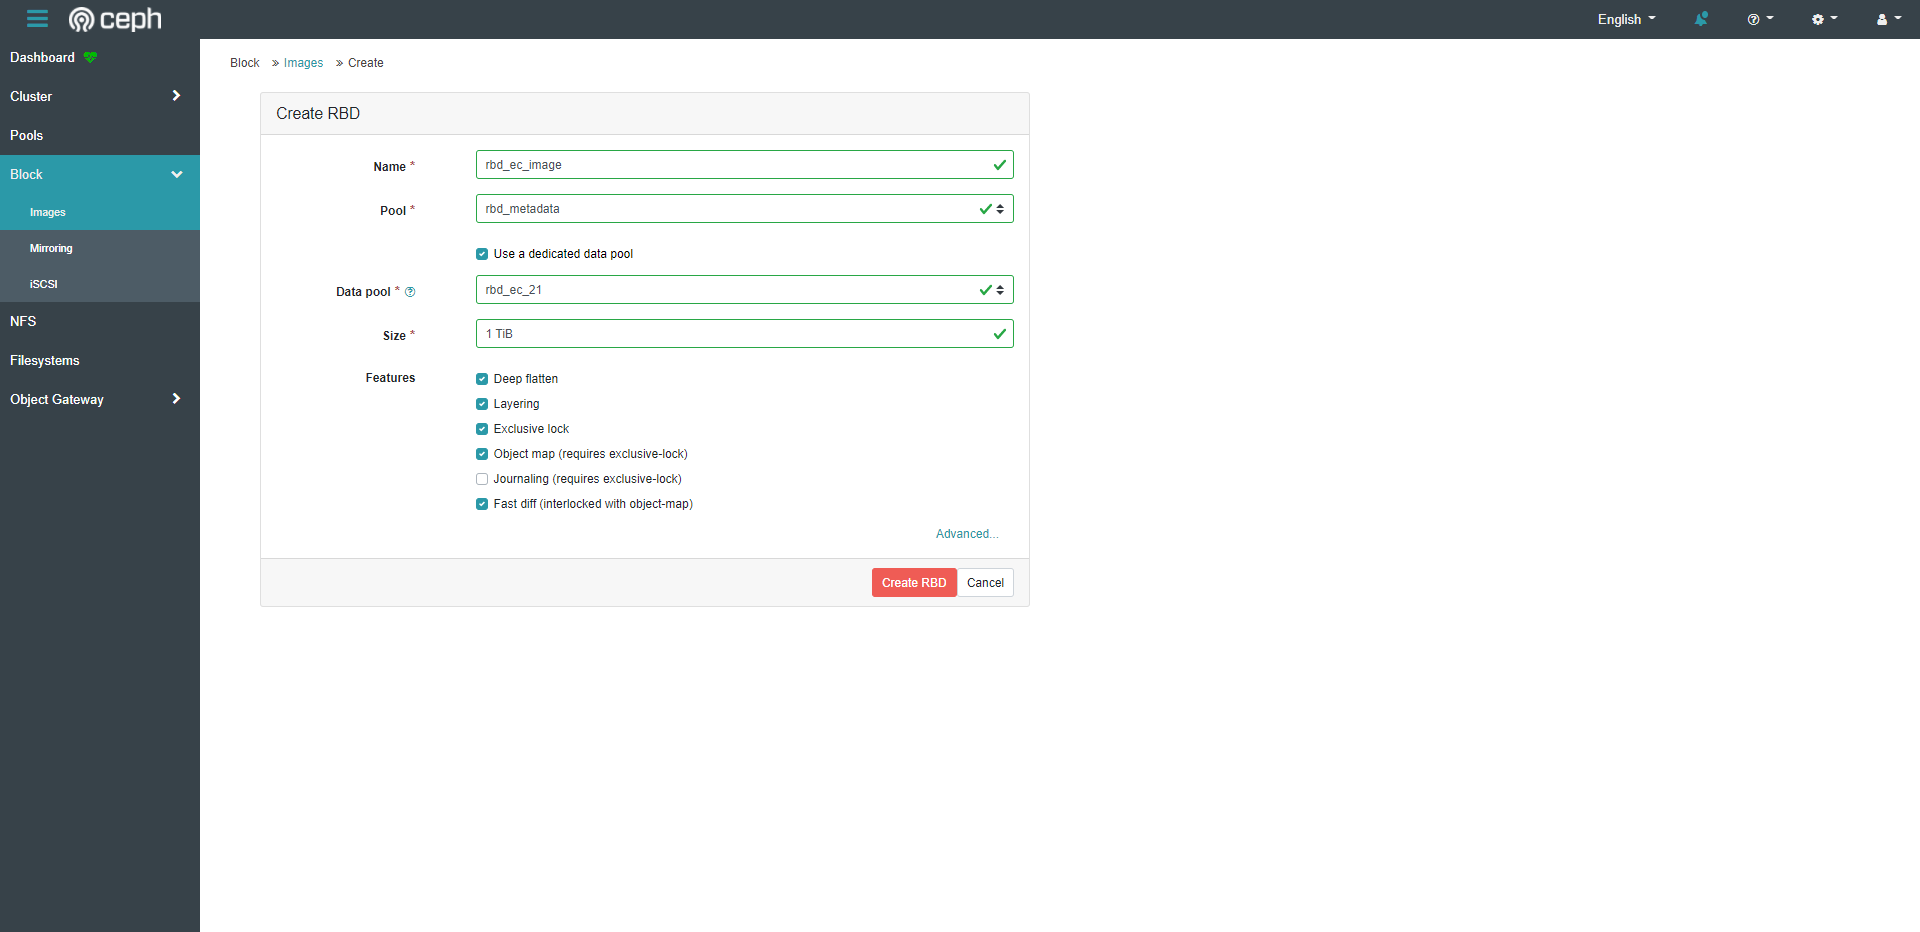
- Here we can see our RBD EC pool image is created.
RBD Image Advanced Options
- Here we can see some of the advanced options we can change on an RBD image. In most cases the defaults are fine, however for some use cases we can change these values to better fit the application.
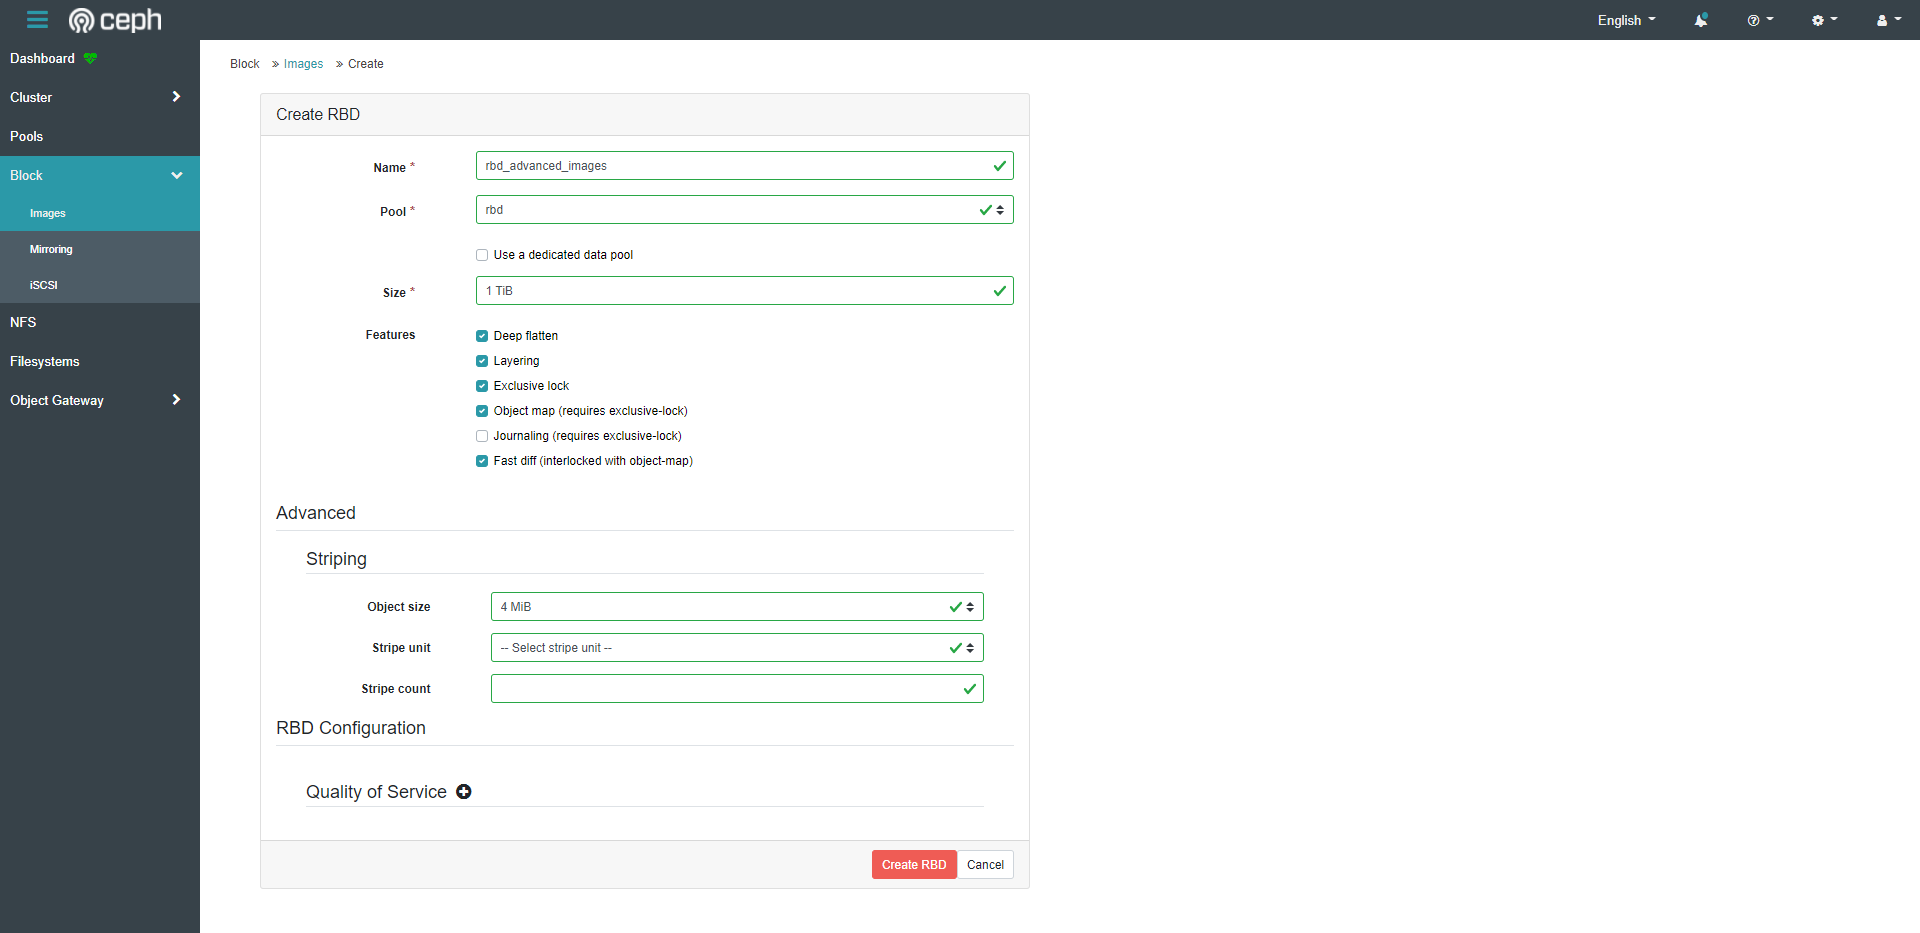
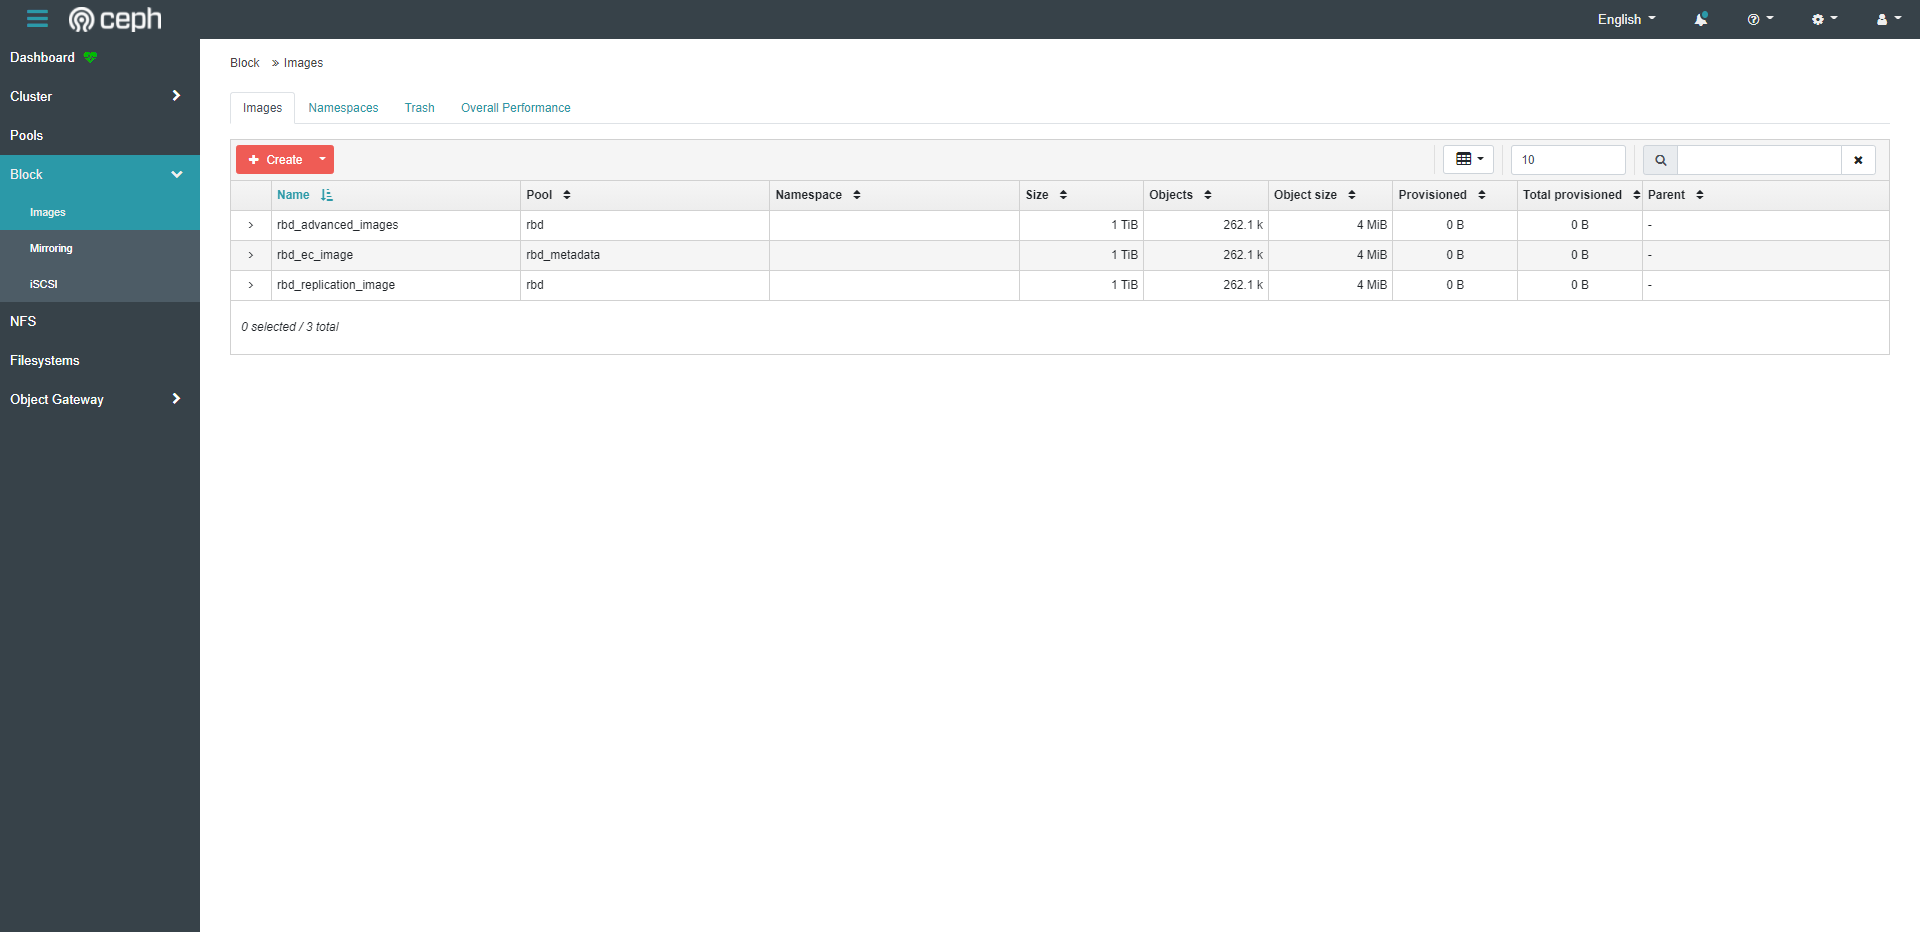
- Here we can see our RBD image is created with these options.
Verification
- We can see our RBD images created within the Ceph Dashboard, or when using rbd ls on one of the Ceph Nodes in the cluster.
- We can map our RBD images on our client machines.
Troubleshooting
- If using CentOS 7 as the host OS, where it is an older OS with an older kernel, some features of the RBD pool are not able to be utilized. We are able to create the RBD image with these flags, however when mounting on a client we will see an error letting us know we cannot mount with these options configured. It will also give the command to disable these options, which we can then run to disable the features, and then map the RBD as we normally would.
Views: 1144