Table of Contents
Scope/Description
- This guide will show the process to enable Shadow Copy on SMB share with ZFS snapshots.
Prerequisites
- Houston UI
- cockpit-file-sharing module installed
- ZFS snapshots configured
- SMB share configured
Steps
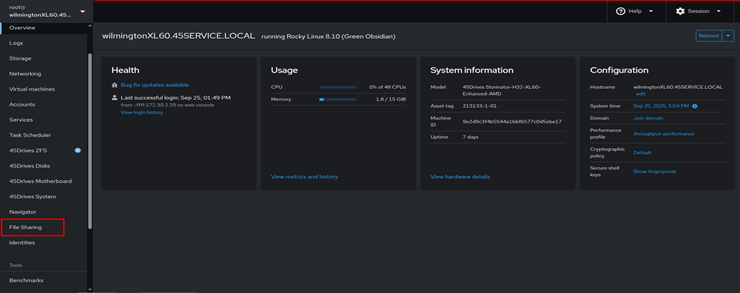
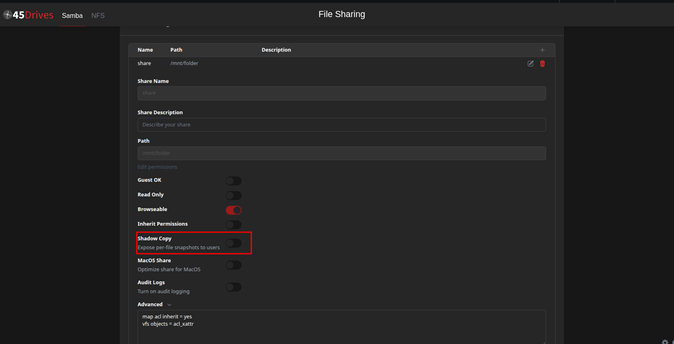
- Go to the File Sharing tab and click on the share you wish to add shadow copy to.


- Once editing, you can click the Populate Shadow Copy settings.
If using ZFS snapshots, the button will detect this and fill out the settings specifically for using ZFS snapshots with shadow copy.
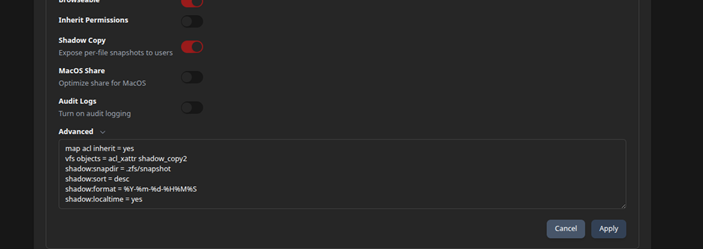
- Now the required parameters should be added to the Advanced Settings Then click Apply.
The Populate Shadow Copy settings button will generate a fresh share configuration, if you have any other options defined on the share previously, copy them down so they can be re-added.

- After applying the changes you should see them successfully added to the share.
Verification
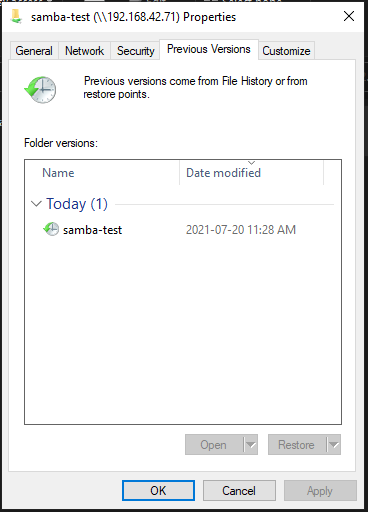
- Connect to your share and try to view the snapshots under Previous Versions under the properties.

- Here we can see the previous version from our ZFS snapshot appears, and we can restore any files contained in the snapshot from here.

Troubleshooting
- Verify there are snapshots being made on the server.
- Restart the samba service.
- Remap the Network Share on the Windows Client.
- If snapshots are not being displayed in the correct time add the below line to the share’s parameters
shadow:localtime = yes
Views: 2522