Table of Contents
Scope/Description
This article describes the process to add the side rails to the 45Drives Unit and place it in a server rack.
Steps
Note: Do not install the storage hard-drives before racking your new unit.
- If you purchased rails with your new 45Drives unit or have supplied your own, you will be able to attach them to the sides of the unit.
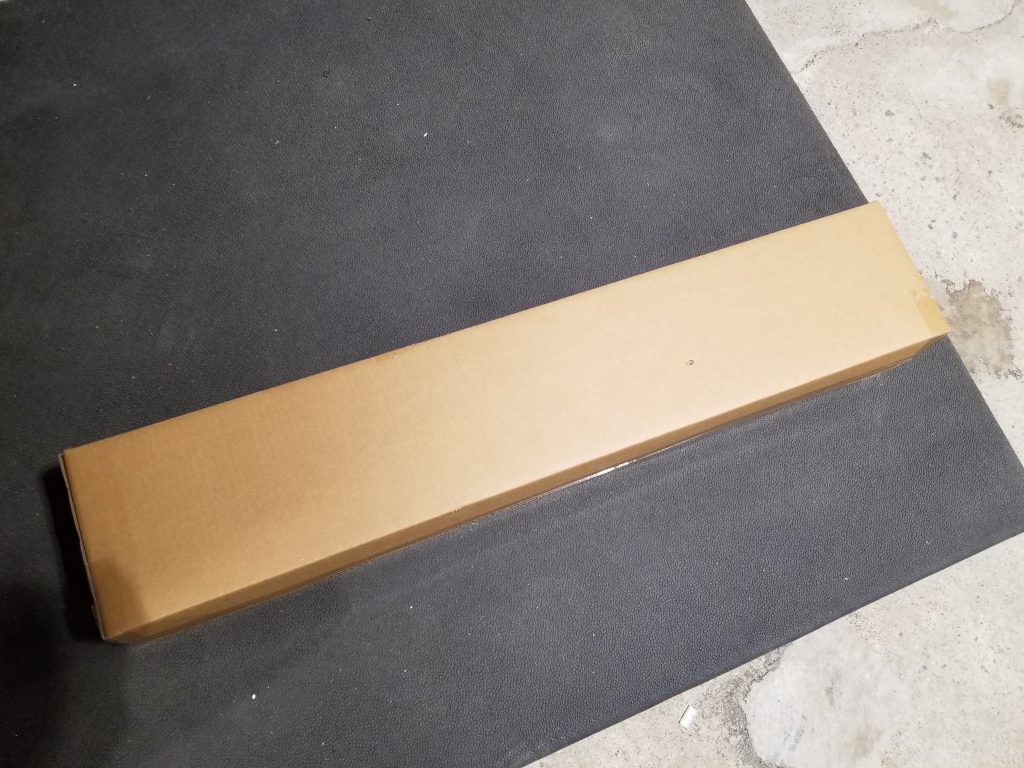
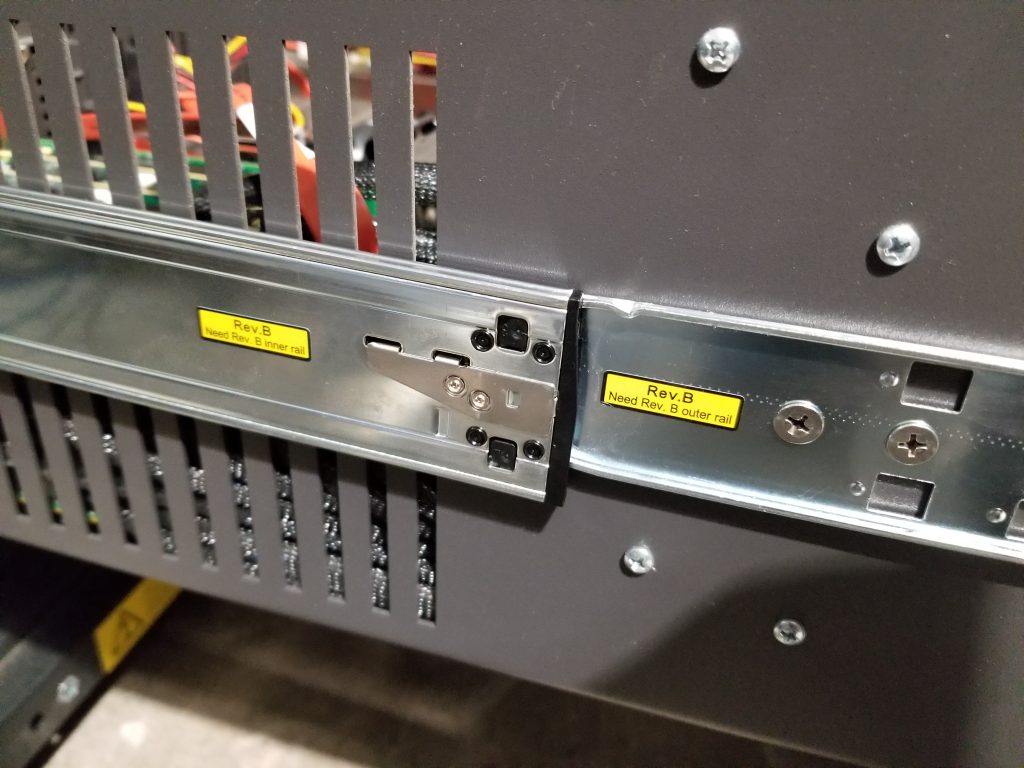
- Unbox the rails and disconnect the part that attaches to the unit. There should be a latch on the rail that allows the easy disconnection.
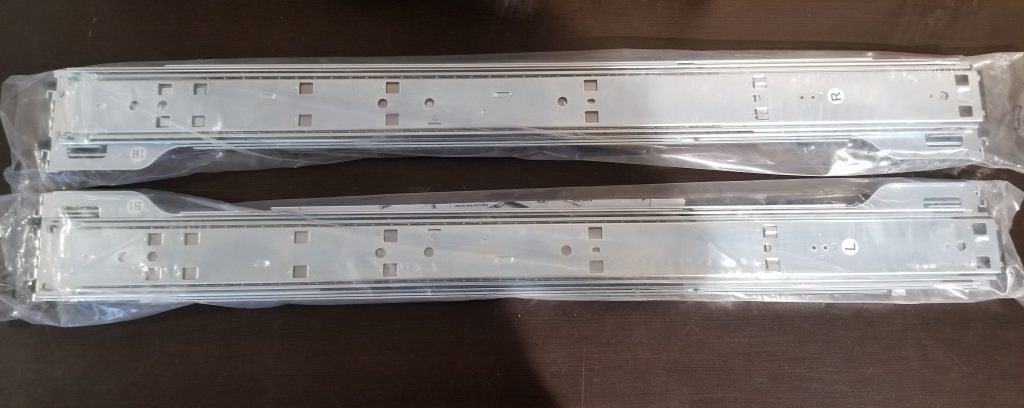
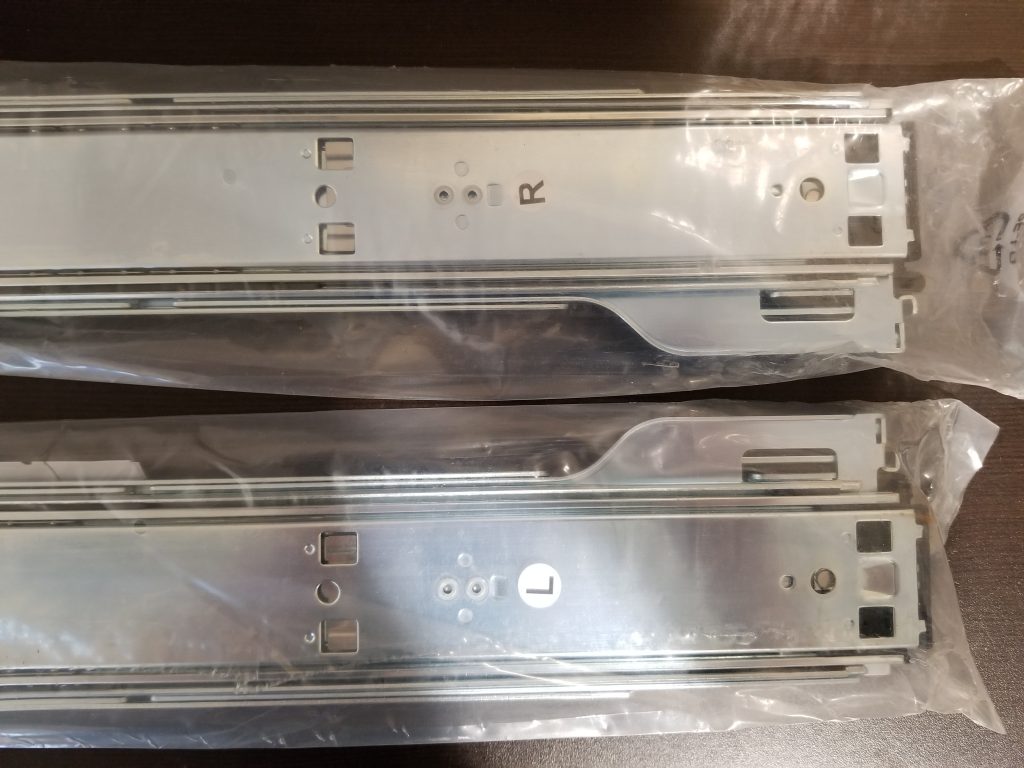
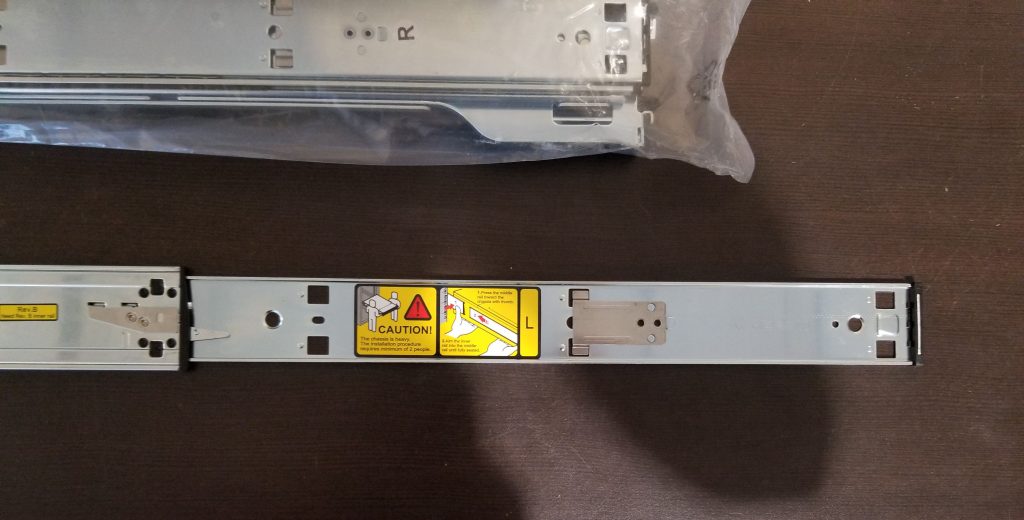
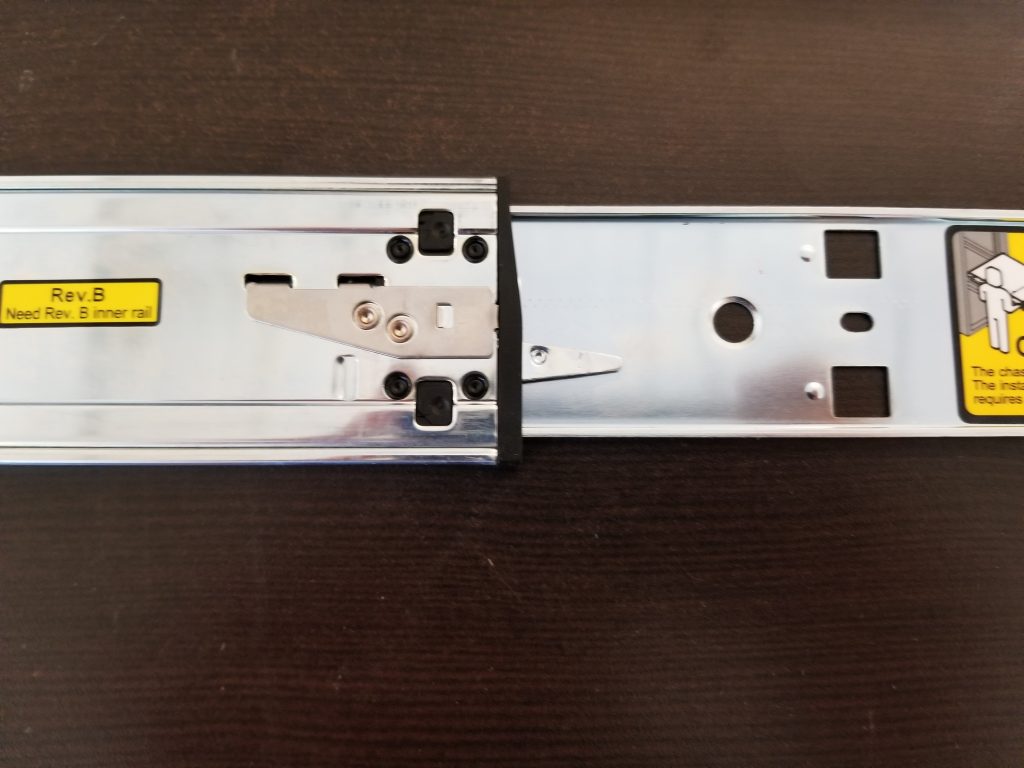
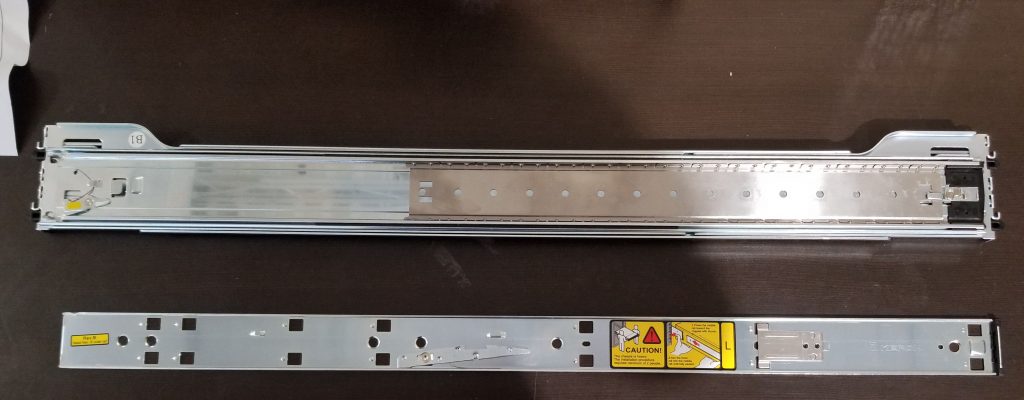
- Locate the screws on the side of the unit and unscrew them so you can put the rails in place.

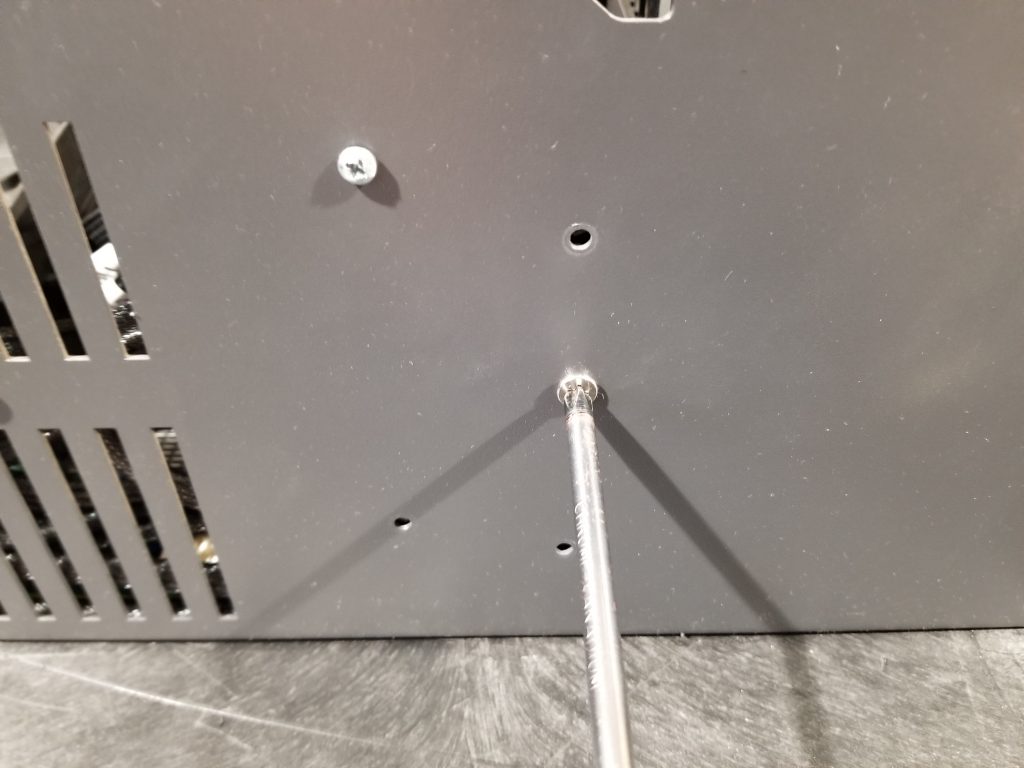
- The rails only go one way so make sure you put them in correctly. The rails should have indicators on them to show which side and which side is up.
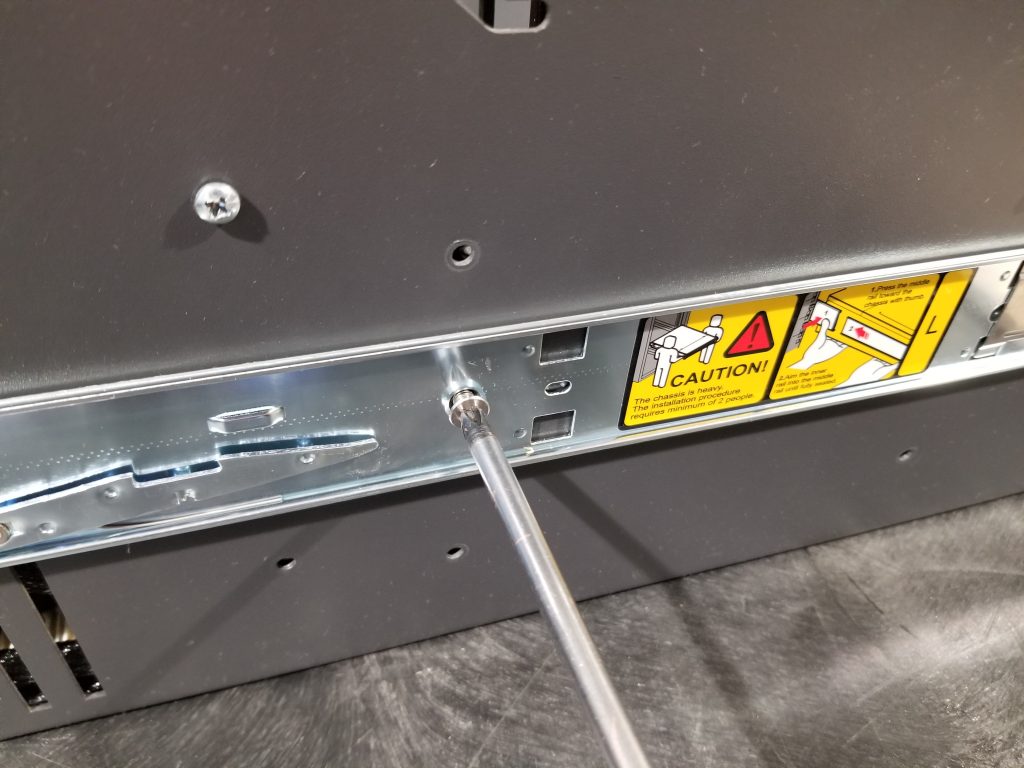
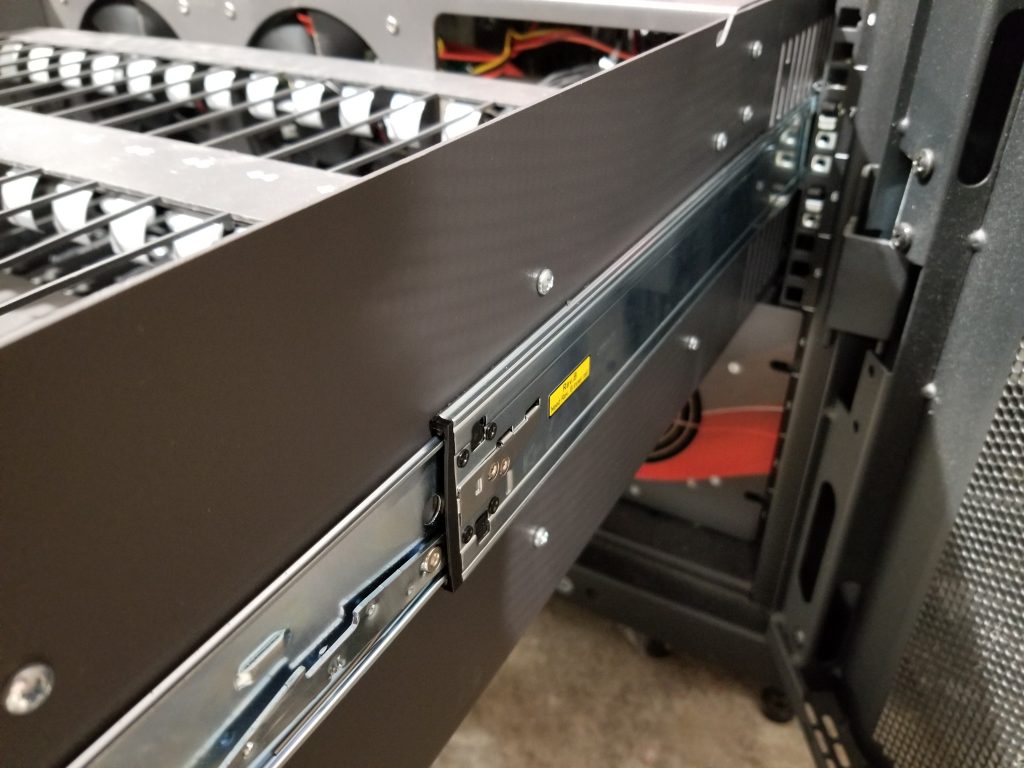
- Screw the screws back in their respective places, holding the rail as you do this. (It may be easier if one person holds the rail and a second person screws them in.)

- Once the rails are attached to the side of the unit, you can install the other piece of the rail into the rack. Once again there are indicators showing which way needs to be up and which side is which.
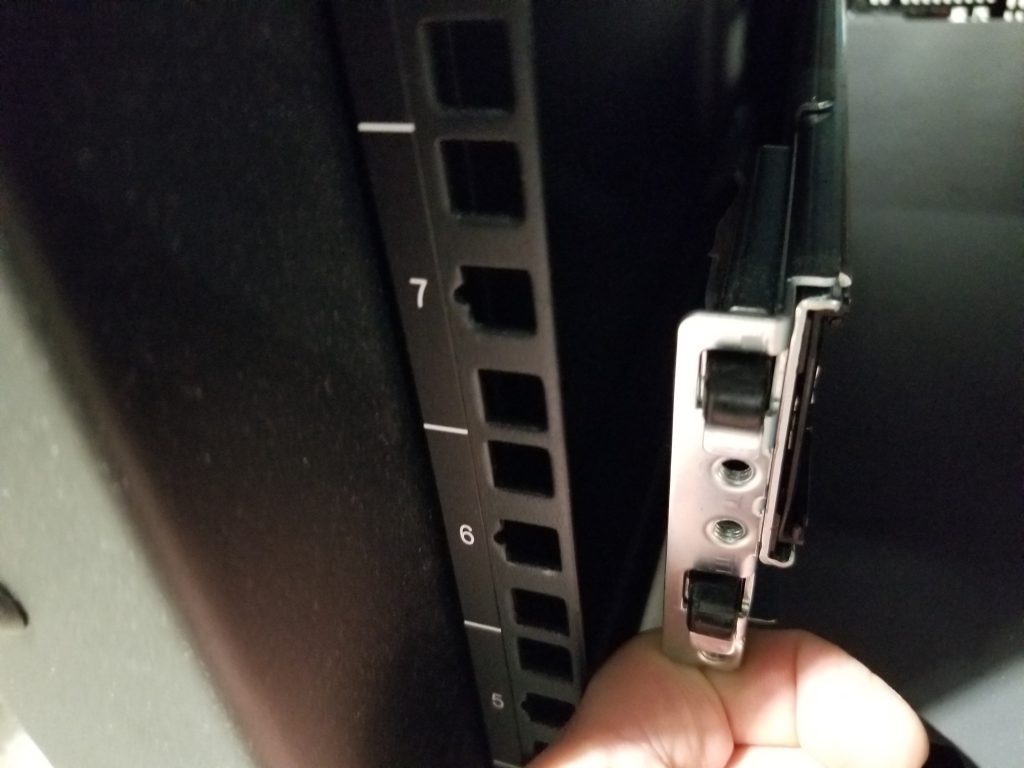
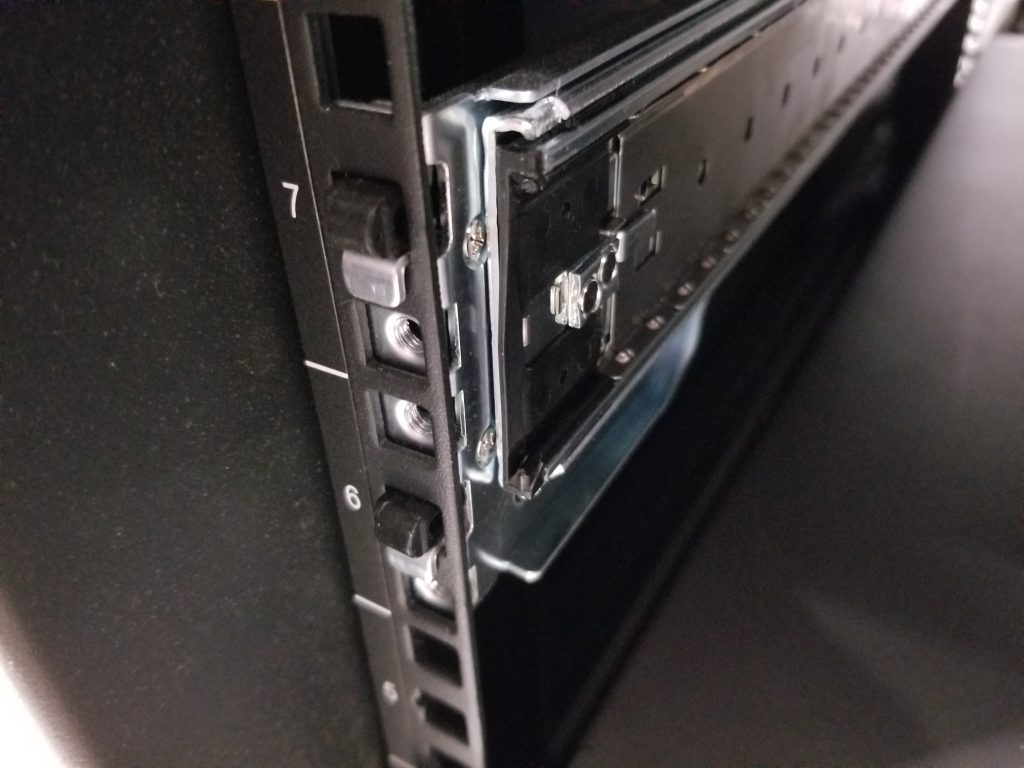
- After both parts are installed, its now time to connect them. This is either a 2 or 3 person job because you have to align the sides perfectly.
- Extend the rails on the rack to full length.
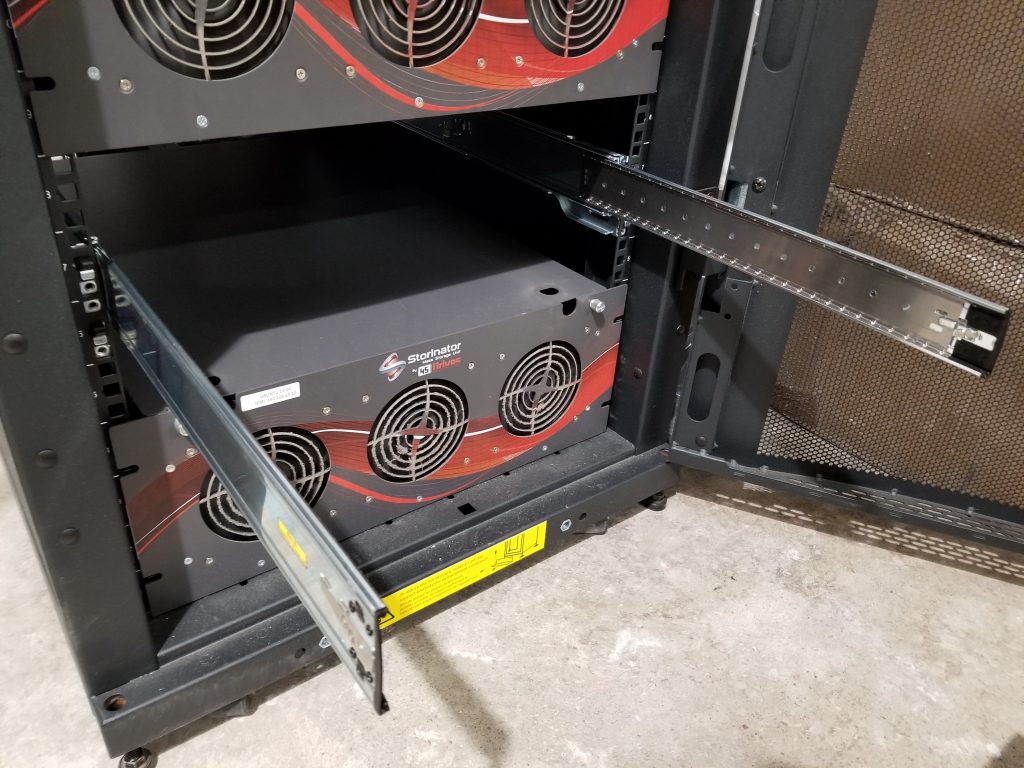
- Pick up the unit with another person and align the sides of the rails on the rack with the sides of the 45Drives unit. Make sure that the rails are on securely or the unit may fall.
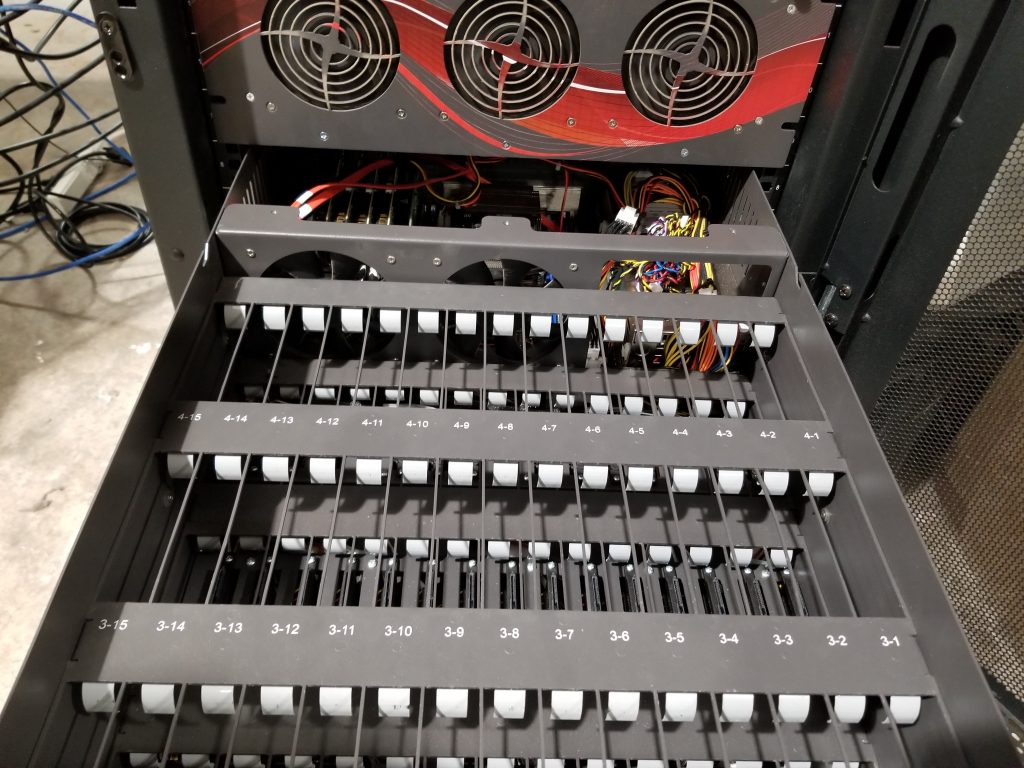
- Slide the unit onto the rails until you hear a click. You will then need to flip the latch to fully move the unit into the rack.
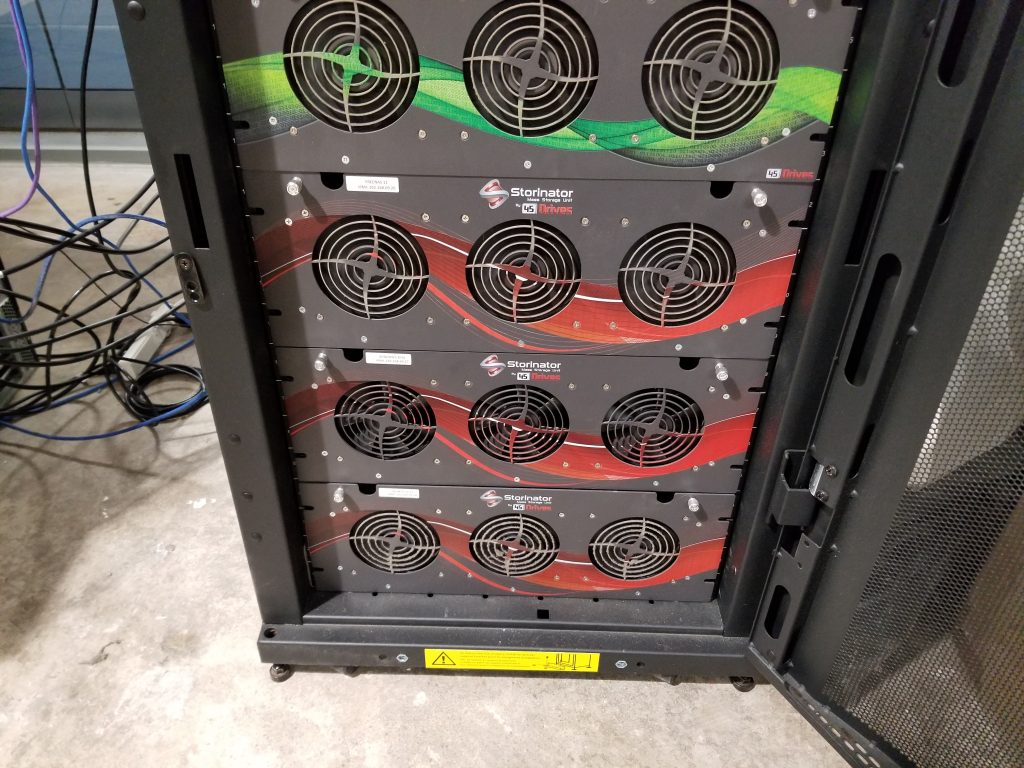
After the unit is racked the next step is to Insert the Storage Drives.
Views: 4324