Scope/Description
This document will walk through how 45Drives configures a Storinator using LSI 9361-16i HBA Cards along with Windows Storage spaces. We will walk through creating the RAID with MegaRAID Storage Manager, and then using Windows Storage Spaces to Stripe those RAIDs together to appear as one big Storage Volume.
Prerequisites
Must have Windows Server installed on your Storinator, along with LSI 9361-16i cards in RAID mode. All Storinators that leave 45Drives facility will have the MegaRAID Storage Manager pre installed on the OS.
Storinators are built such that each row is tied to a 16i LSI card, in this scenario it is the LSI 9361 Hardware RAID card. We will be building a 15 Drive RAID6 (dual parity) on each of these controllers. This means that an AV15 would have 1 controller, a Q30 would have 2 controllers, a S45 would have 3 controllers and a XL60 would have 4 controllers.
Steps
Creating Raid with MegaRAID
- Log into your Windows Server Administrator account. The default password assigned is 45Drives.
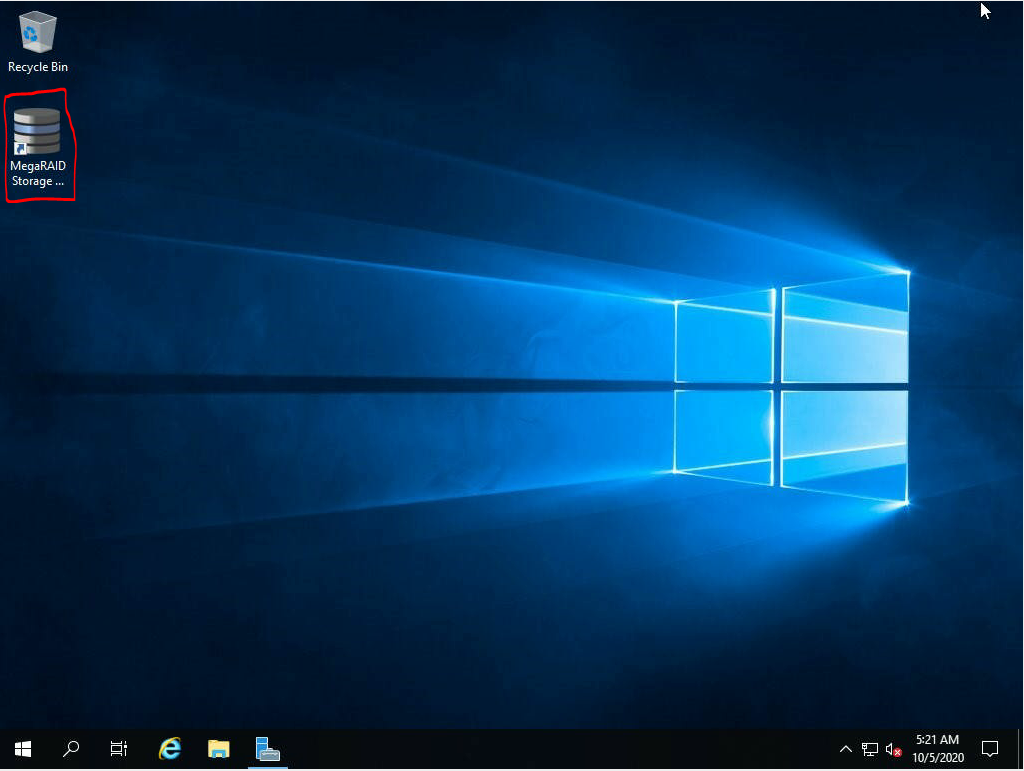
- Once you’re logged in, open up MegaRAID Storage Manager to start the process of creating your RAID volumes.
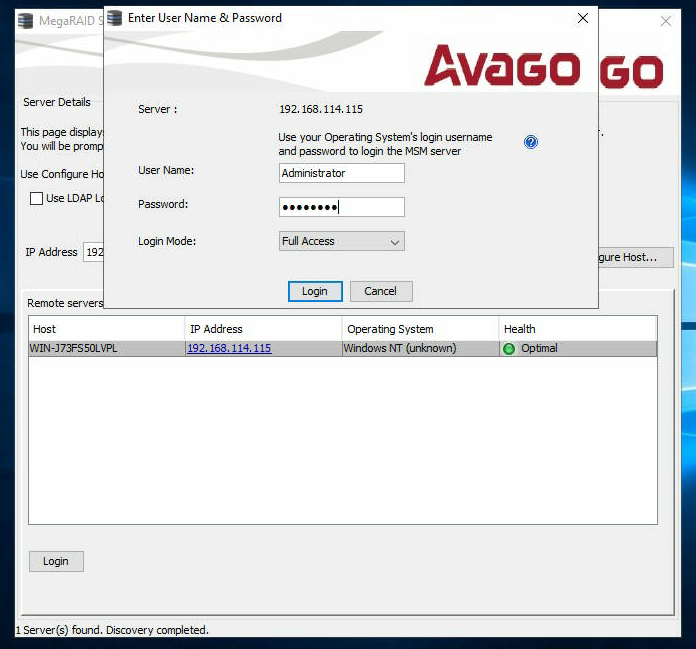
- You’ll see a list of remote servers when the login screen opens, click on the local machine and then enter the Windows server Administrator name and password.
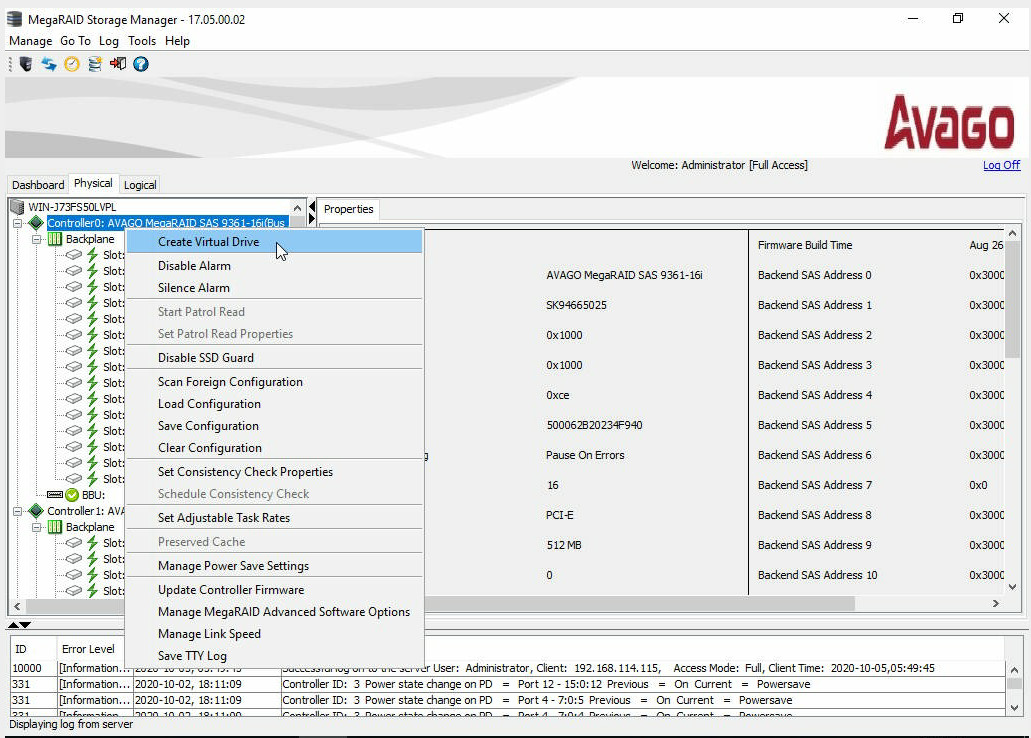
- Once logged in you’ll see the Dashboard giving some information of each card in the system. Click on the Physical tab circled in red below.
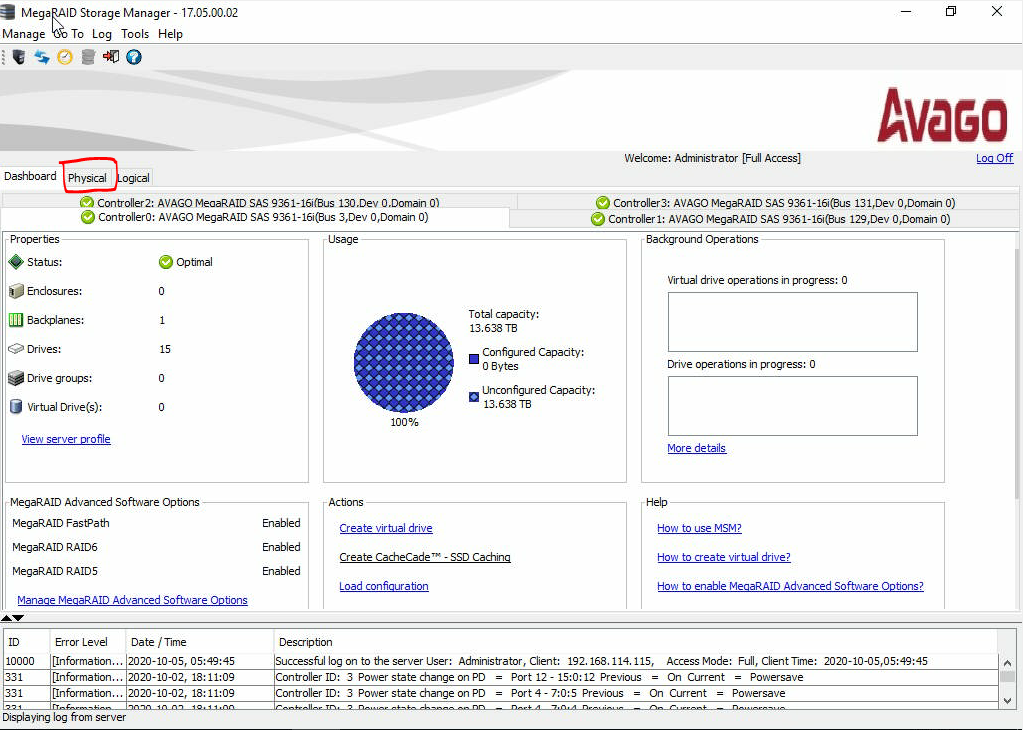
- Once on the Physical tab, you’ll see a break down of each drive connected to each controller. To create our RAID, right click on the Controller and select Create Virtual Drive
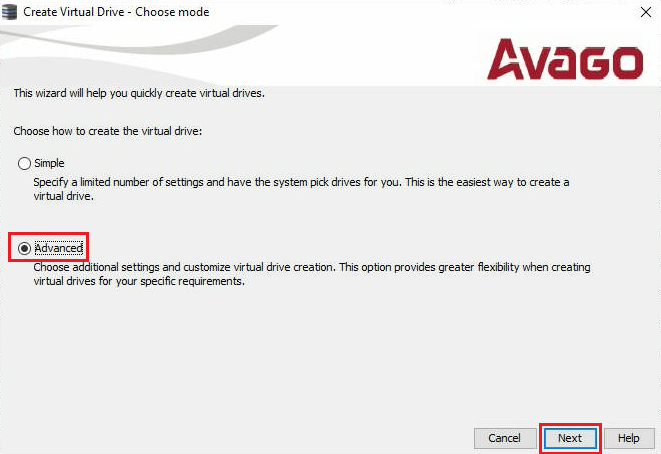
- Select the Advanced option and click Next
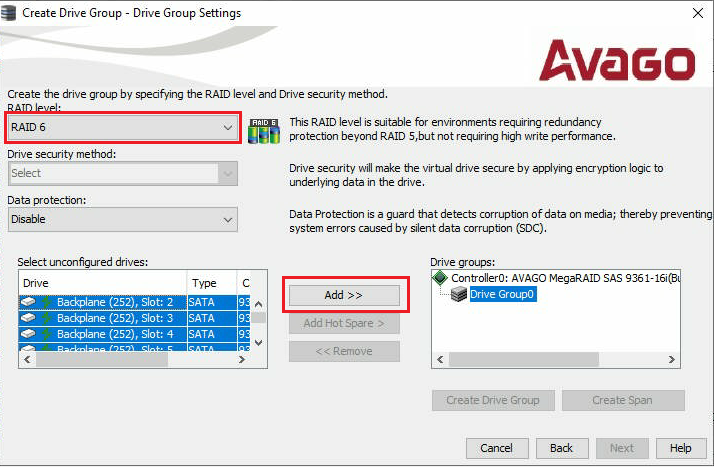
- Select RAID6 in the RAID Level drop down, and highlight all Unconfigured Drives in the list on the left – then click Add > > to add them to the RAID.
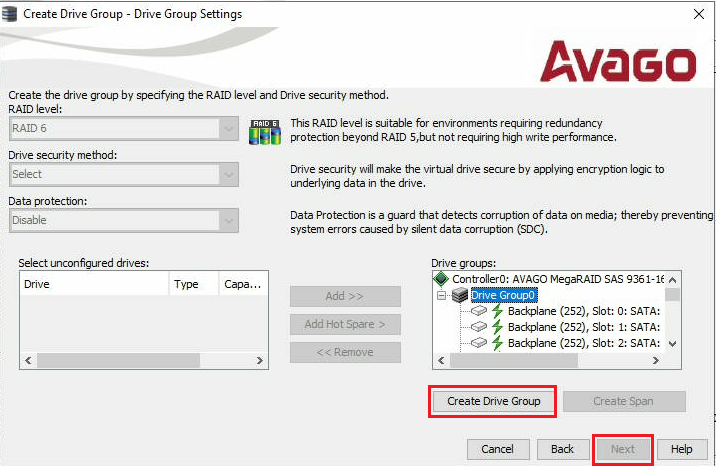
- Next you’ll need to click Create Drive Group – followed by Next.
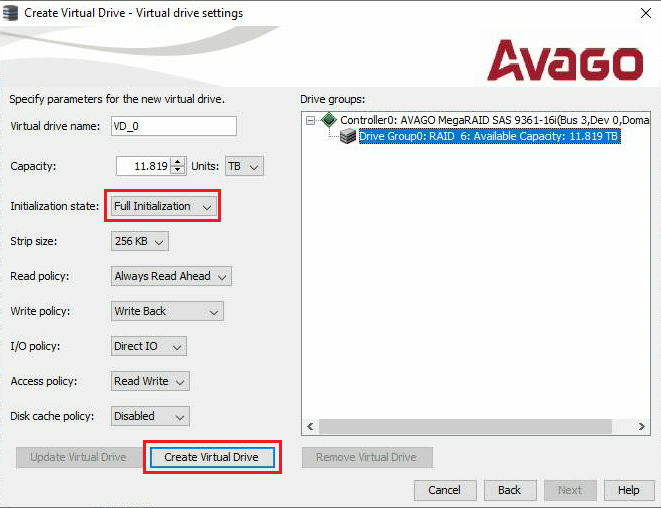
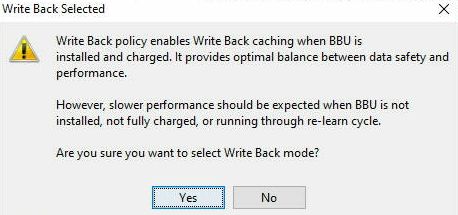
- Next you’ll be asked to set up some Virtual drive settings. The only setting we typically change here is to have a Full Initialization. Click Create Virtual Drive, you’ll be given a pop up warning about the Write Back policy which is fine as long as you have the Battery Back up backs in your machine (these are standard in our Storinators). To finish click Next.
- Then you’ll be presented with the summary, click Finish to finalize the creating of the RAID.
- Repeat this for each controller in the system. Every RAID should be the identical configuration and size as we’re going to Stripe them together using Storage Spaces.
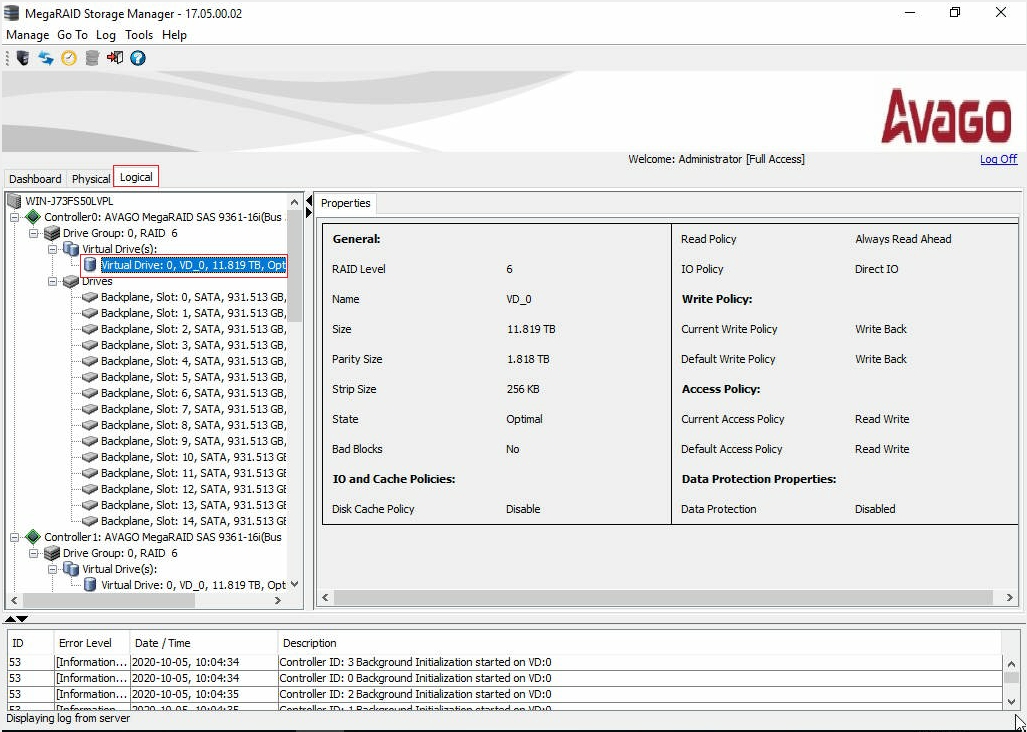
Note: Depending on the size of your disks, it could take several hours for the initialization to finish on your RAIDs, be patient. - If you head over to the Logical tab, you can see the RAIDs listed. If you click on a Virtual Drive it will provide its properties :
Striping Raids into one Volume and Formating File System
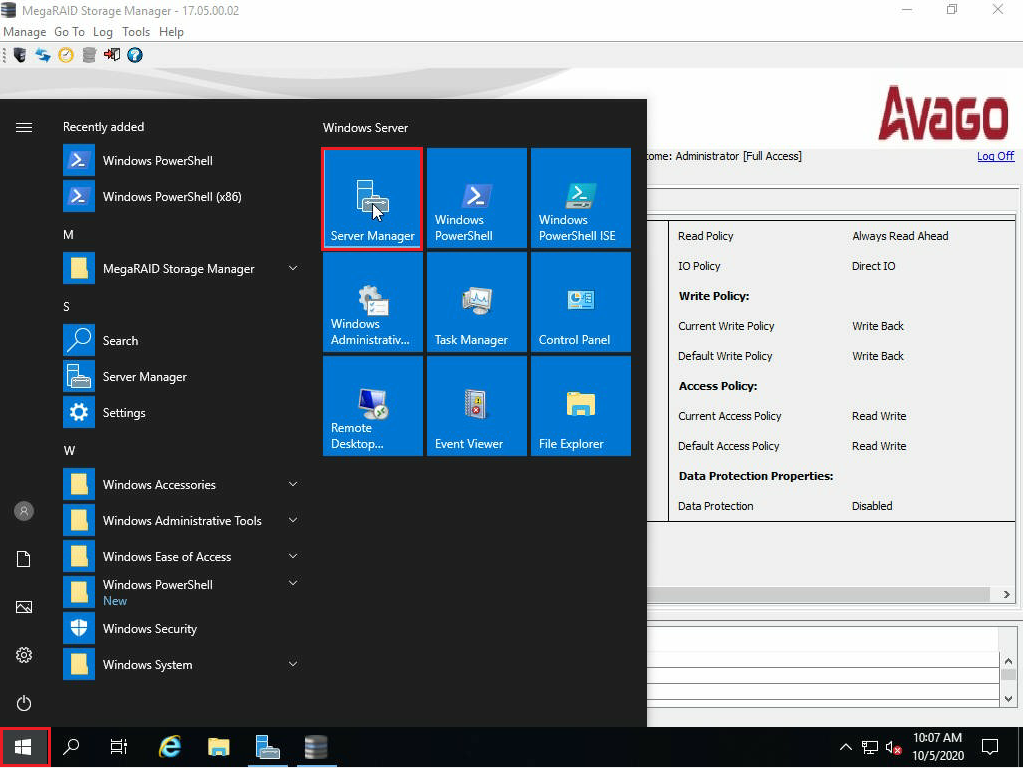
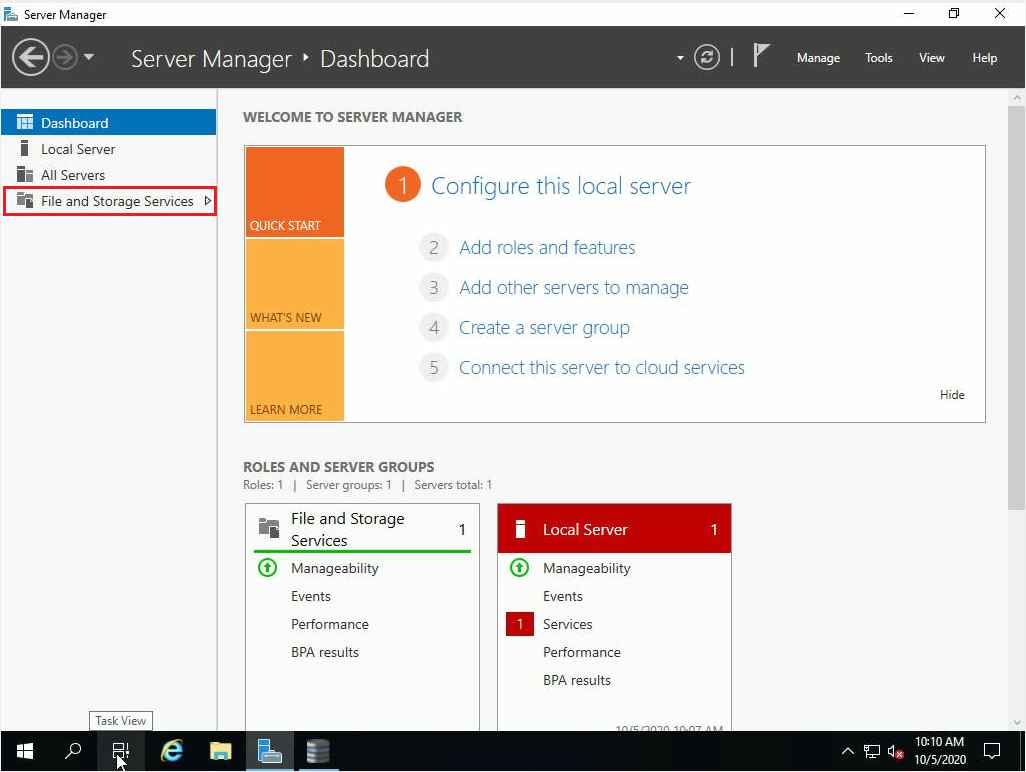
- Once all the initializations are done, we’re ready to use Windows Storage Spaces to Stripe the RAIDs together to appear as one big volume. Open the start menu and open up Server Manager.
- Navigate to the File and Storage Services tab in the list on the right hand side.
- Your RAIDs will show up as “Physical Disks”, we’re going to create a new Storage Pool made up of these disks (4 of them in this example). To do that, go down to the Storage Pools tab, and right click inside the Storage Pools box – select New Storage Pool…
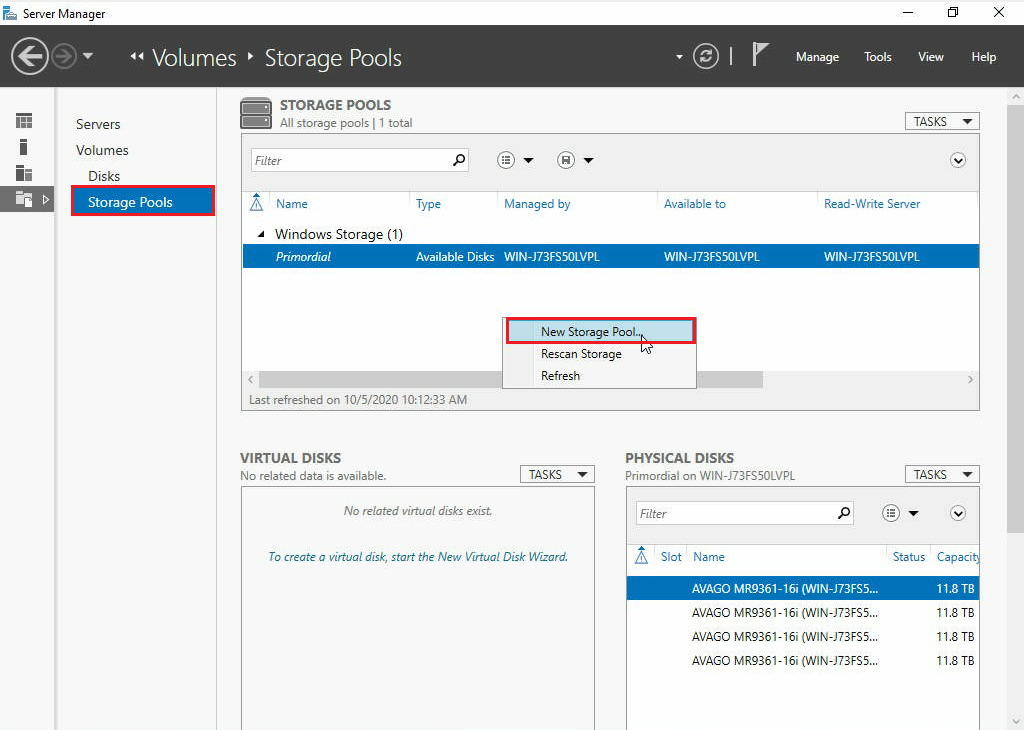
- First you’ll be asked to name the Storage Pool, we chose to use TANK. Next you’ll need to select the Physical Disks, like we mentioned above – we have 4 in this case. Check them all off and then click Next. Then click on Create.

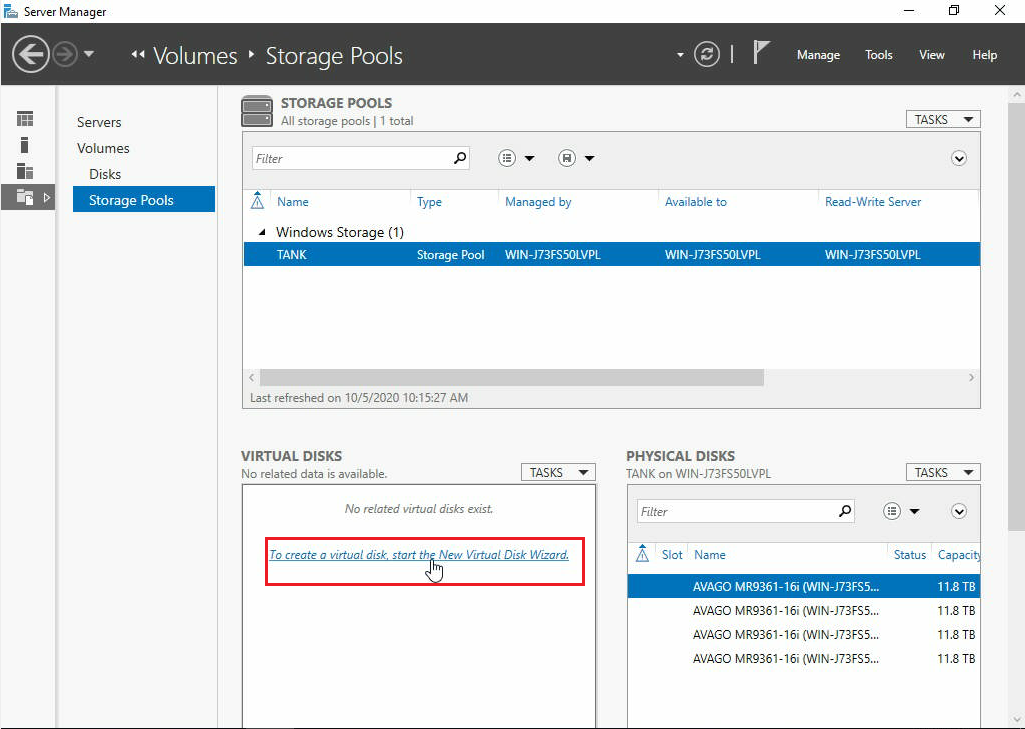
- Now that we have our Storage Pool created, we need to create a Virtual Disk. To do this, use the New Virtual Disk Wizard shown below:
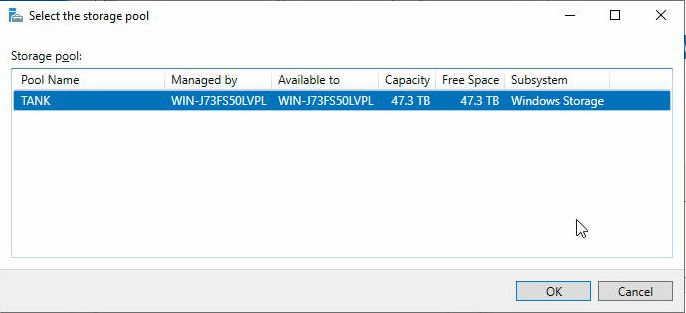
You’ll be prompted to select your Storage Pool – select the one that you just created and click OK.
- First you’ll need to pick a name for your virtual disk, in this example we’ll simply use VD_1.
- We do not enable enclosure awareness so we can just simply click Next.
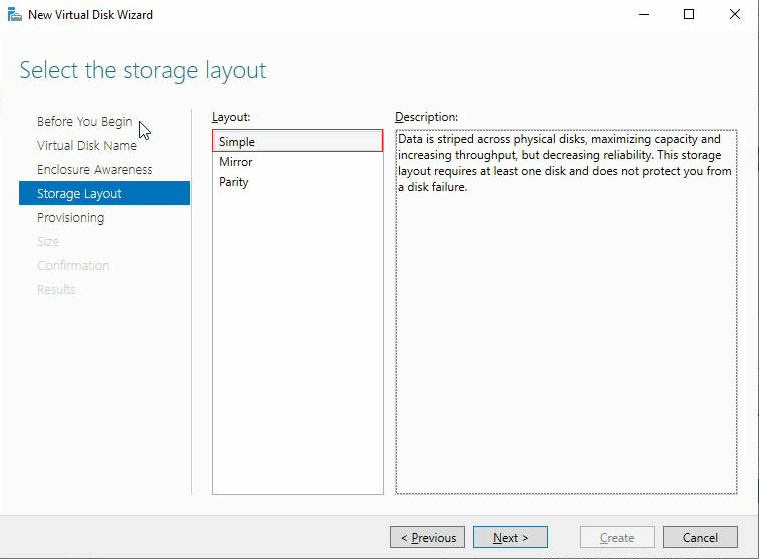
- In Storage Layout, we want to pick Simple. This will stripe the data across our RAID devices, maximizing capacity as well as throughput. Where we already have our data protection in the dual parity on each controller card, don’t be worried when Storage Spaces is saying that the simple layout isn’t as reliable.
- In provisioning, we’ll select Fixed for simplicity.
- In Size, select Maximum Size and then click Next
- The confirmation window will open up – review the selections and click Create if you’re happy with everything

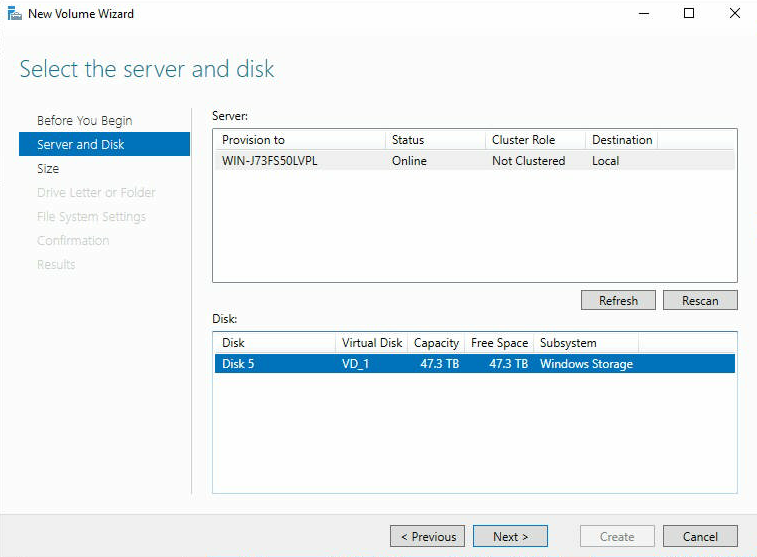
- Once it’s finished, it should automatically open up the New Volume Wizard. Make sure to select your Virtual Disk (VD_1 in this example)
- For the size, it defaults to the maximum size – so we’ll just keep that and click on Next.
- You’ll be asked if you want to assign a Drive Letter to your new volume, or if you would like to assign it to a folder. You also have the option to not assign either.
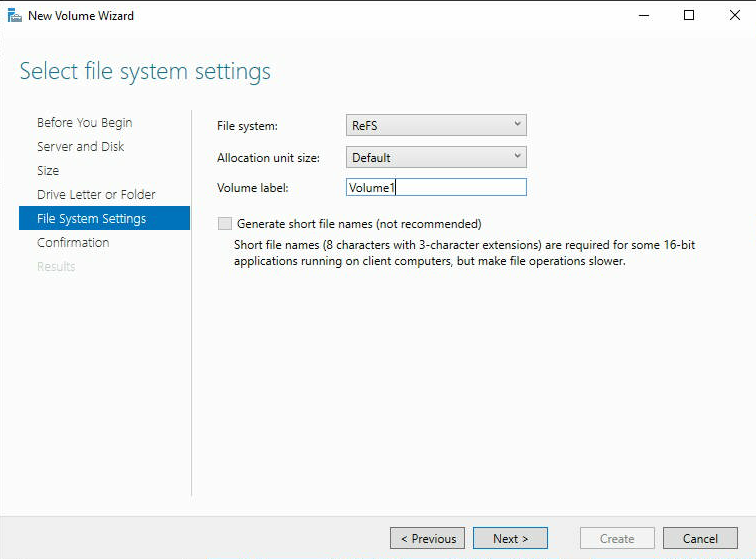
- Choosing the File system type is next. NTFS and ReFS are the two options, NTFS has a maximum size of 256TB, so if your volume is any larger than that you’ll need to go with ReFS. Although our Volume is only in the 40TB range in this example, I’ll go with ReFS as the majority of Storinators would be getting deployted with over 256TB volumes.
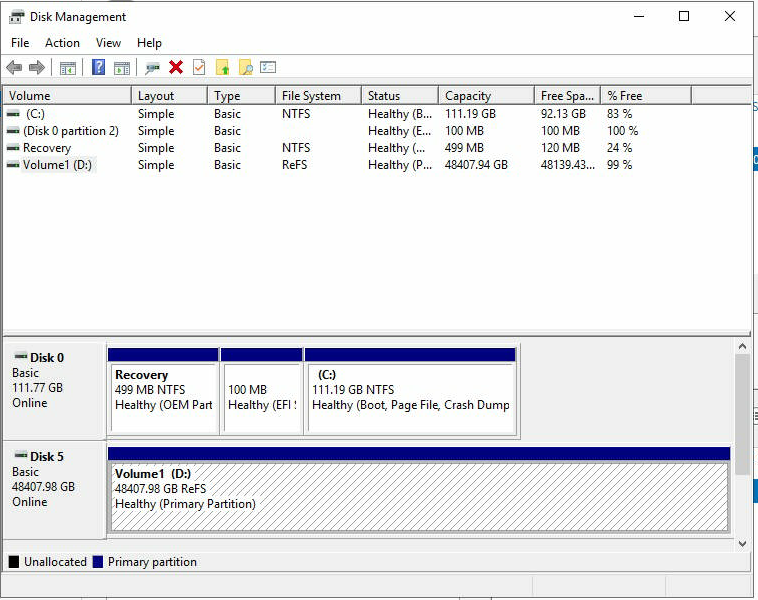
- Review the settings in the Confirmation tab and then click Create. Once it finishes the volume will be mounted where you chose it to be
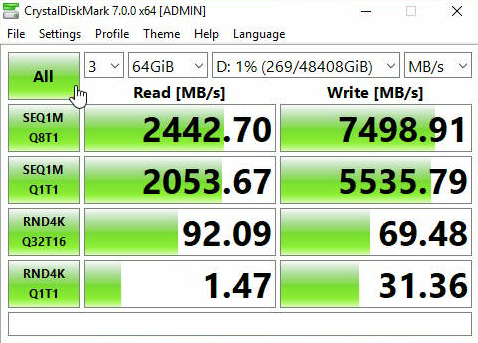
- Below is a quick local benchmark of the volume using CrystalDiskMark