Scope/Description
- This guide will show how the process of installating Proxmox on redundant boot drives.
Prerequisites
- Proxmox 6 ISO
Steps
Installing the OS
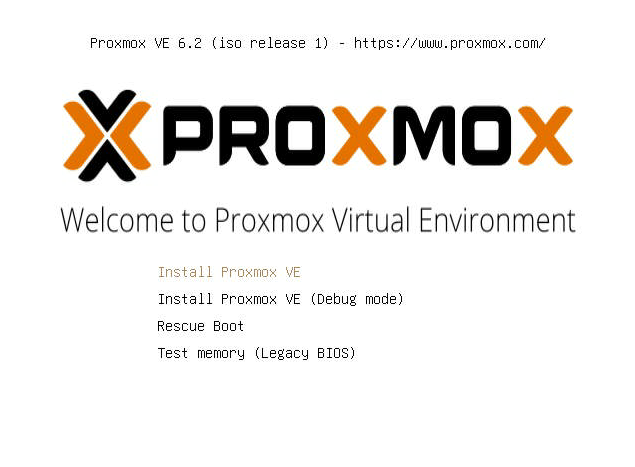
- Once we boot into the installation media, we’ll be greeted by the Proxmox Installation screen. Once here, we can select Install Proxmox VE. This will begin the installation, which will take a few minutes before we arrive at the next screen.
- Once the installation has completed successfully, we’ll see the EULA for Proxmox, which we will accept.

Configuring boot drives
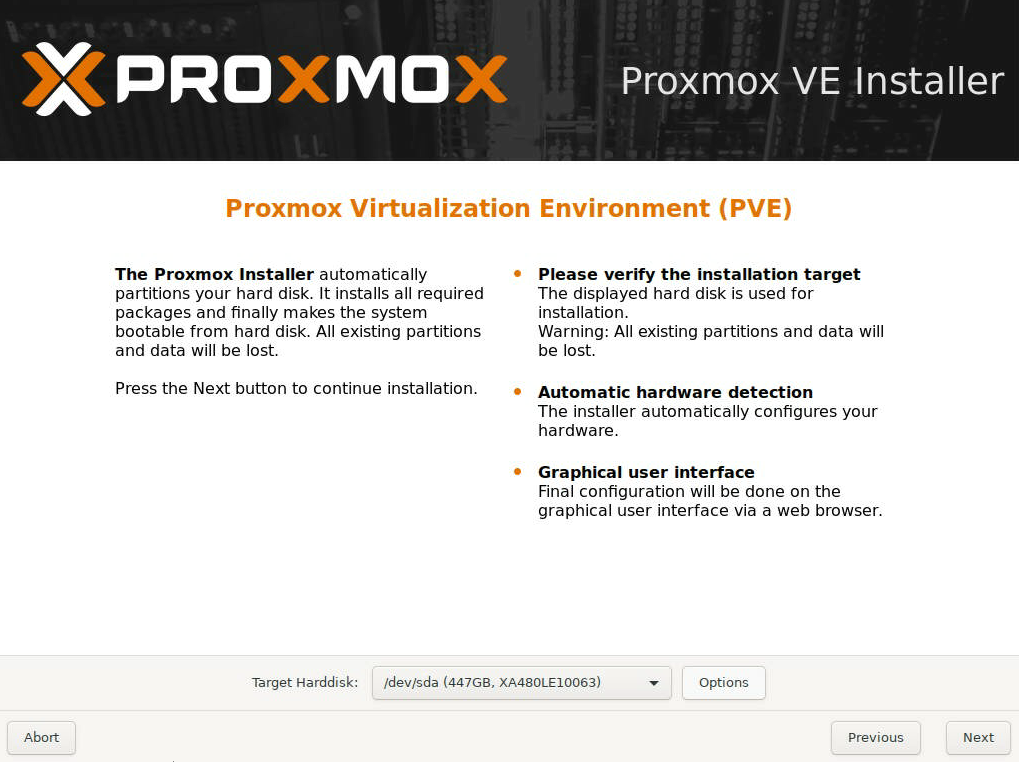
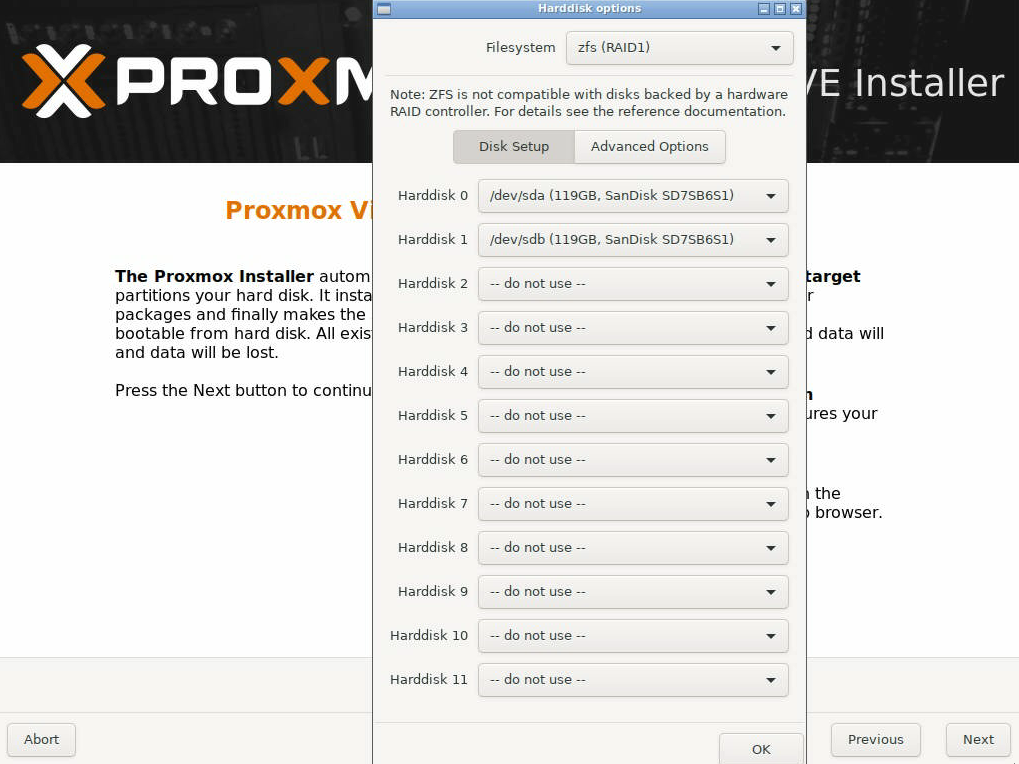
- Next, we’re going to specify the installation of the boot drive for Proxmox. For this guide, I am going to use a ZFS RAID1.
- We will select the options, and then change the filesystem to RAID1.
- Once this is done, we can select the disks we’re using for the boot drives, and select ok.
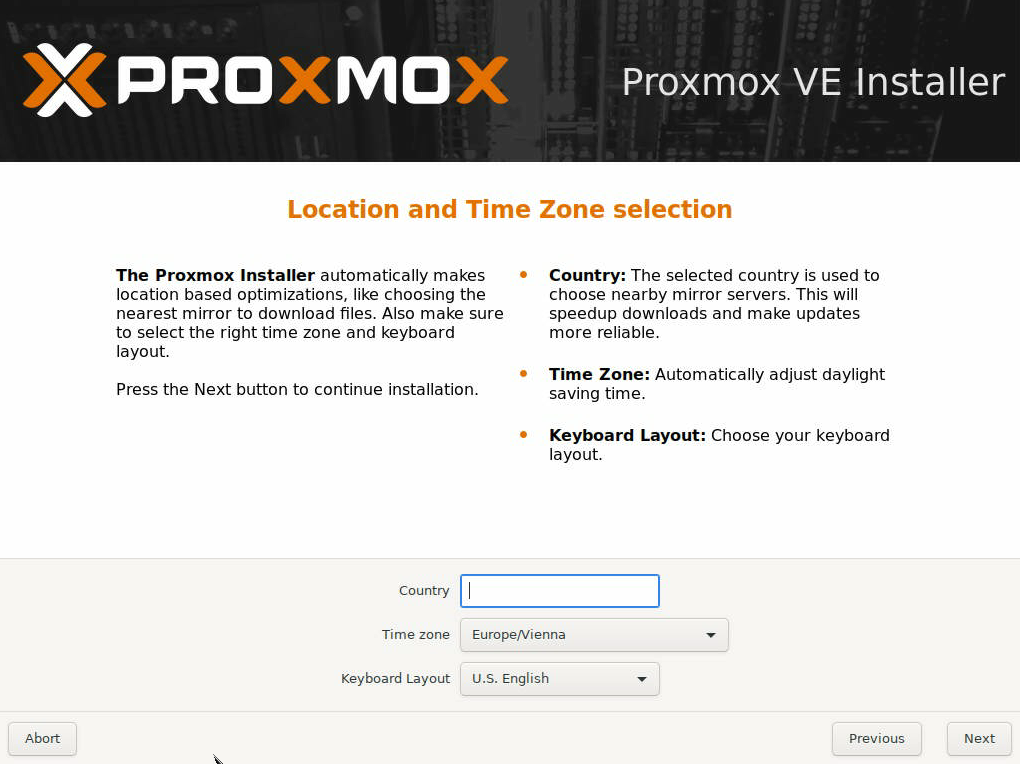
- We’ll select the location for the Proxmox server here, then select next.
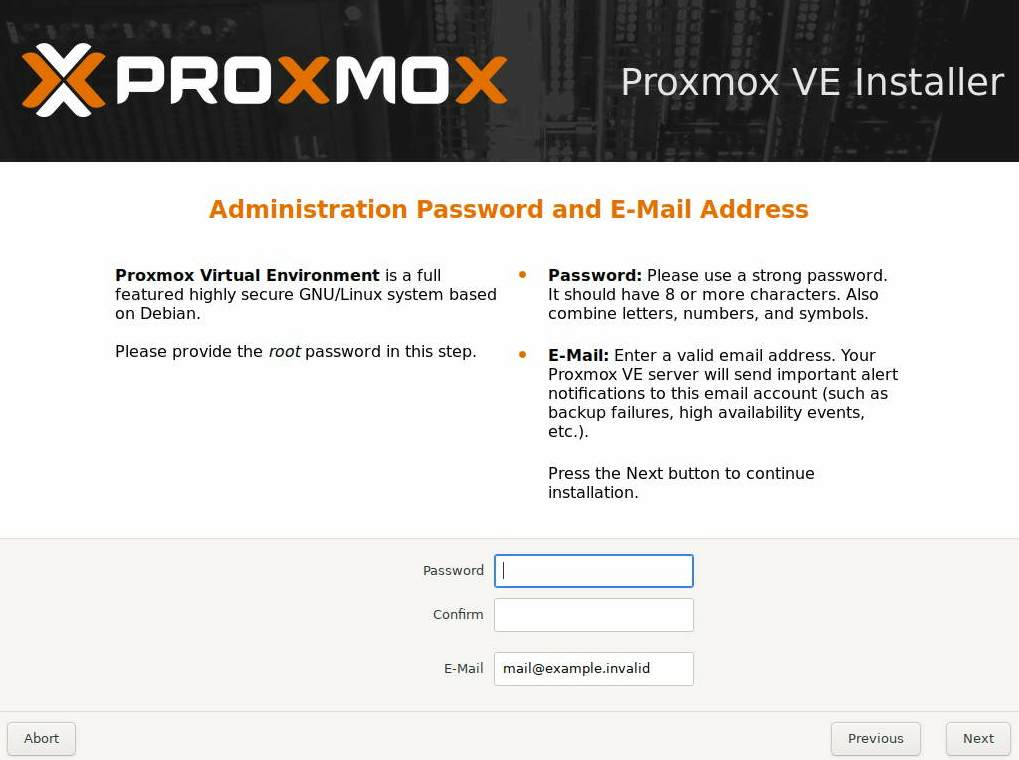
- Next, we’ll enter an administration password for Proxmox, as well as an email address for the Proxmox server to send notifications about the server to.
Configuring management network
- Next we’ll configure the interface that Proxmox will be hosted/managed on. We have to specify which interface it will be on, Hostname, IP Address, Subnet Mask, and Default Gateway.
Note that this can be a separate interface(s) dedicated for management, or it can be on the same interface(s) you would have your VMs communicate on.

Review Configuration Settings
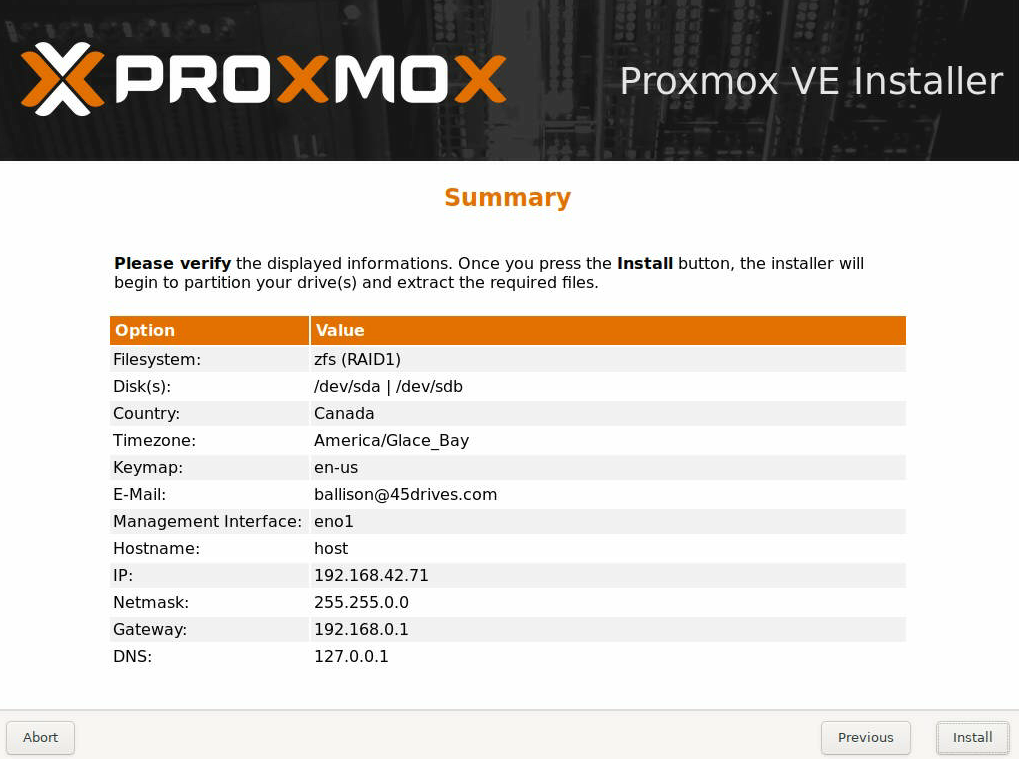
- Now we can review all of our settings and ensure they are correct. Once we do this, we can then begin the installation!
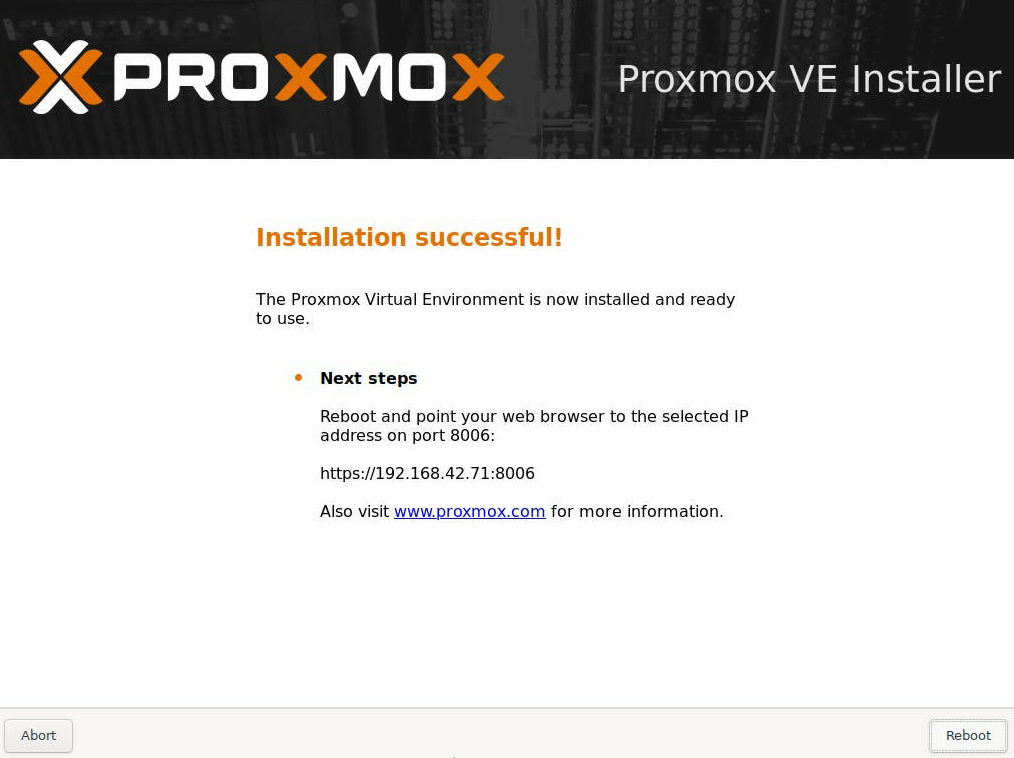
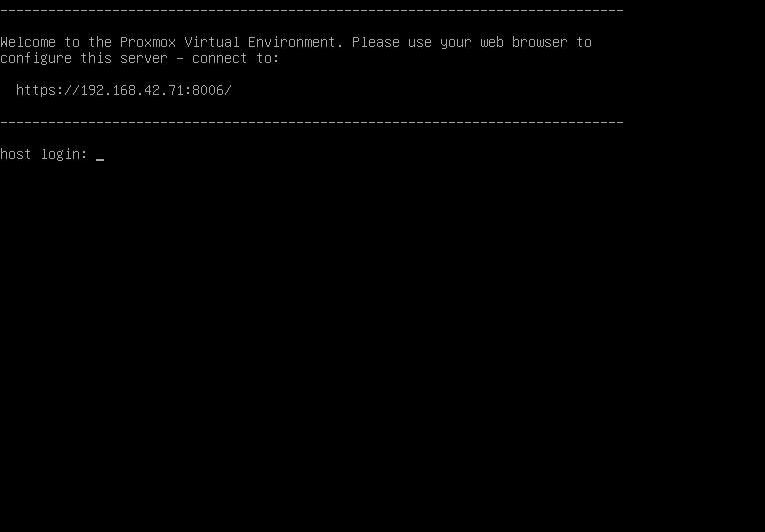
- The server will require a reboot, however once it reboots, we should be greeted by this screen.
Accessing Web Management Interface
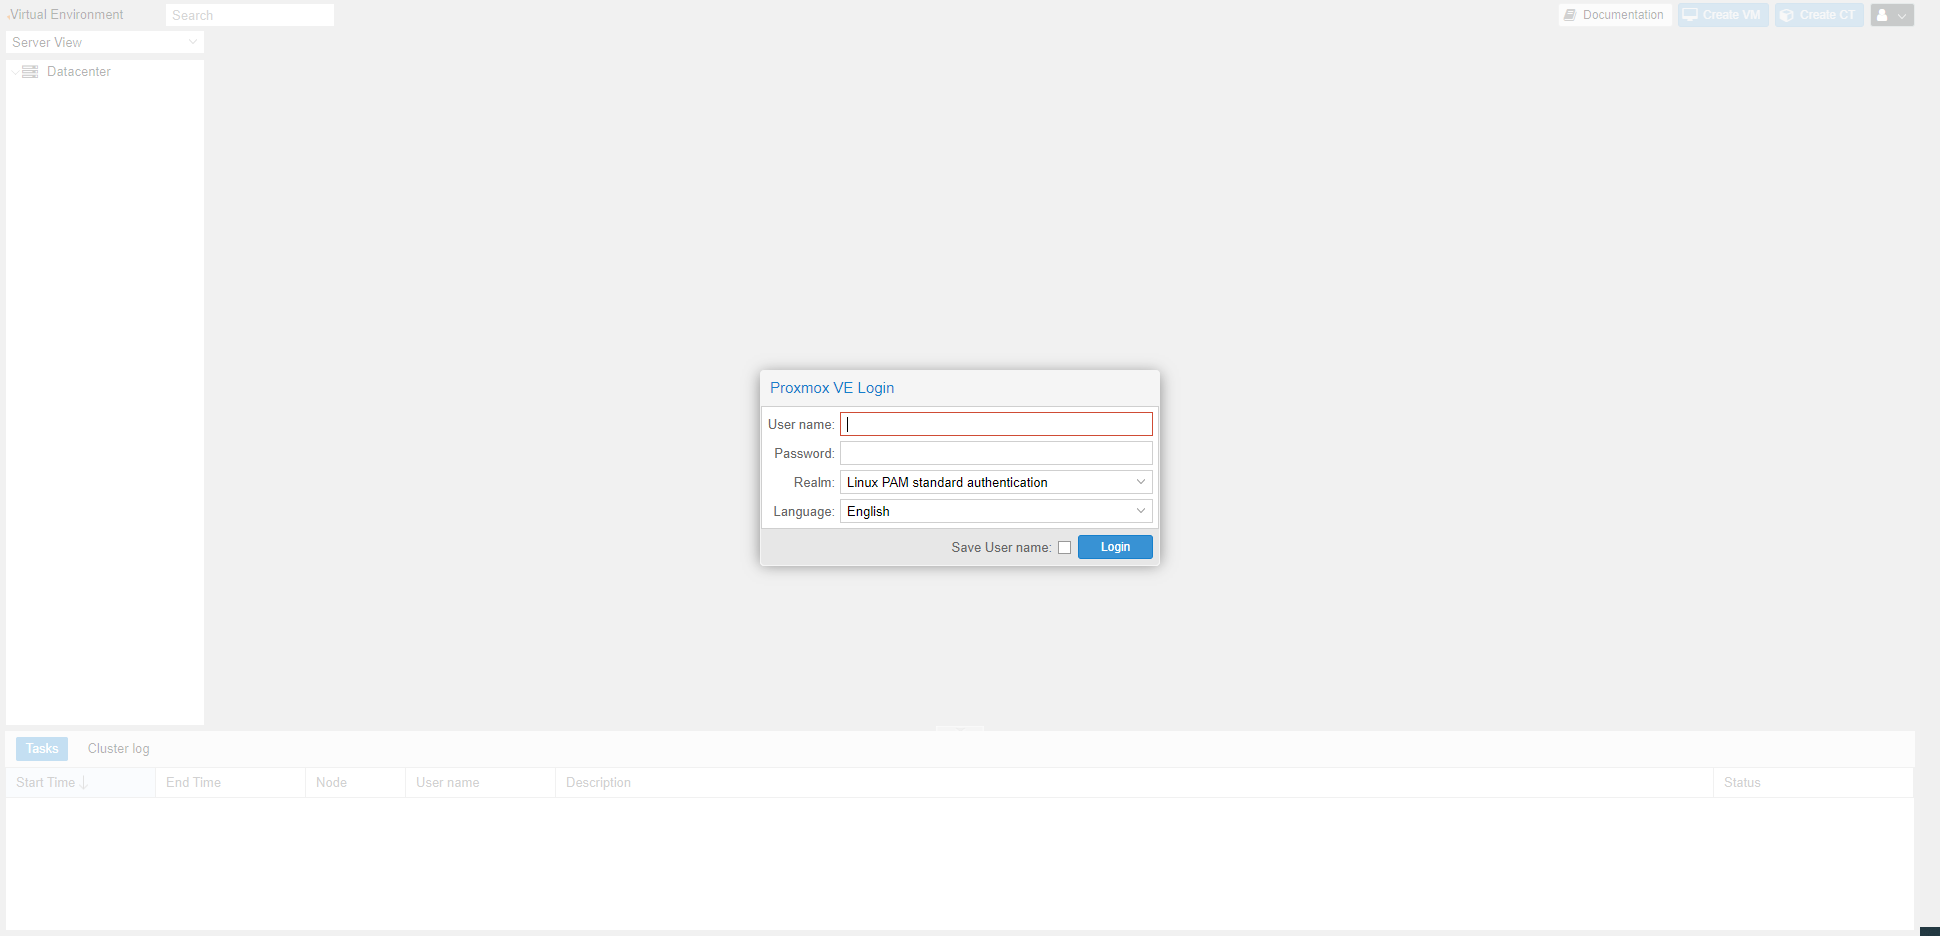
- Once we navigate to the address specified, https://SERVER-IP:8006, we can now access the Proxmox interface.
Troubleshooting
- With a zfs/RAID1 boot drive, it’s possible when initially rebooting the boot drive pool may not import successfully. This will leave you at intramfs, which you can then enter “zpool import -N rpool” to import the pool.
zpool import -N rpool
- Once this is done we can check “zpool list” to verify the pool is there.
zpool list
- Then “exit” to continue the boot process.
exit
- If the incorrect interface/IP is selected during the config, we’ll have to enter the shell on the Proxmox server, and edit /etc/network/interfaces to point to the correct IP/network interface. Once you specify the correct information, we’ll then have to do “systemctl networking restart” to refresh the networking,
systemctl networking restart
- Then we can check “ip a” to verify the correct settings are there.
ip a
Views: 2498