Table of Contents
Scope/Description
- This article will cover how to remove and replace a backplane in a Storinator
Prerequisites
- A Storinator
- Replacement Backplane
- Philips Head Screwdriver
Steps
- Power down the Storinator
- Unplug the power cord
- Remove the HDD’s in the row you are replacing
- Remove the 4 screws on each side of the row holding in the drive cage
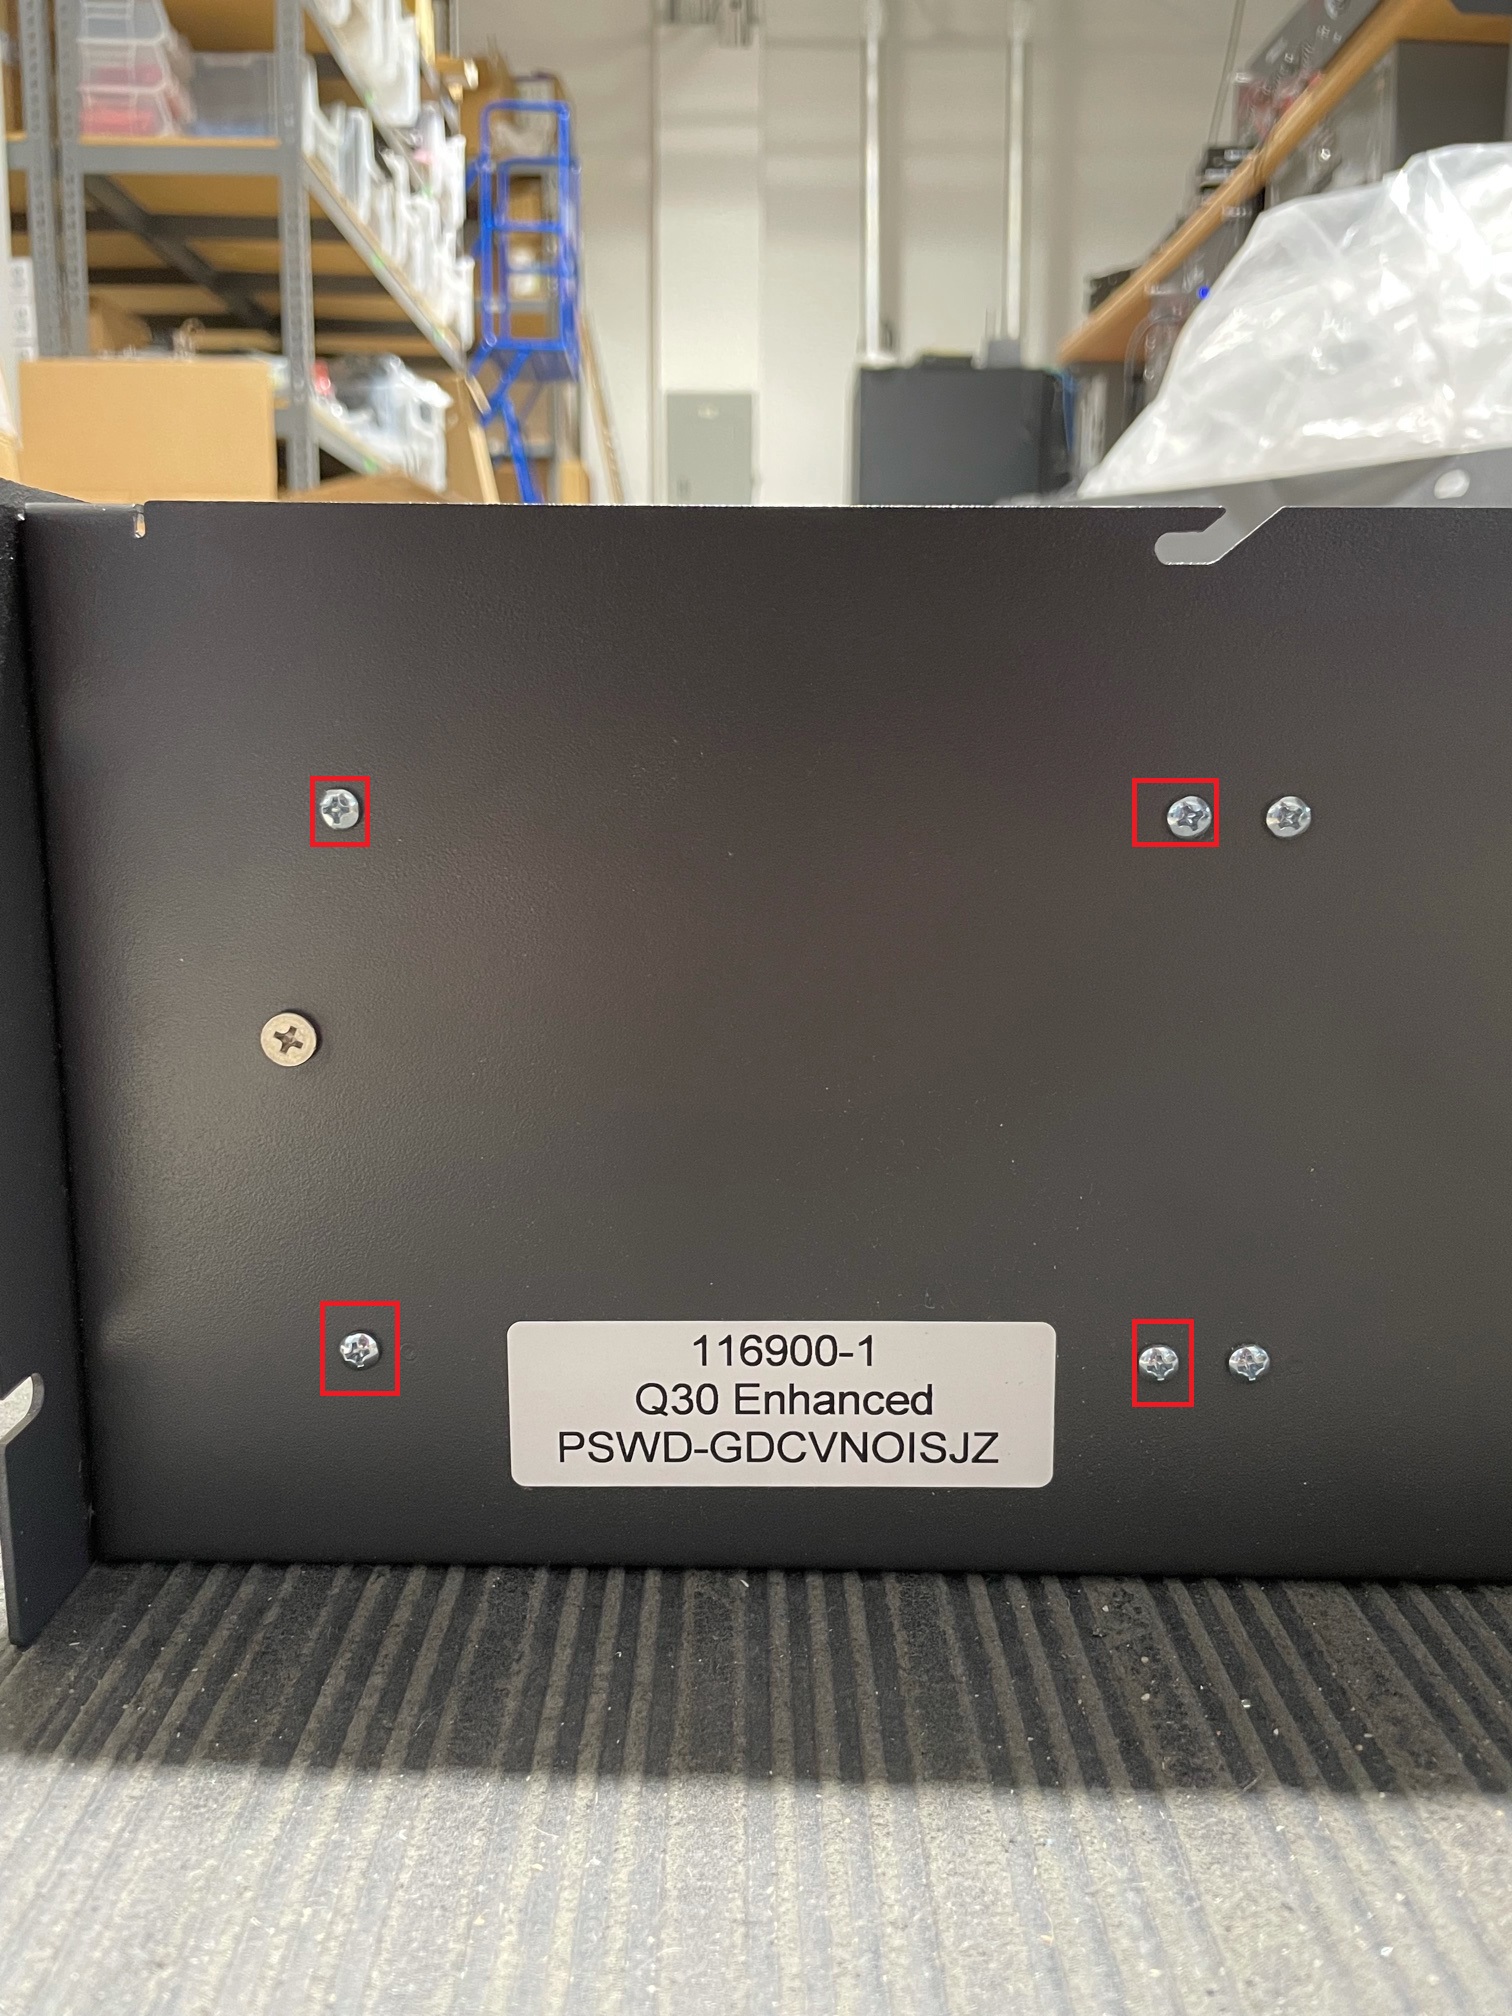
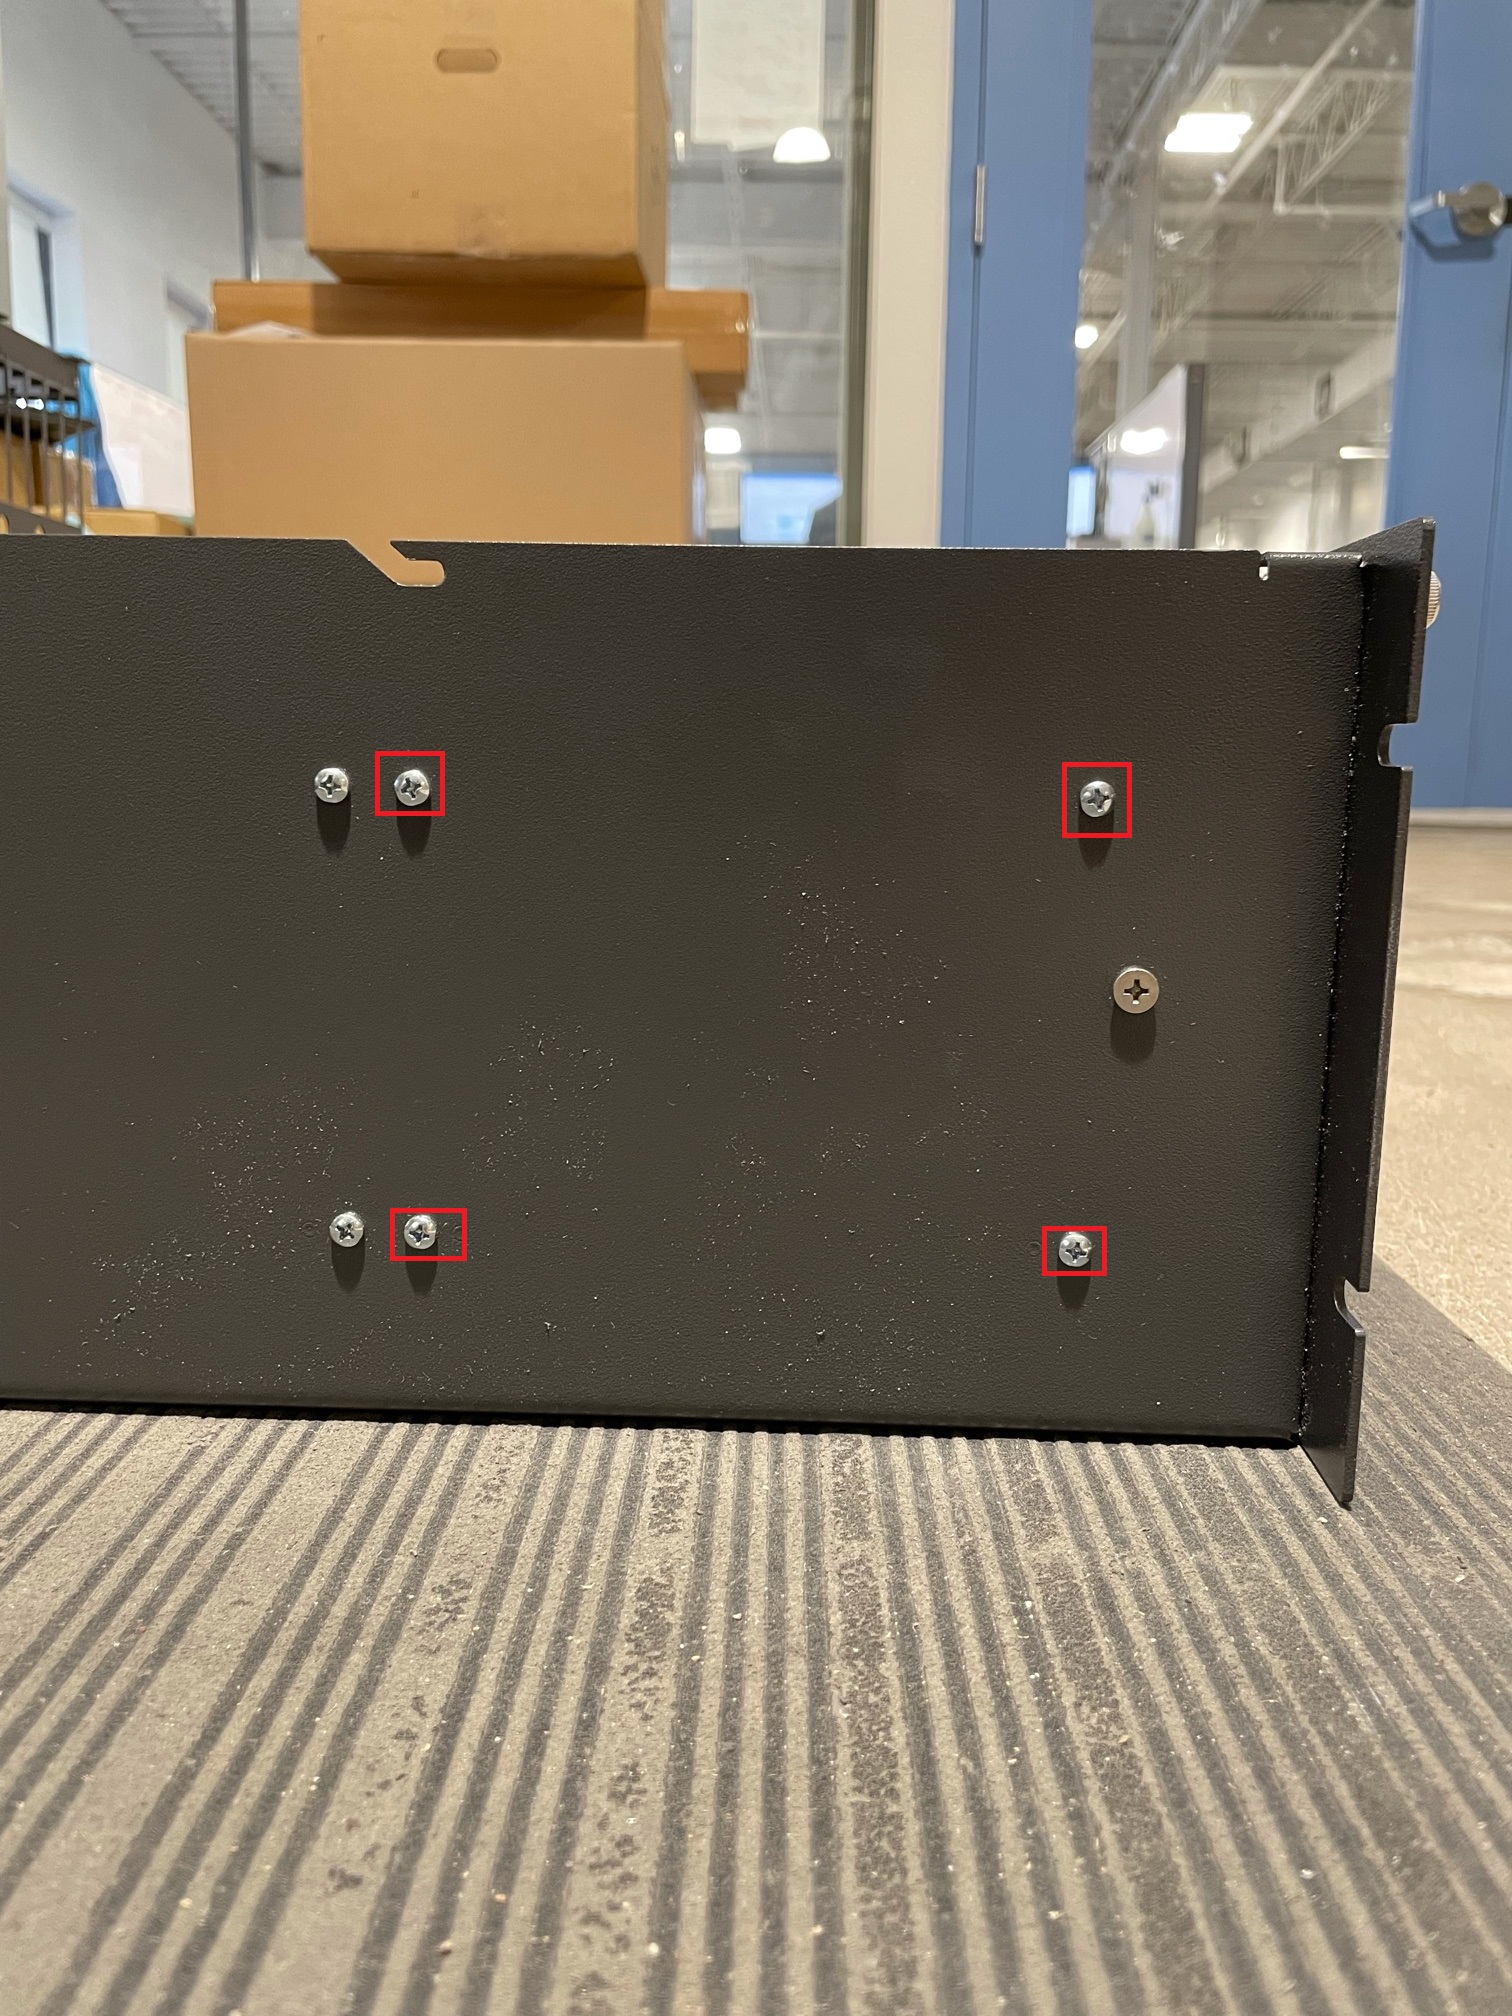
- Lift the drive cage straight up
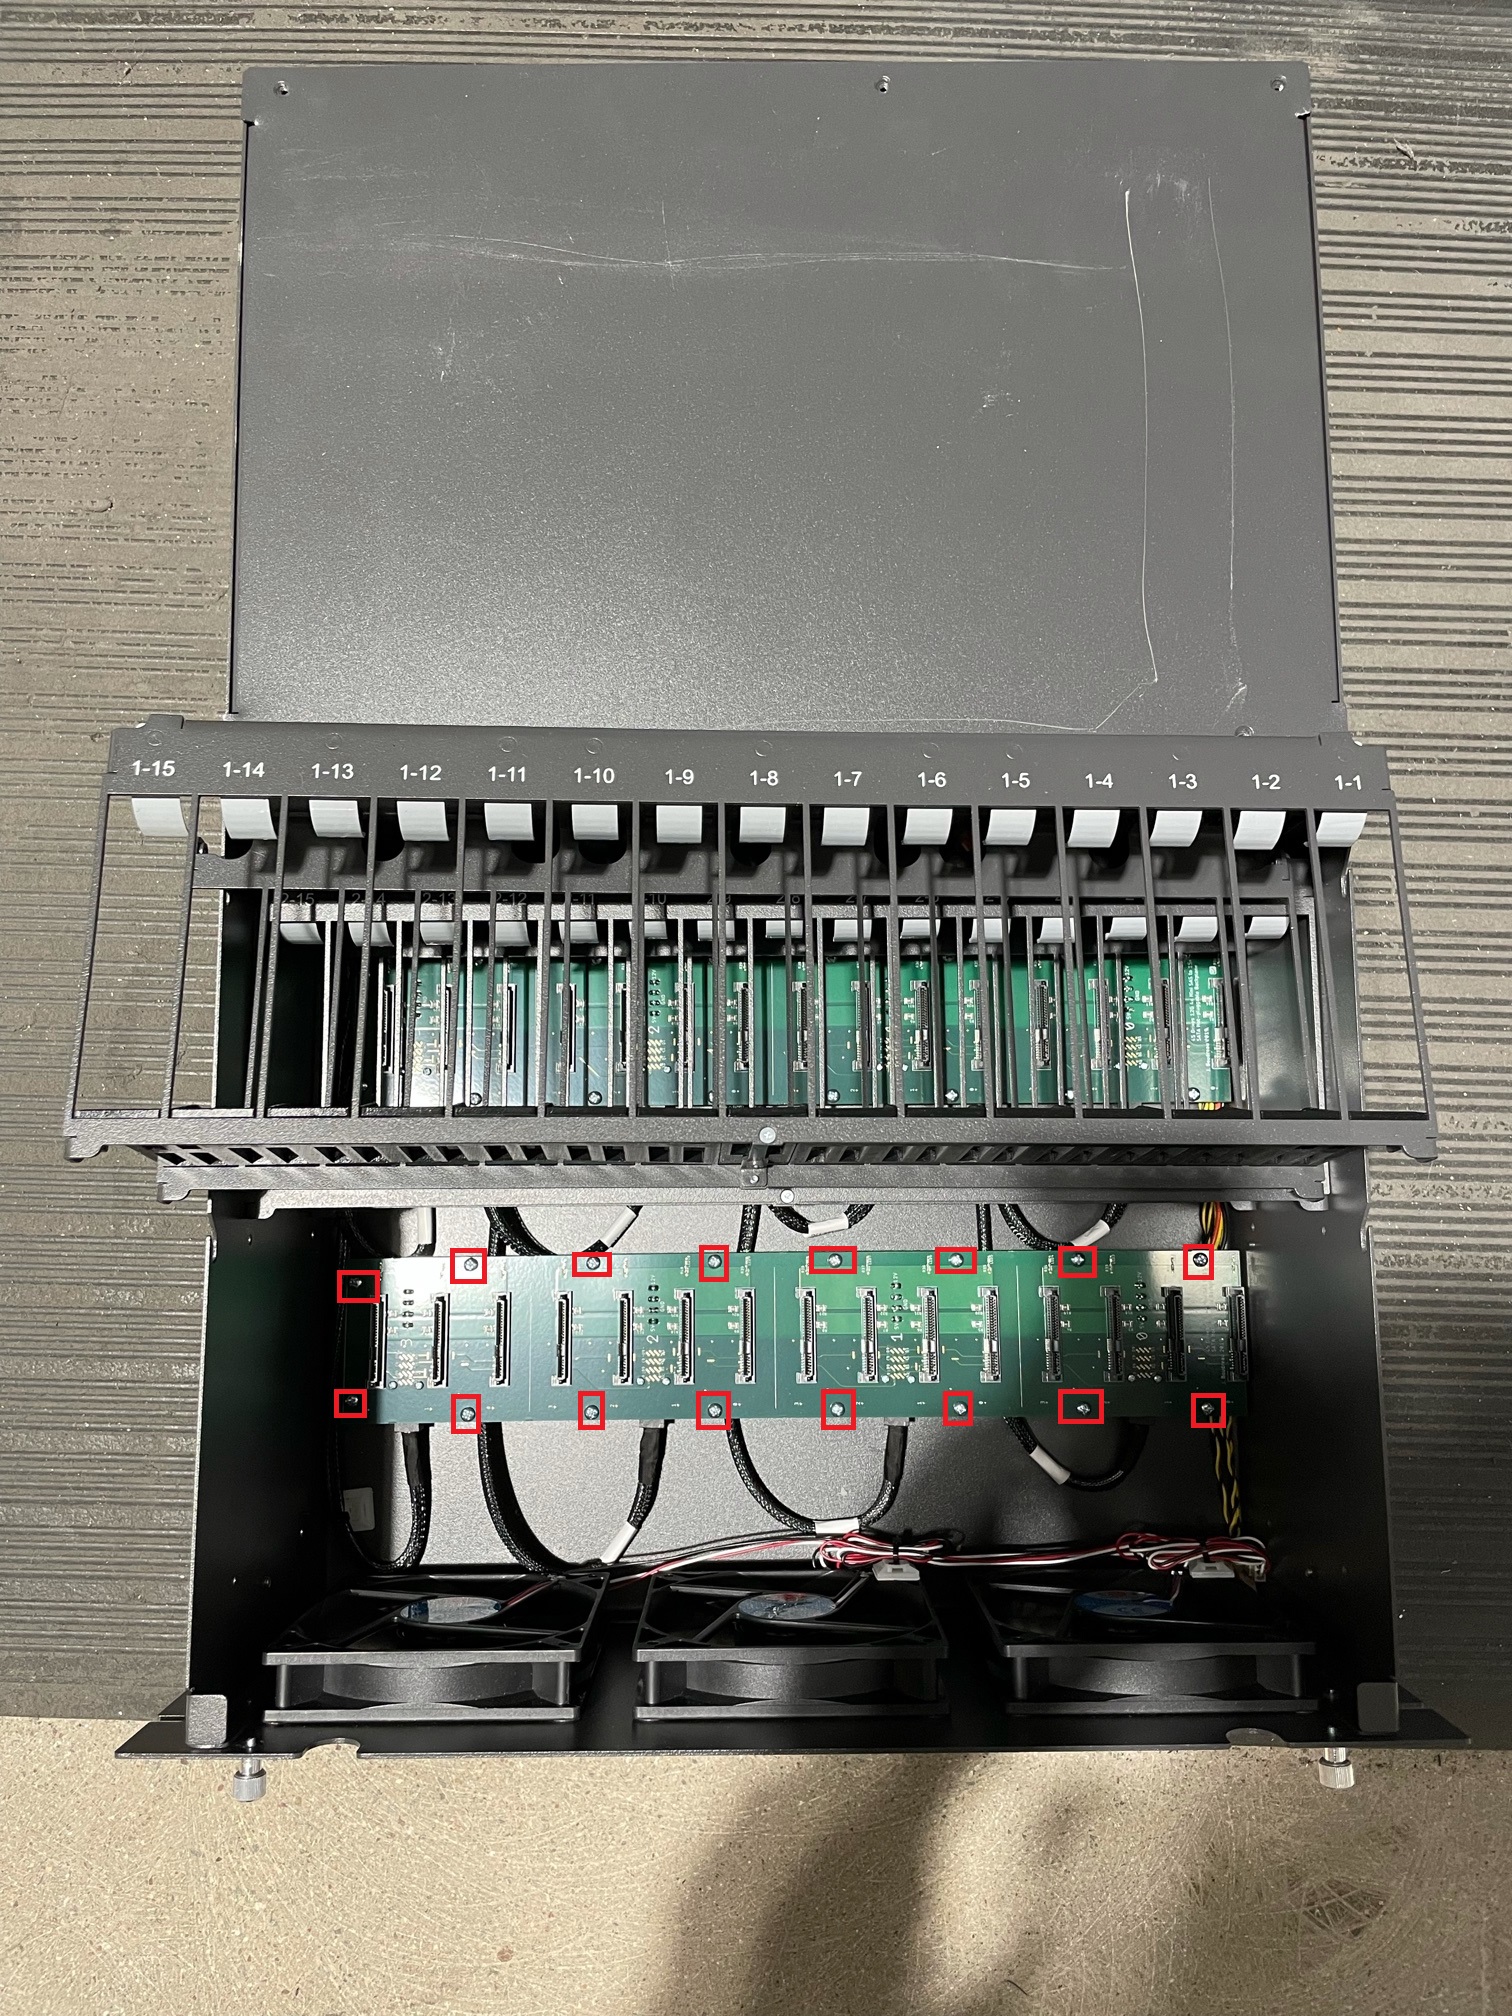
- Remove all the screws holding the backplane down
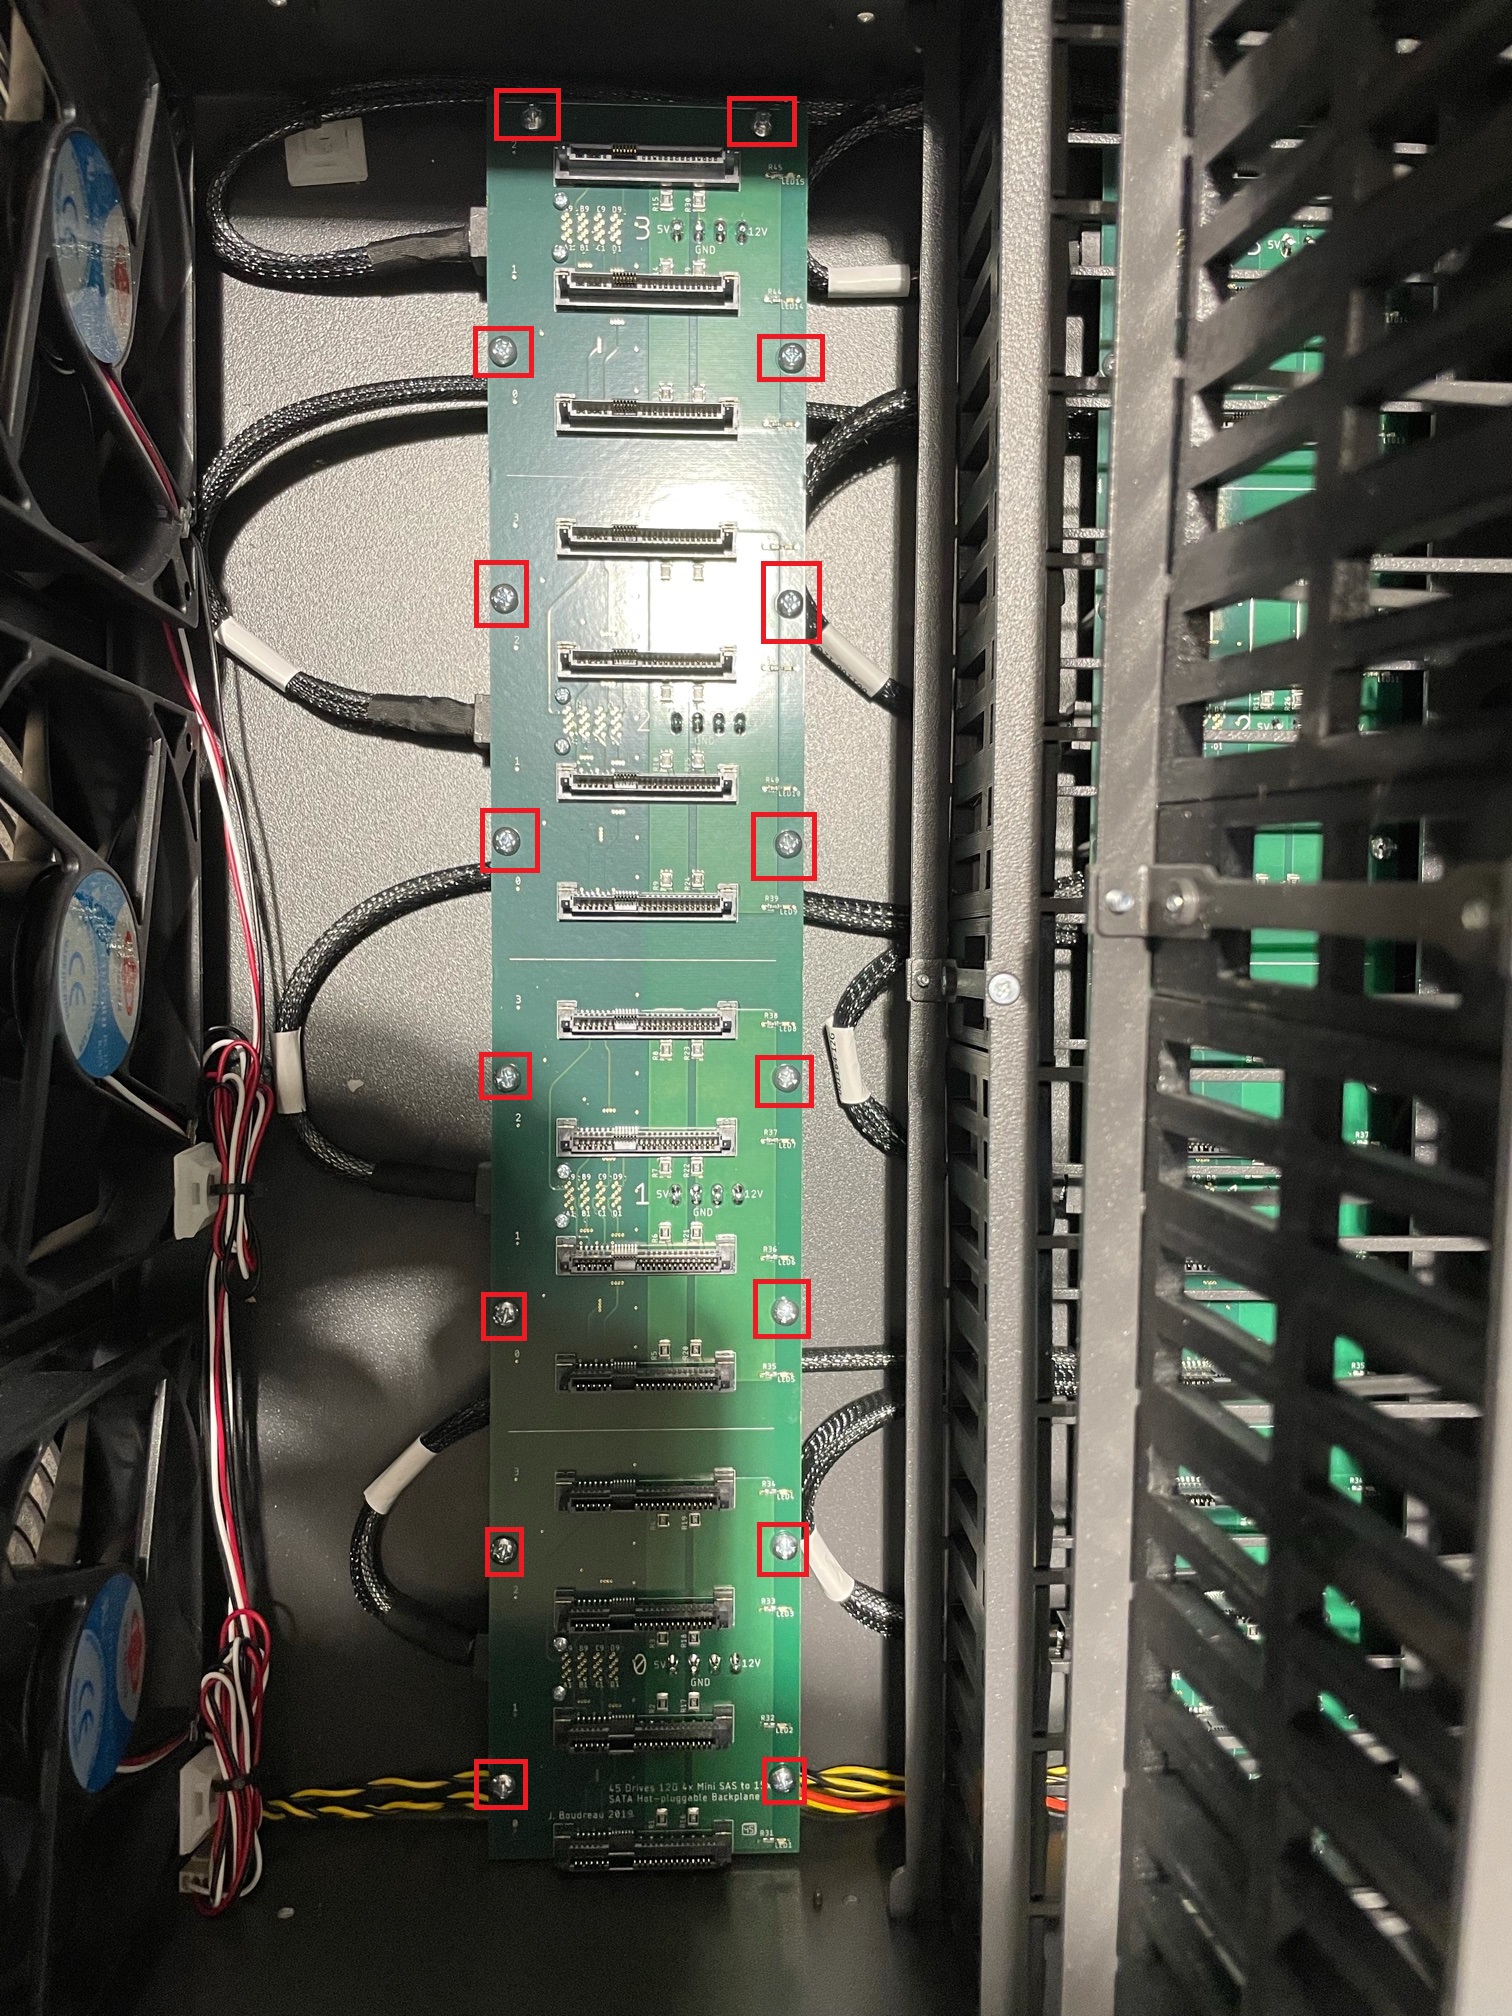
- Flip the backplane over and unplug the Molex power connectors
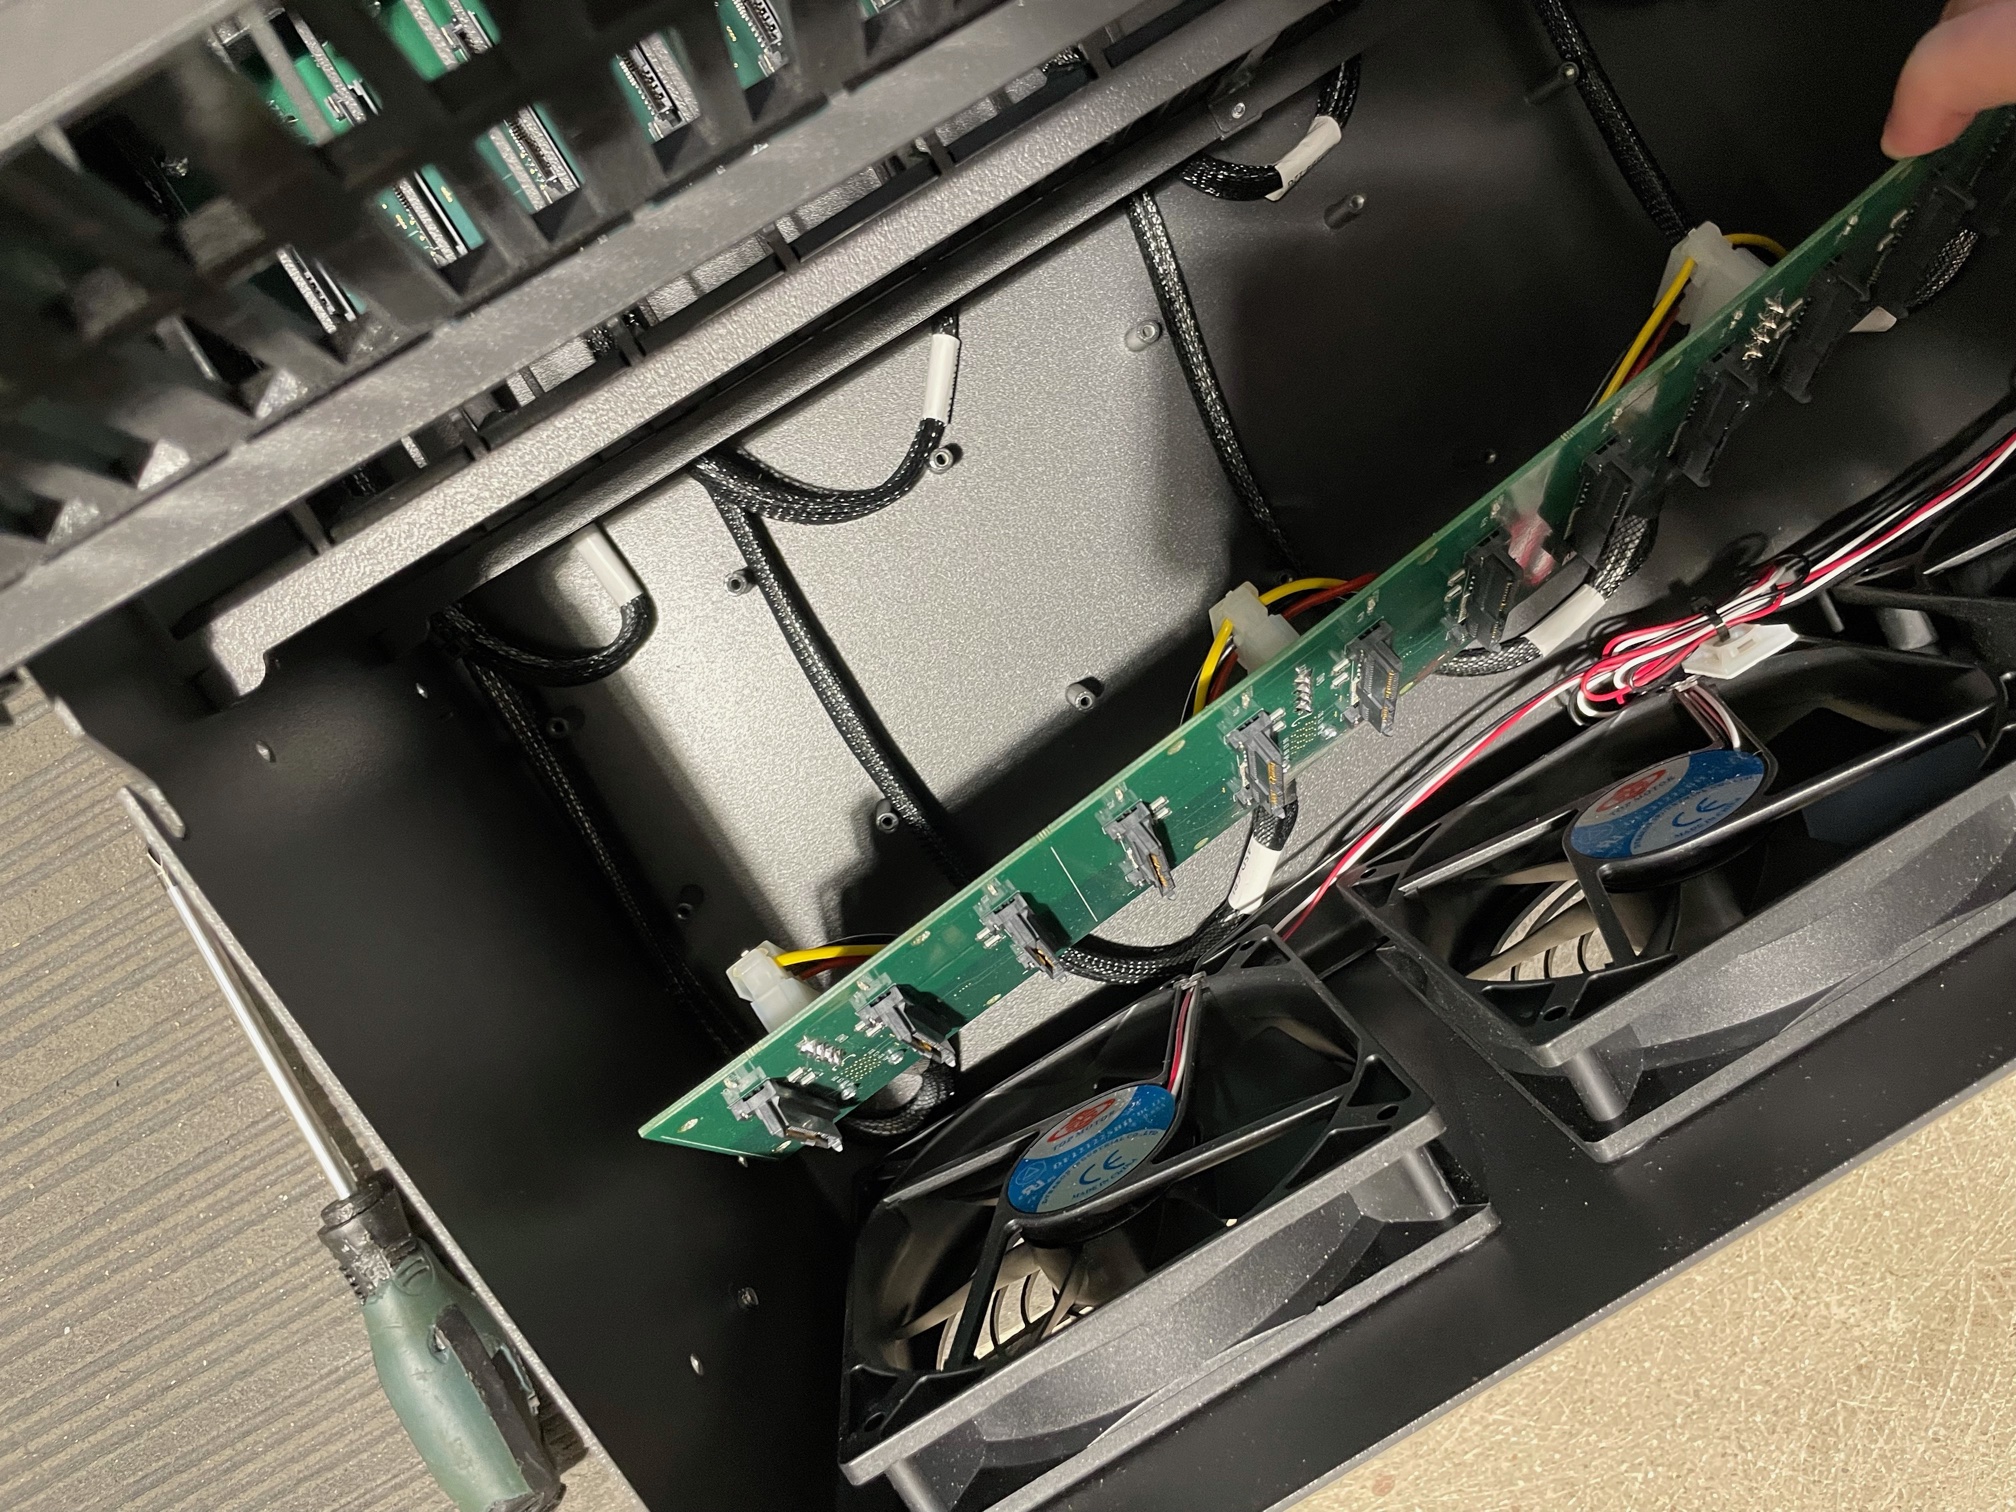
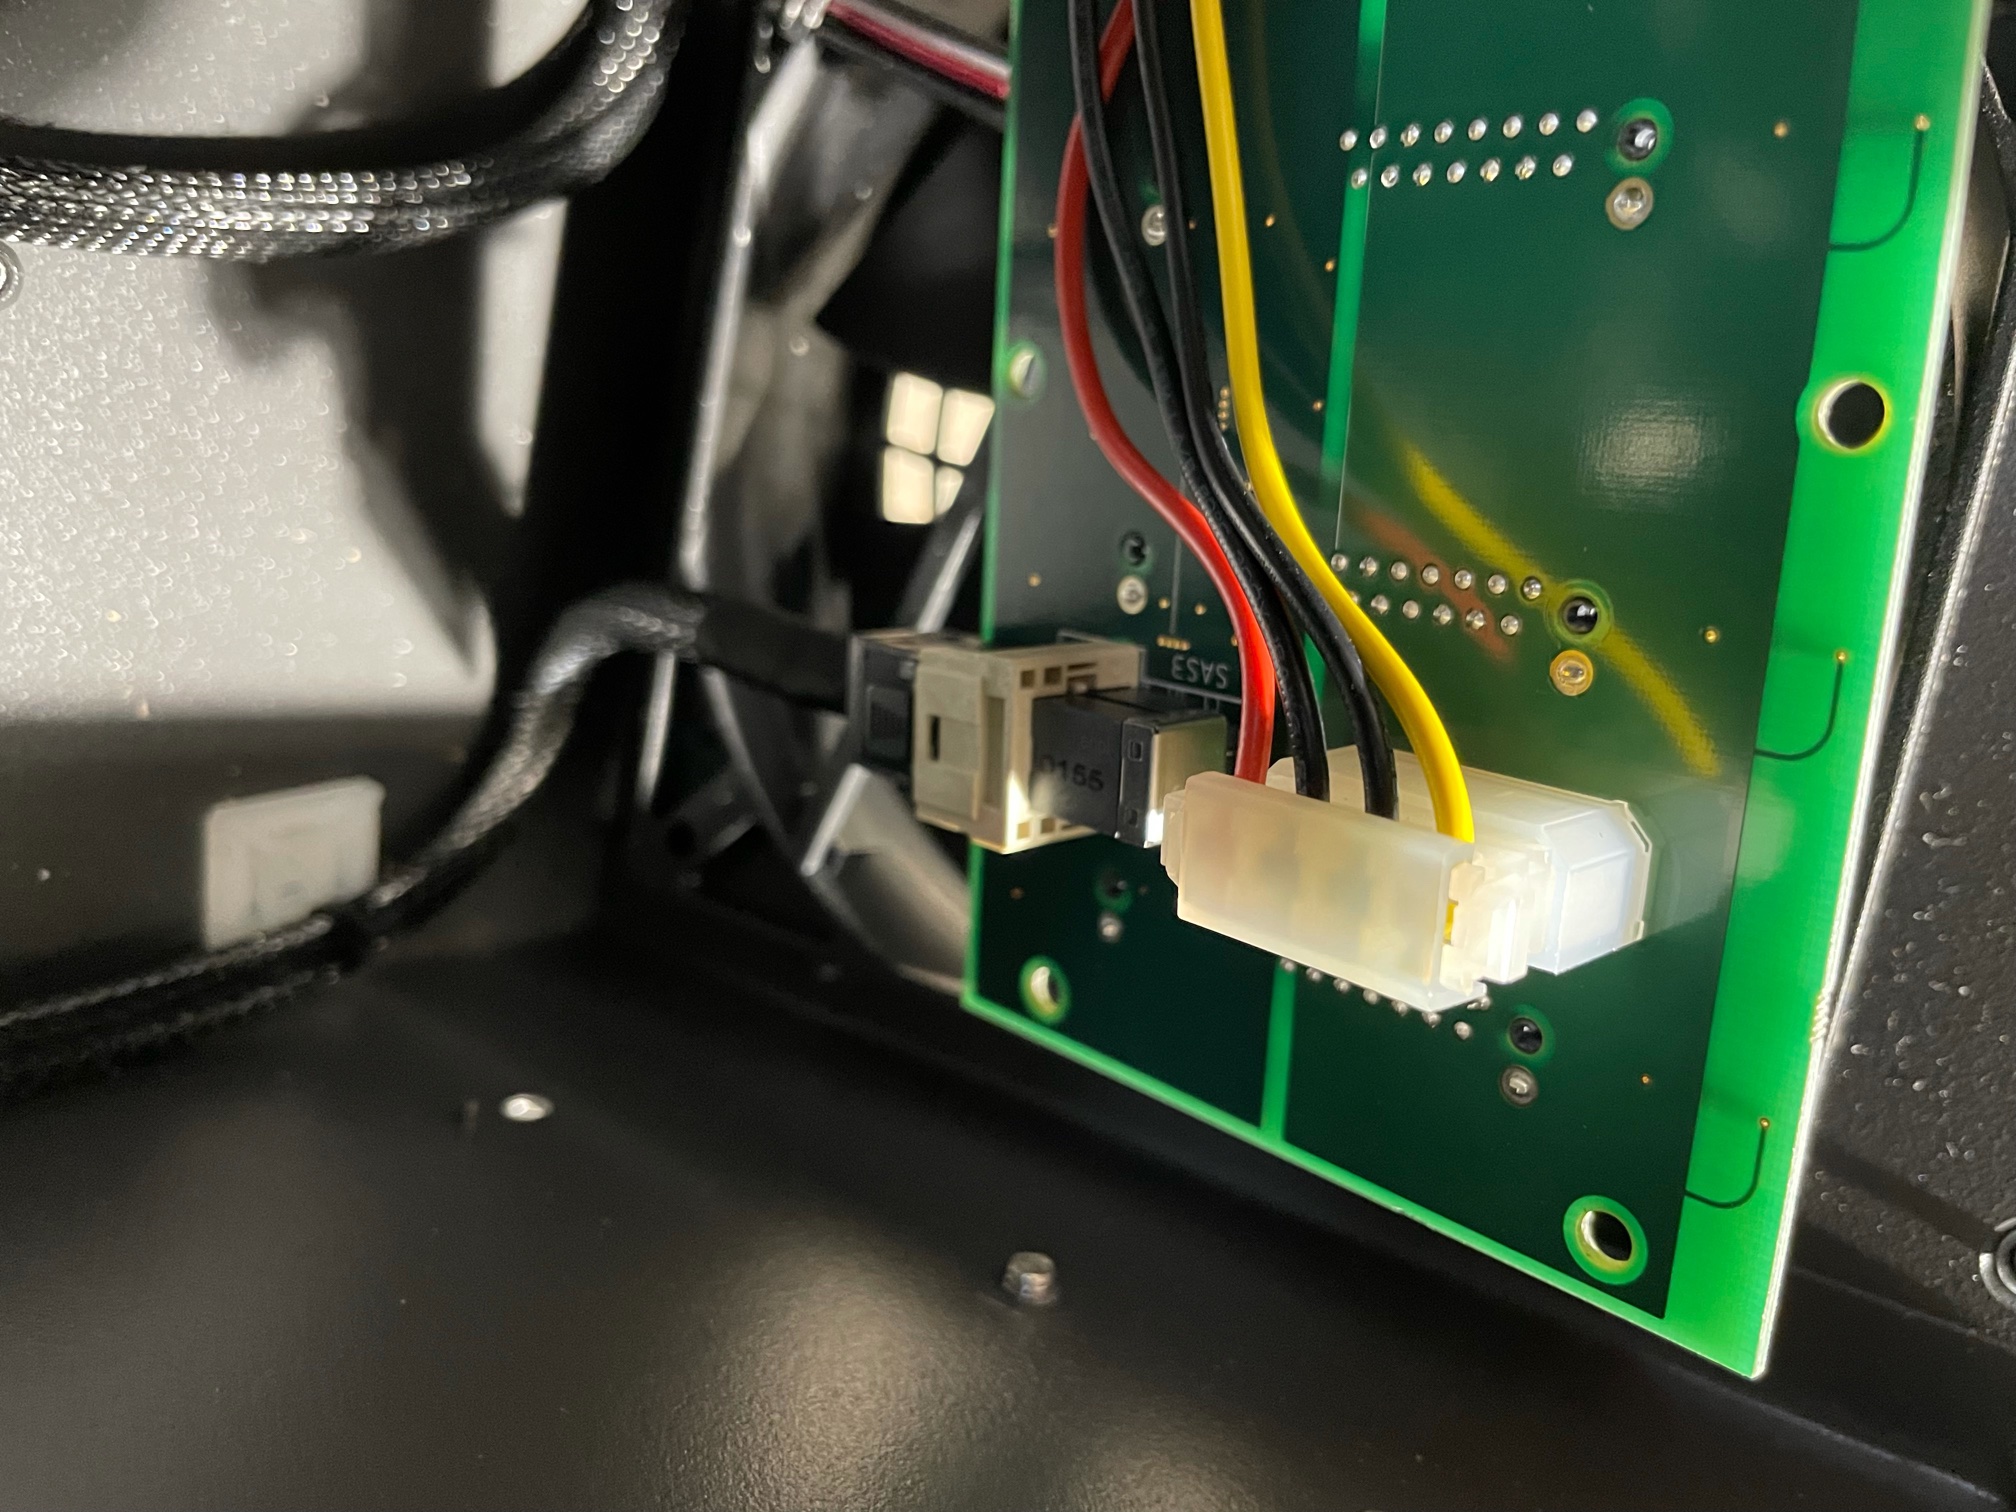
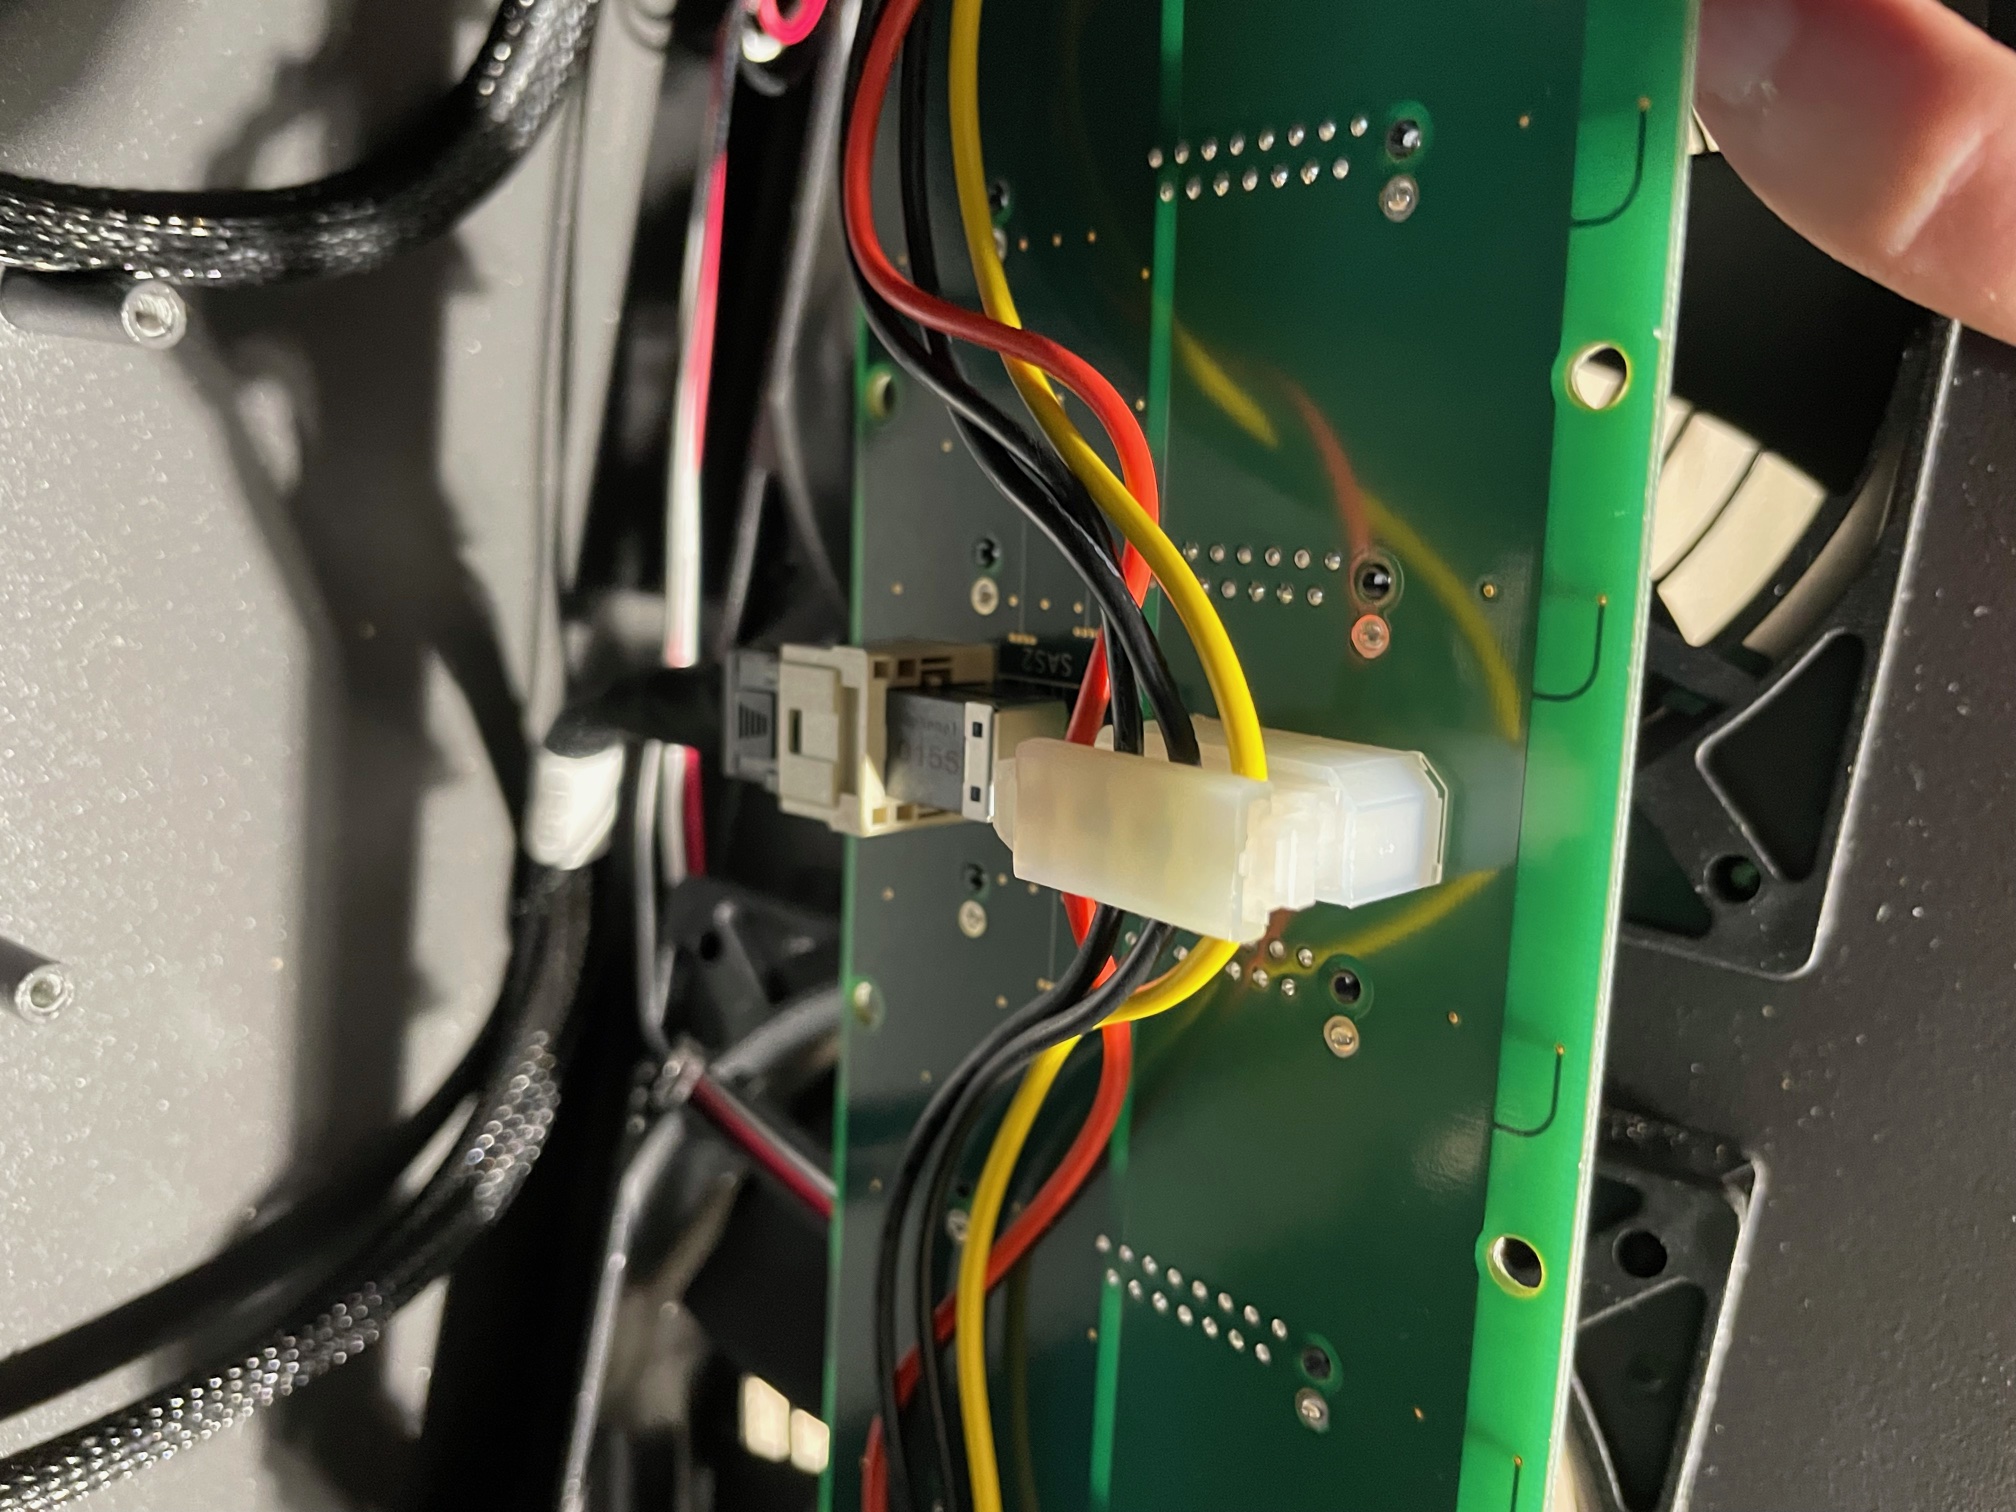
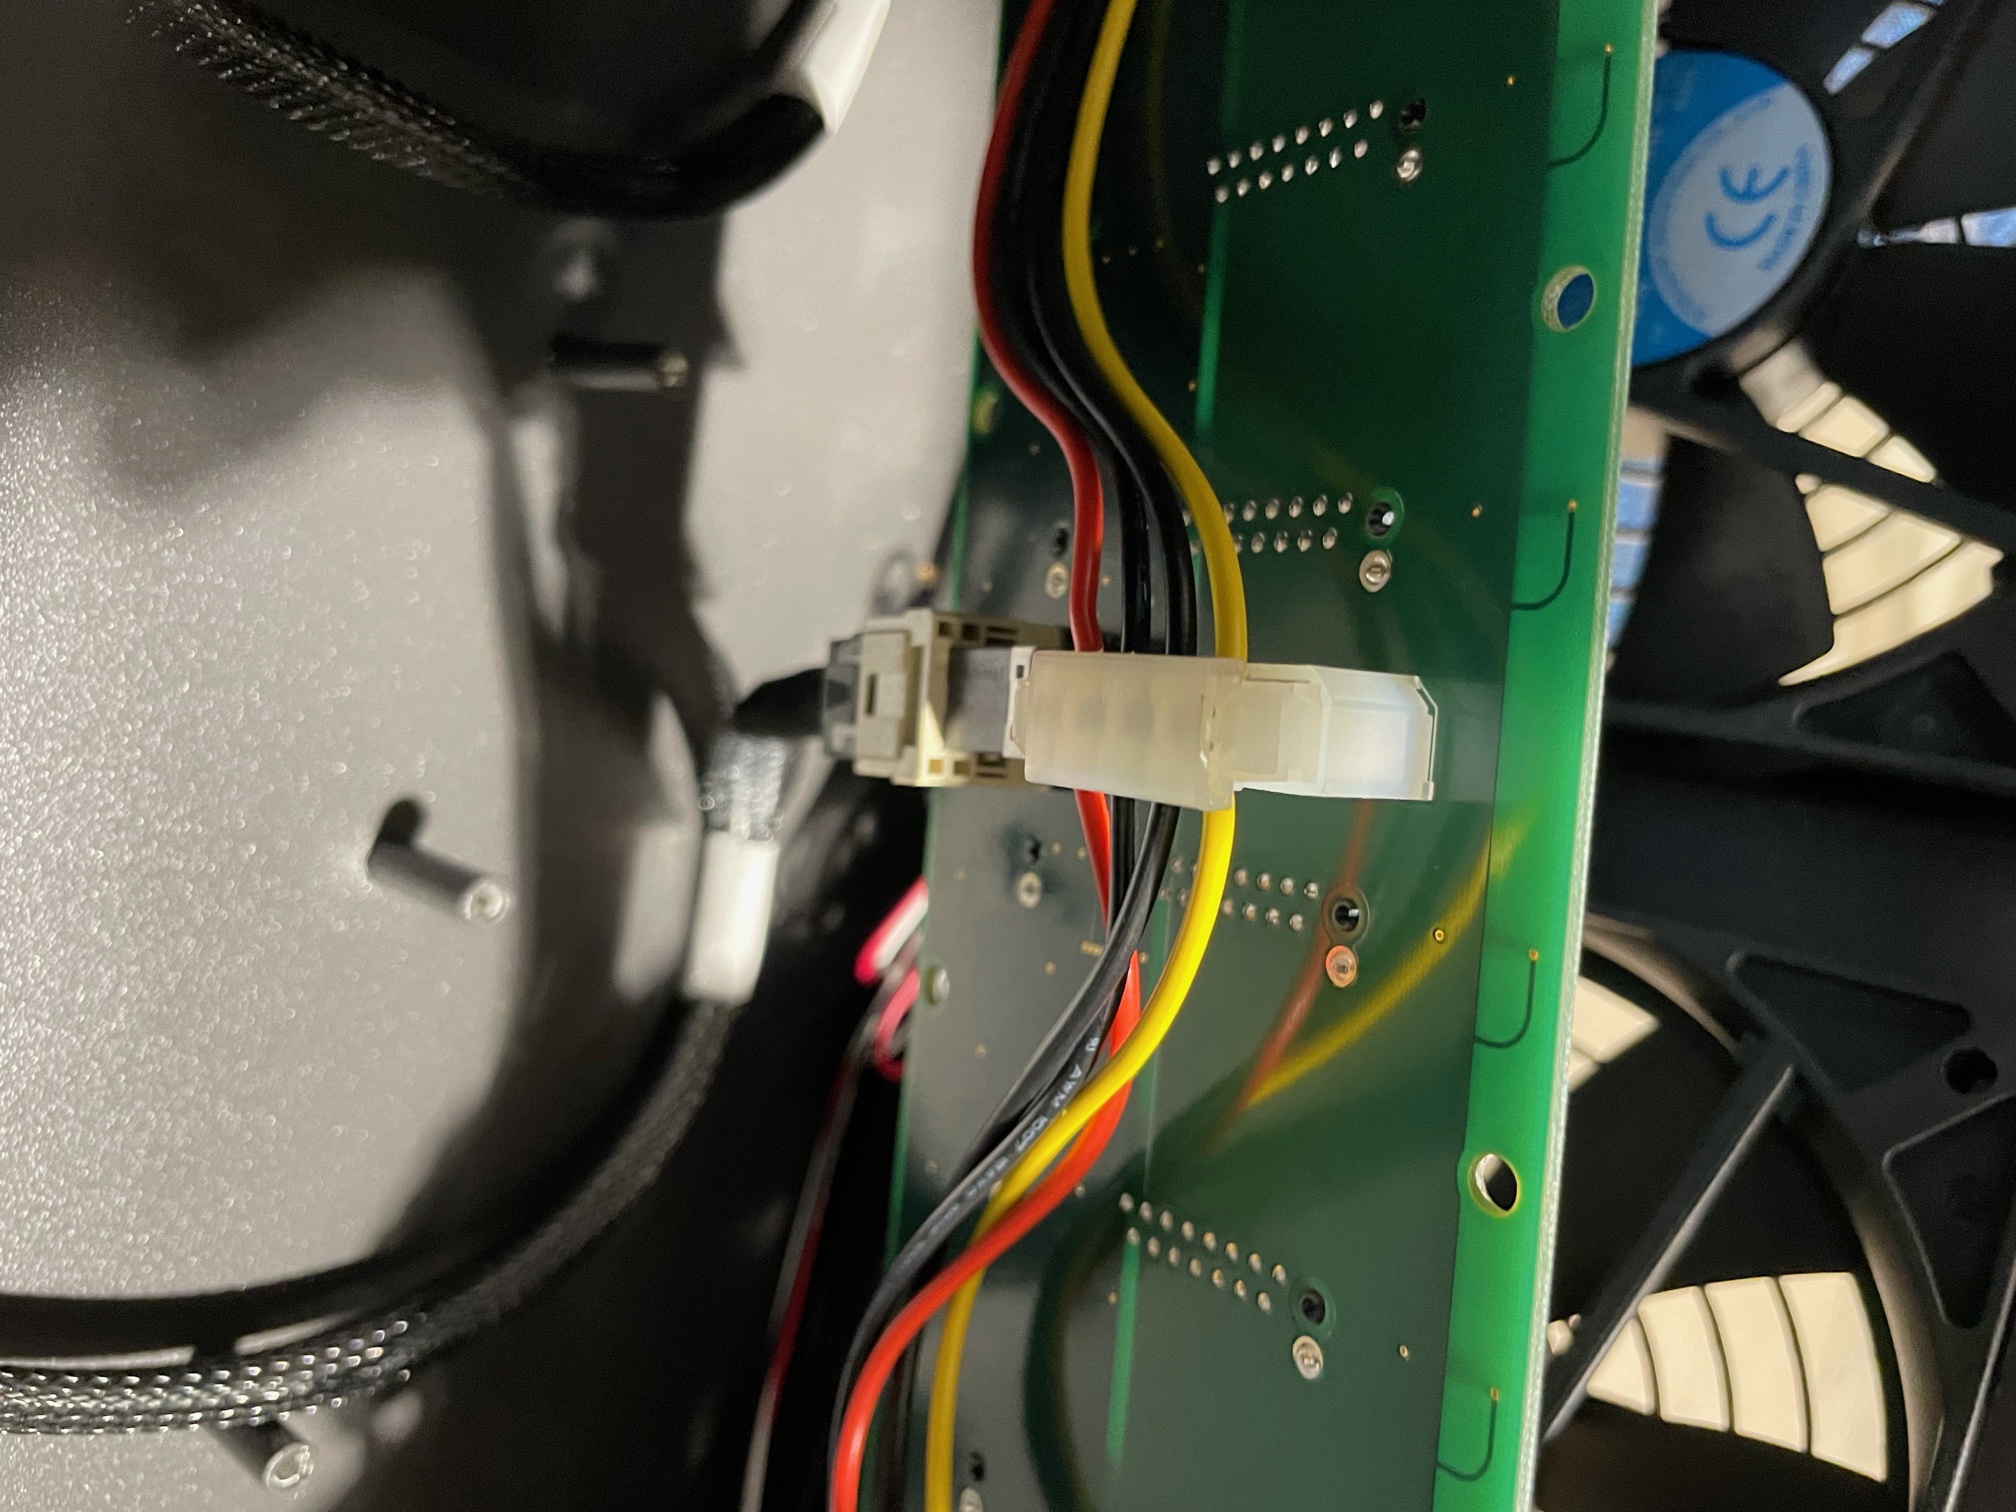
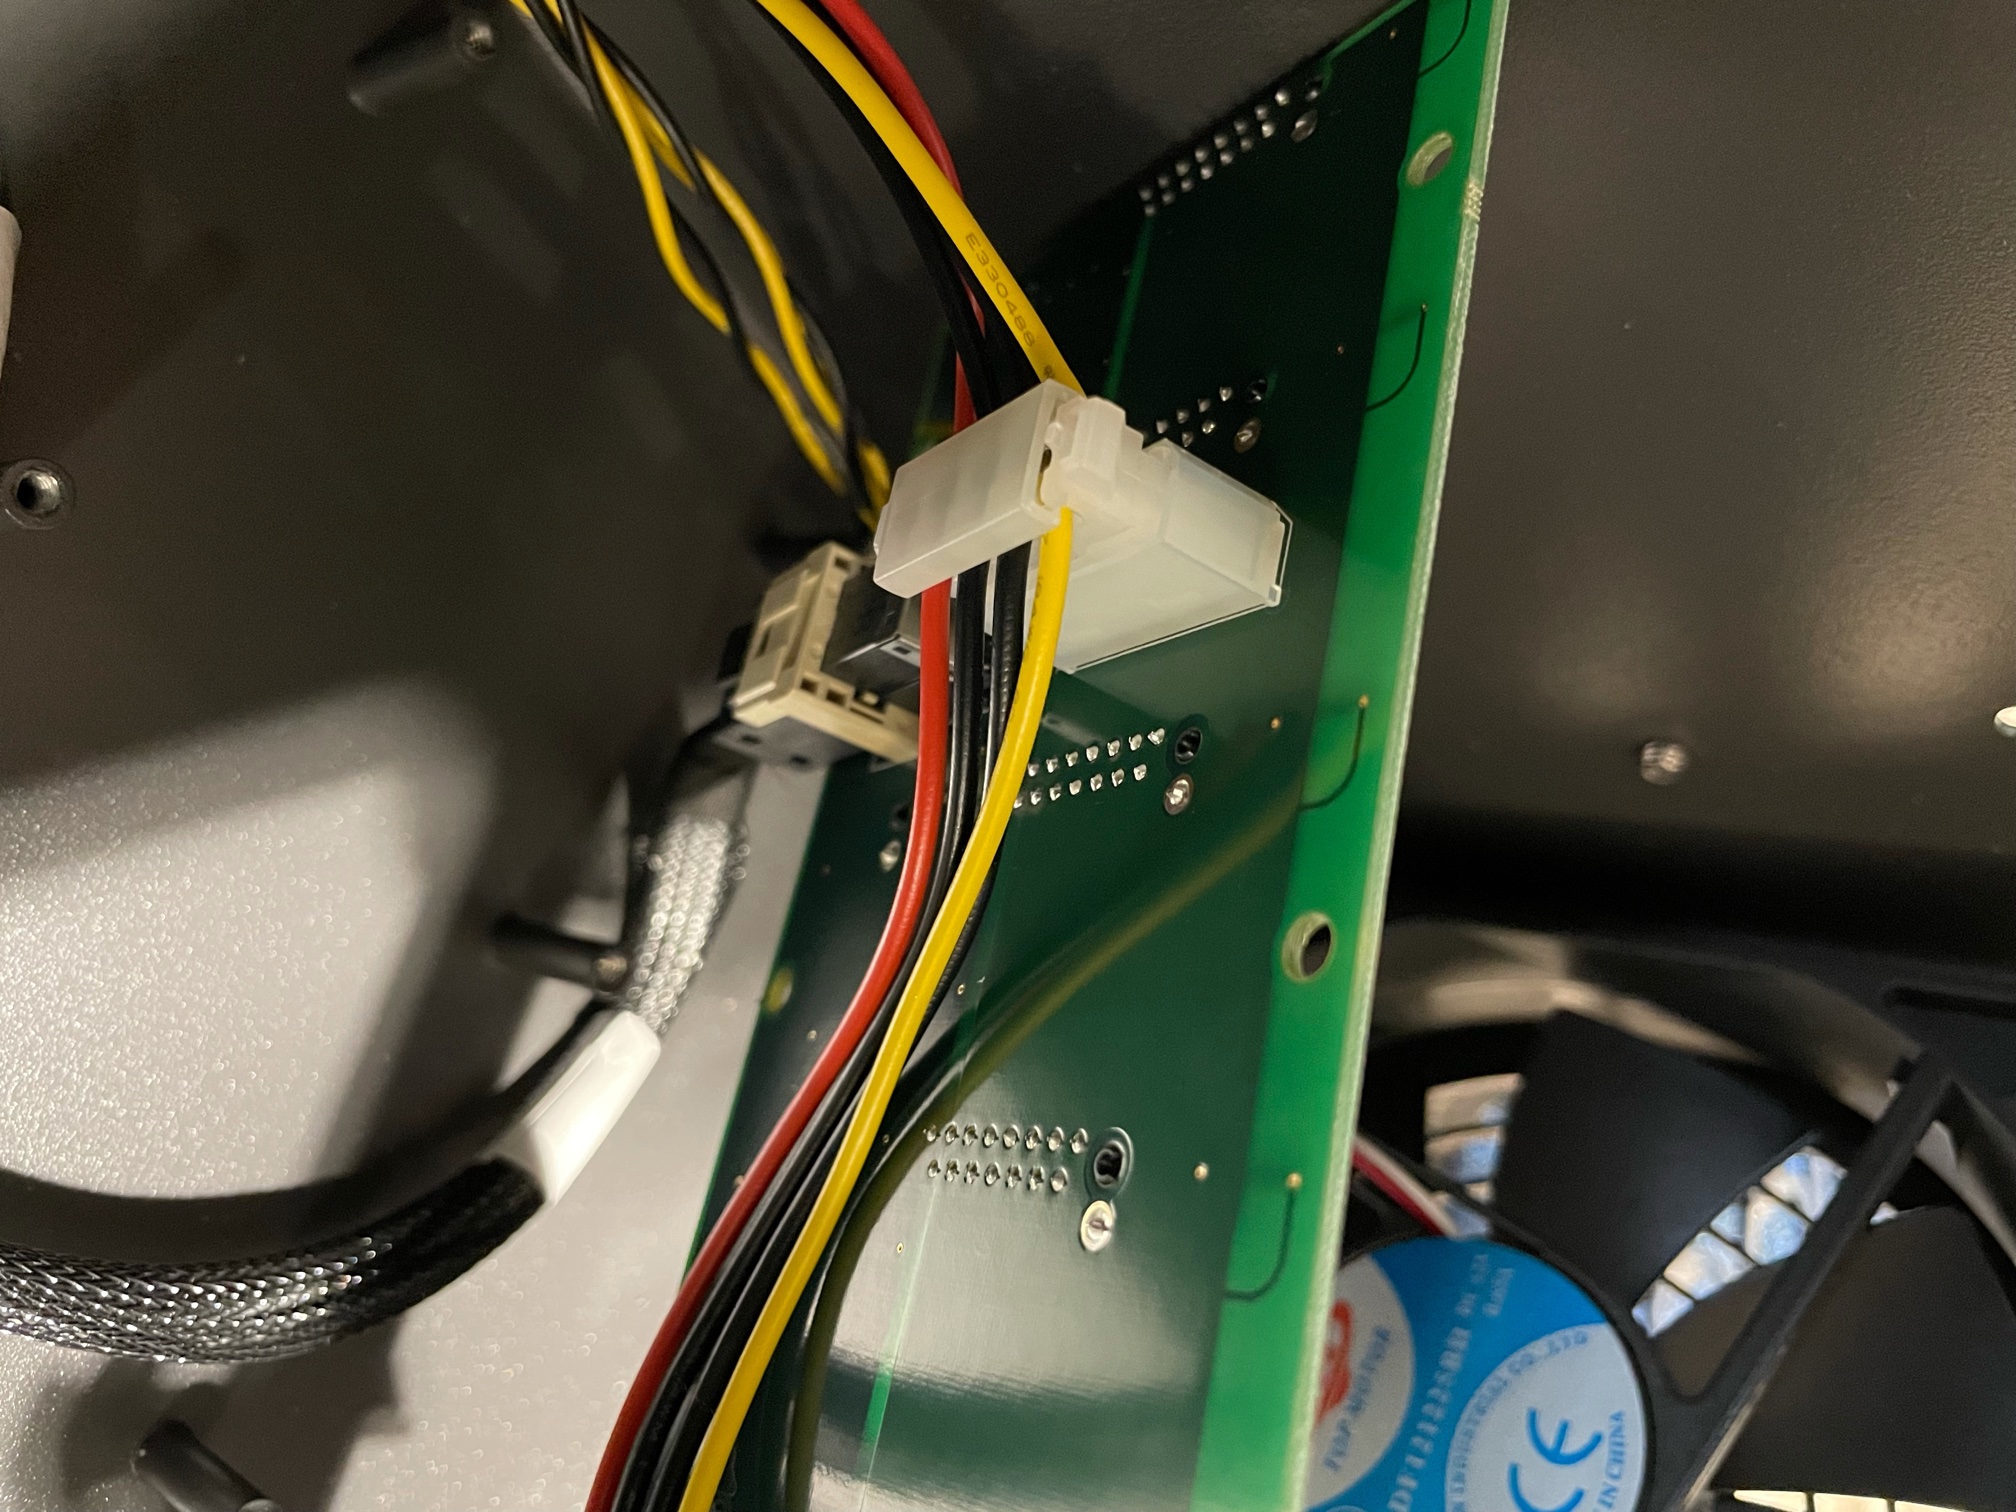
- Plug the connectors into the new backplane
- Replace all parts and screws
- Plug the power cord in and power system back on
Verification
- All drives are being picked up by the system and that all drives are fitting flush in the drive cage
Troubleshooting
- All connections are fully seated and the Molex wires in the connection are secure
Views: 2586