Table of Contents
Scope/Description
- This article will walk through the steps to replace a failed drive in a FreeNAS 11.2 installation.
Prerequisites
- Access to FreeNAS 11.2 web UI
- Replacement Drive
Steps
- First, we’ll have to go to the Storage > Pools tab.
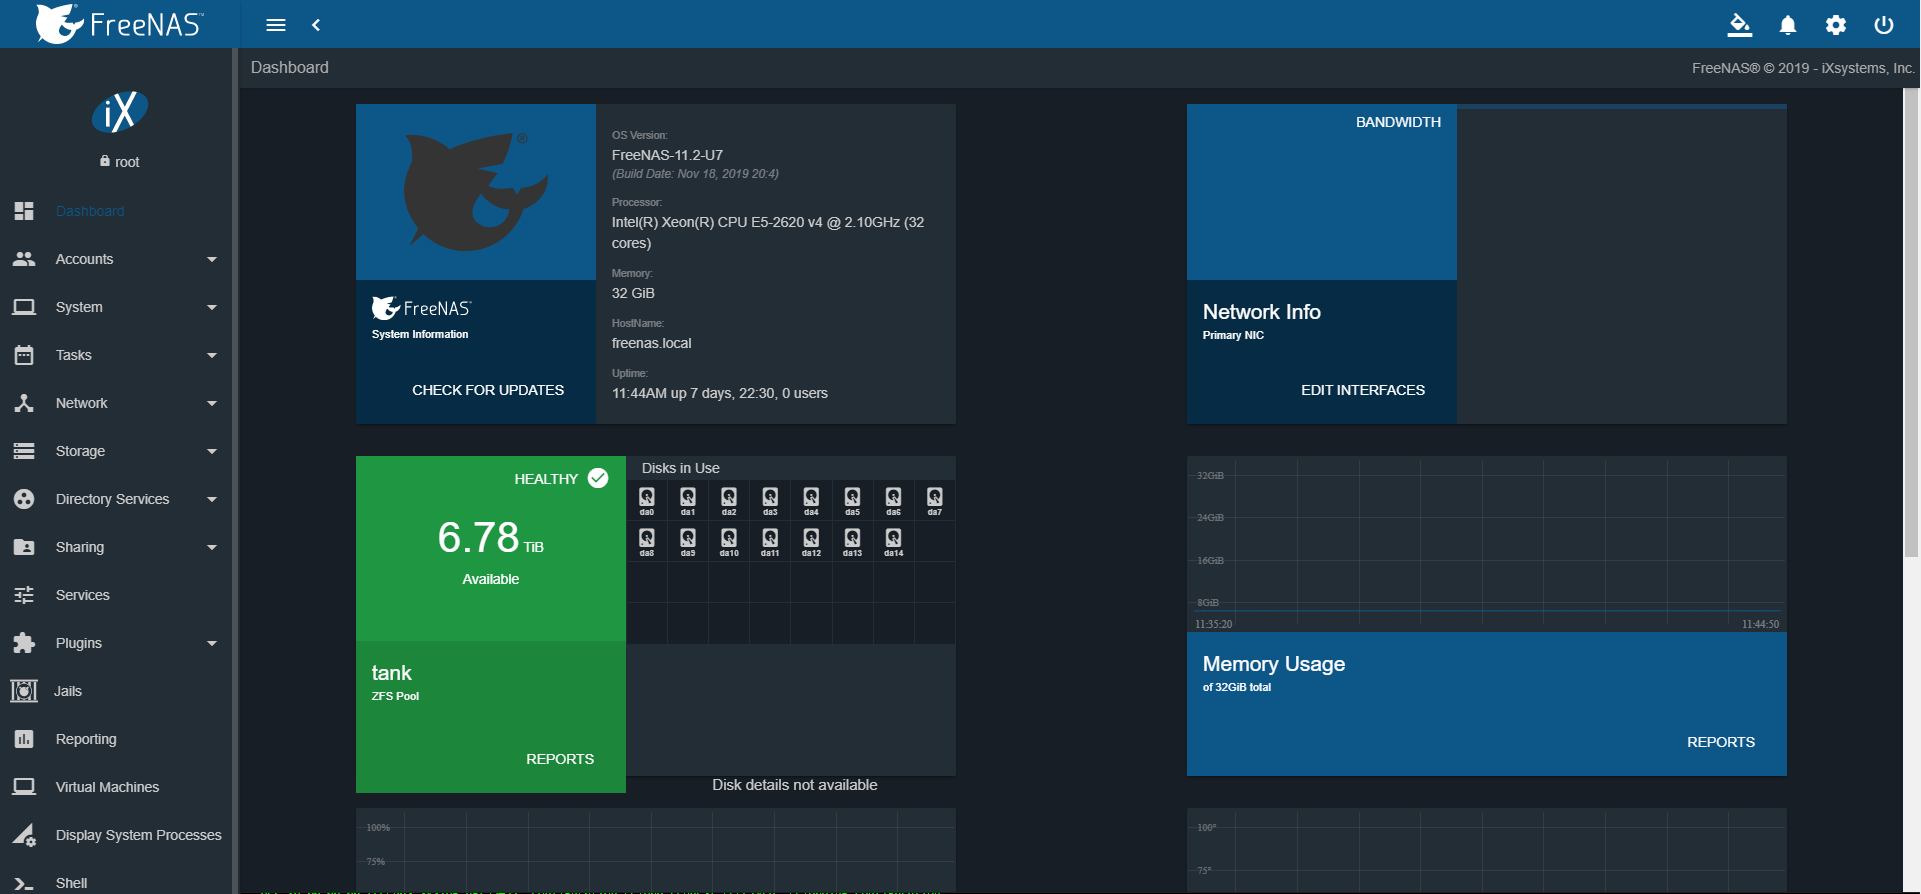
- Once here, we then select the cog wheel icon > Status to view the status of the pool.

- Once here, we then need to identify the drive to be replaced, for this article we’ll use da0 as the problem drive.
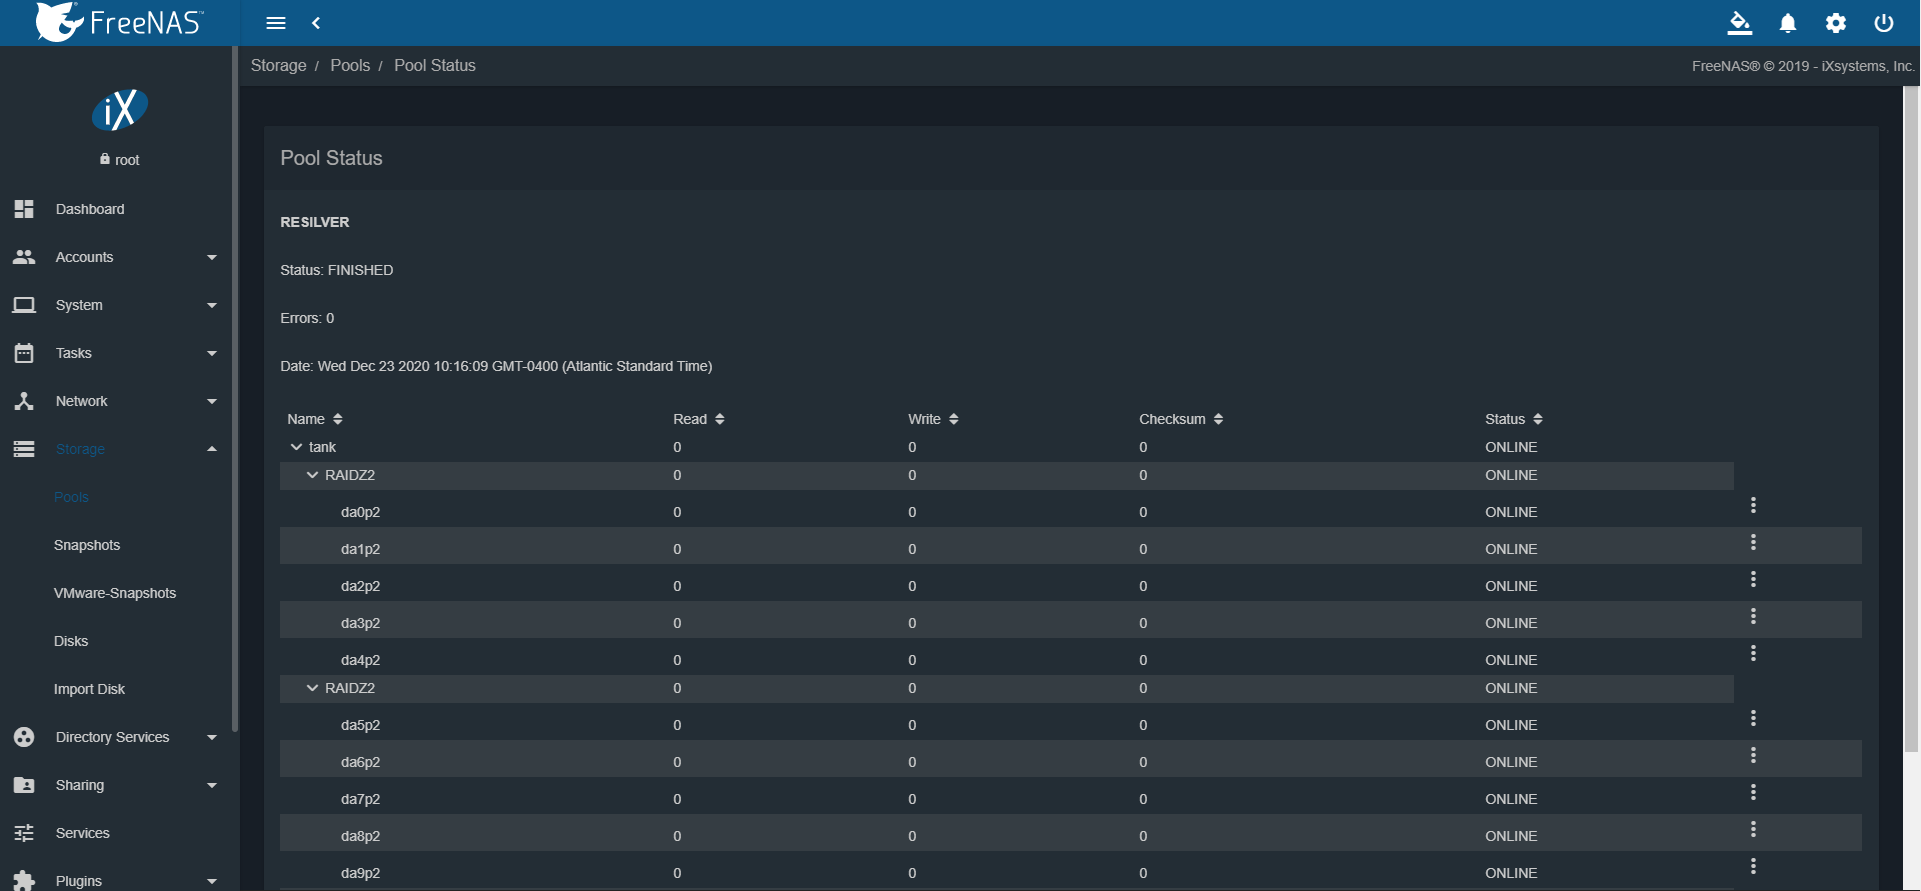
- We have to select the option wheel besides the problem drive, and then select Offline.

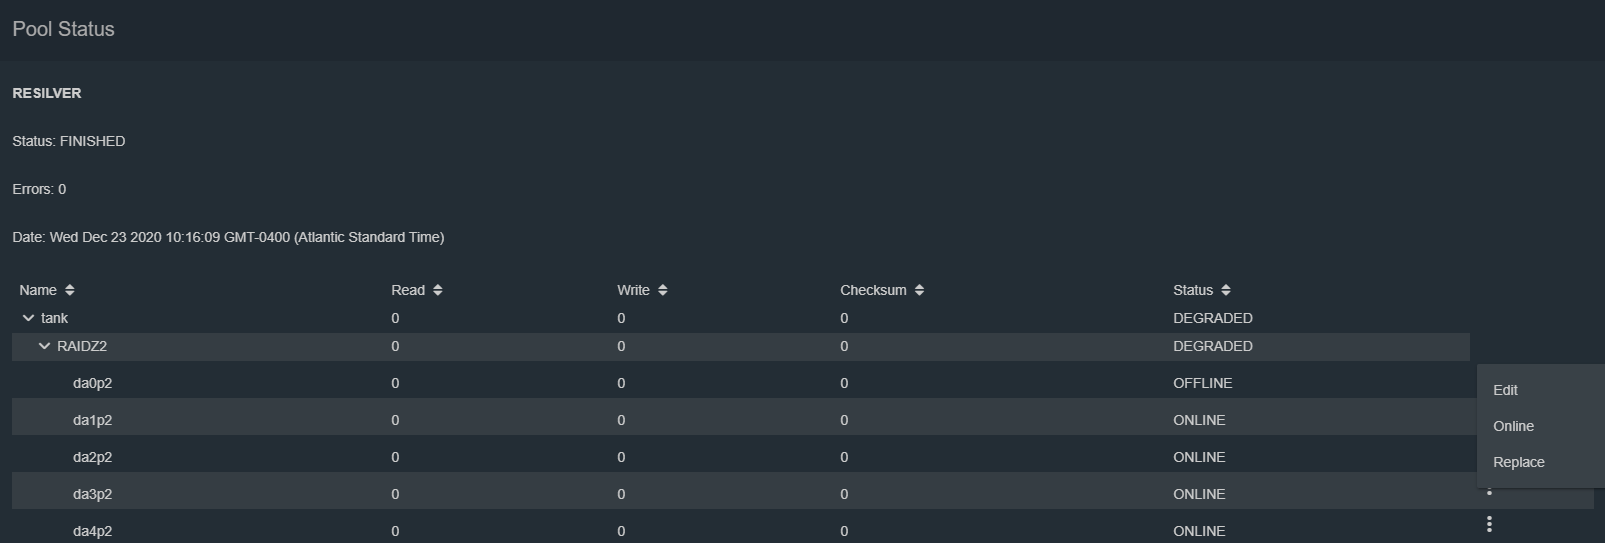
- Once this is done, the drive will appear offline.
- We can then replace the drive physically, once this is done we select the options wheel, and select Replace.
- Then we select the replacement drive in the options here (Note, it will take a moment for the drive to appear as it has to power up)
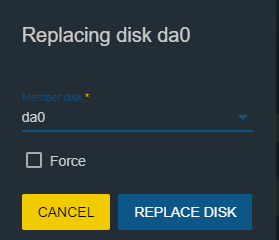
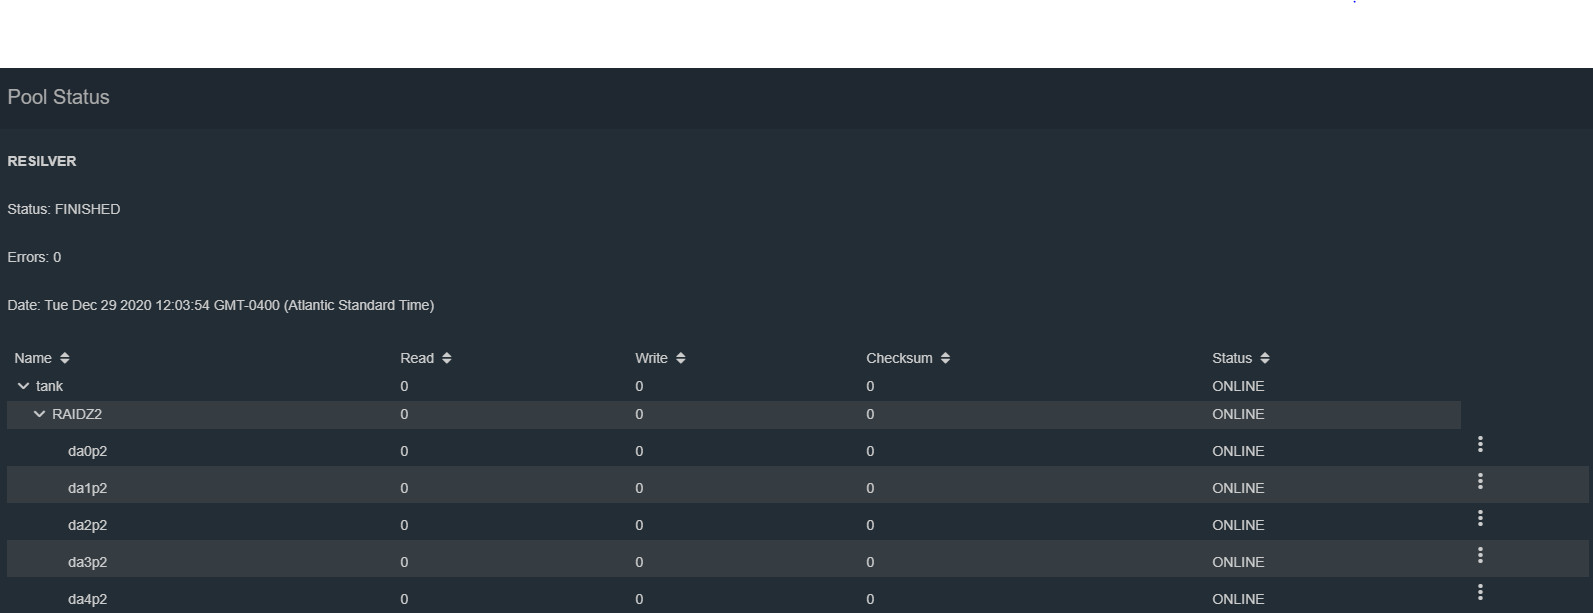
- Once this is done, the resilver will begin on the pool.
Views: 5108