Upgrading Using the FreeNAS ISO
To perform an upgrade using this method, download the .iso to the computer that will be used to prepare the installation media. Mount the downloaded .iso file as virtual media within the IPMI Remote Console using the instructions in KB450190.
Insert the prepared media into the system and boot from it. After the media finishes booting into the installation menu, press Enter to select the default option of 1 Install/Upgrade. The installer presents a screen showing all available drives.
***Warning***
All drives are shown, including boot drives and storage drives. Only choose boot drives when upgrading. Choosing the wrong drives to upgrade or install will cause loss of data. If unsure about which drives contain the FreeNAS® operating system, reboot and remove the install media. In the FreeNAS® GUI, use to identify the boot drives. More than one drive is shown when a mirror has been used.
Move to the drive where FreeNAS® is installed and press the Spacebar to mark it with a star. If a mirror has been used for the operating system, mark all of the drives where the FreeNAS® operating system is installed. Press Enter when done.
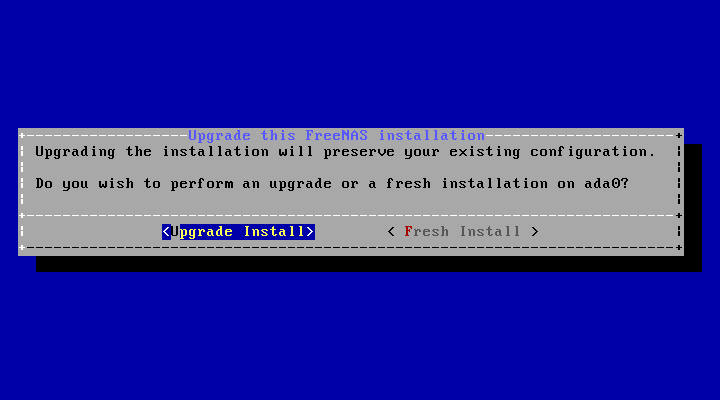
The installer recognizes earlier versions of FreeNAS® installed on the boot drive or drives and presents the message shown below:

Note: If Fresh Install is chosen, the backup of the configuration data must be restored using after booting into the new operating system.
To perform an upgrade, press Enter to accept the default of Upgrade Install. The installer recommends installing the operating system on a disk not used for storage.

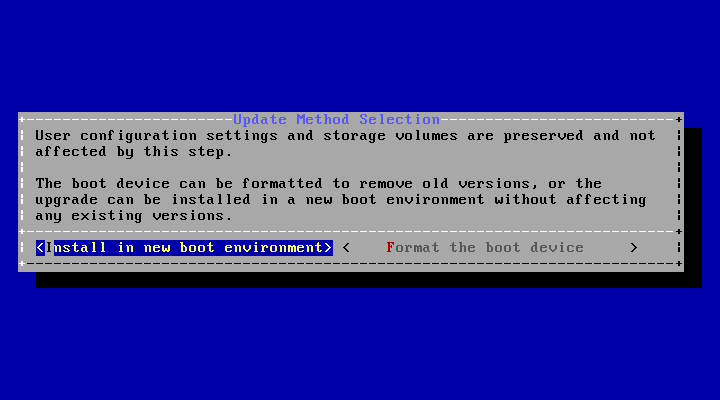
The updated system can be installed in a new boot environment, or the entire boot device can be formatted to start fresh. Installing into a new boot environment preserves the old code, allowing a roll-back to previous versions if necessary. Formatting the boot device is usually not necessary but can reclaim space. User data and settings are preserved when installing to a new boot environment and also when formatting the boot device. Move the highlight to one of the options and press Enter to start the upgrade.
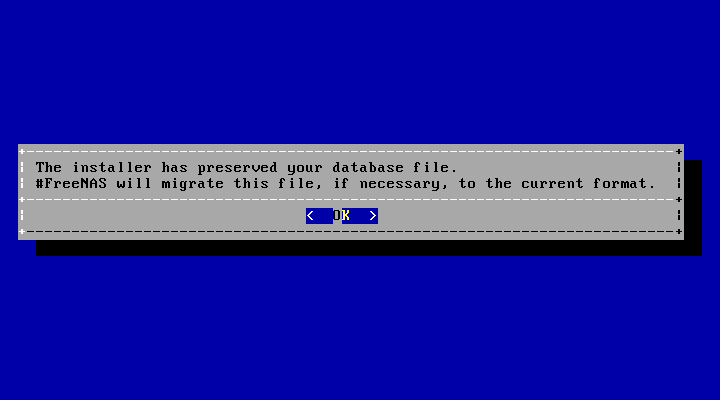
The installer unpacks the new image and displays the menu shown in the picture below. The database file that is preserved and migrated contains the FreeNAS® configuration settings.

Press Enter. FreeNAS® indicates that the upgrade is complete and a reboot is required. Press OK, highlight 3 Reboot System, then press Enter to reboot the system. If the upgrade installer was booted from CD, remove the CD.
During the reboot there can be a conversion of the previous configuration database to the new version of the database. This happens during the “Applying database schema changes” line in the
reboot cycle. This conversion can take a long time to finish, sometimes fifteen minutes or more, and can cause the system to reboot again. The system will start normally afterwards. If database errors are shown but the graphical administrative interface is accessible, go to and use the Upload Config button to upload the configuration that was saved before starting the upgrade.