In certain situations, there may be a need for an extra cooling solution for our PCIe add-ons such as our LSI cards, 10Gbe NICs or other due to a high ambient temperature, inadequate airflow, etc.
Step 1
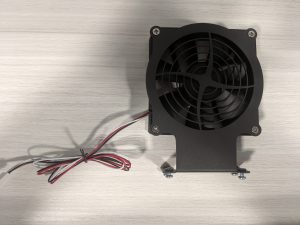
Take the supplied 92MM fan, and mount it to the cantilever fan mount with the included fan screws. Be sure to mount the fan with the airflow pointing down towards the add-on cards. If you are unsure of which way this is, the fans have small arrows printed on them directing which way the air flows.
You may also want to mount your fan with the fan cable in the bottom left as shown in the image below to make it easier to connect the fan header and manage your cables.
Step 2
remove the cover from your Storinator chassis.
Note: For safety reasons, we recommend powering down your Storinator and removing the AC power adapter from the power supplies.
Once the Storinator is powered down, take your cantilever bracket and center it over the PCIe cards like shown below.
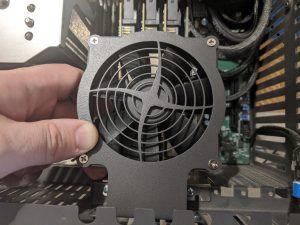
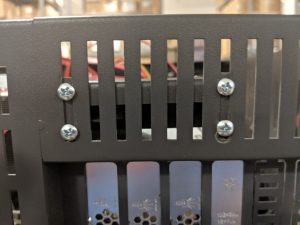
Once the bracket is in the ideal position, mount it to the chassis with the included 4 bracket screws.
Step 3
Finally, there are two options possible to connect the cantilever bracket fan.
Option 1
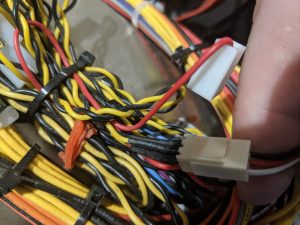
Connect to the spare fan header on the power supply. To use this option you must first cut the tie that is holding all spare cables, and then attach the fan header to the fan connector.
Note: Please be very careful when cutting the tie not to cut through any cables.
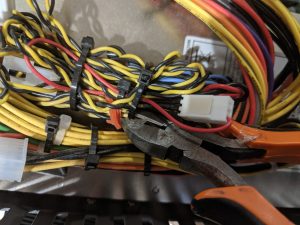
The spare fan header you are looking for will have a top on it that is used as a protector. Remove this to expose the 3 fan pins.
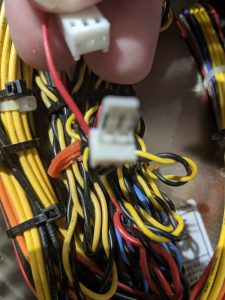
Connect the male fan header to the female fan header.
Option 2
There may be unused fan headers on the Storinator motherboard. If this is the case, one of these may be used.
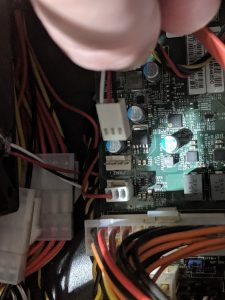
You may now reconnect the power to the Storinator and boot the machine back as normal.