Scope/Description
- This article details the process of putting storage drives into the 45Drives Unit.
Prerequisites
- 45Drives Chassis
Steps
Top Loading (AV15, Q30, S45, XL60)
- Once your unit is racked or in its final destination you can now start installing the storage drives.
- The numbering on the slot goes from right to left for all rails.
- It is best practice to install the drives from starting from index 1-1 and sequentially incrementing in order.
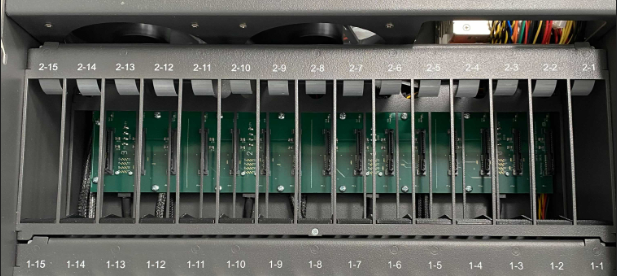
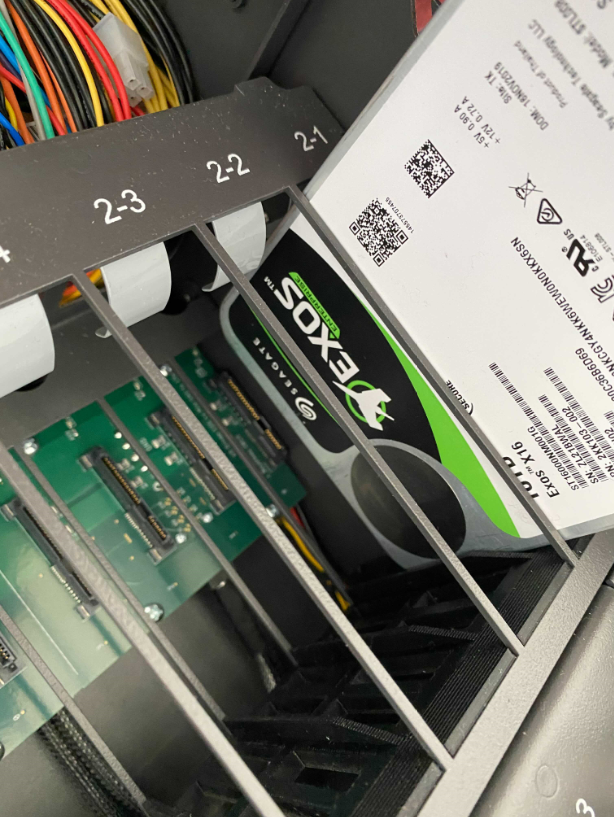
- The drive should fit snugly into a slot. Make sure the back of the drive is facing the right when placing in the slot.
- Depending on the size of the unit (15, 30, 45, 60) you can keep inserting the drives from right to left filling up the slots.
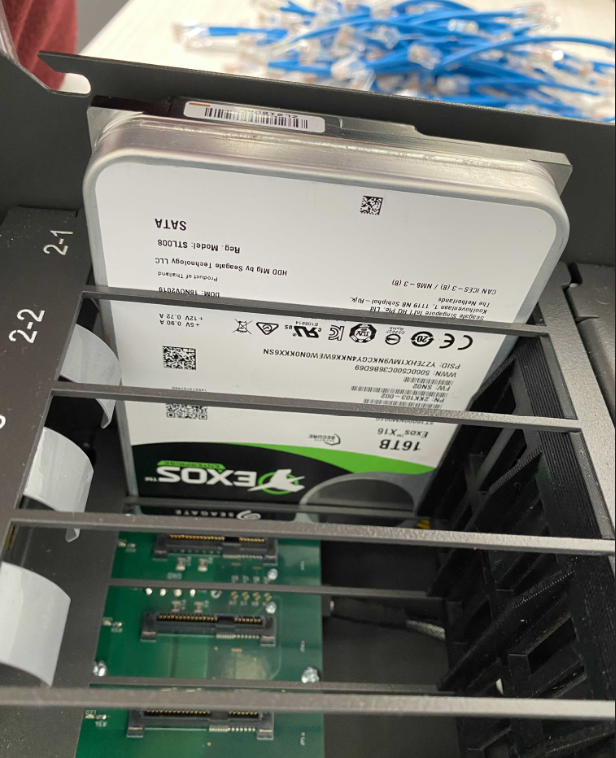
- The last slot in every row will be a little bit trickier, but the slots should be lined up perfectly for each drive to fit in.
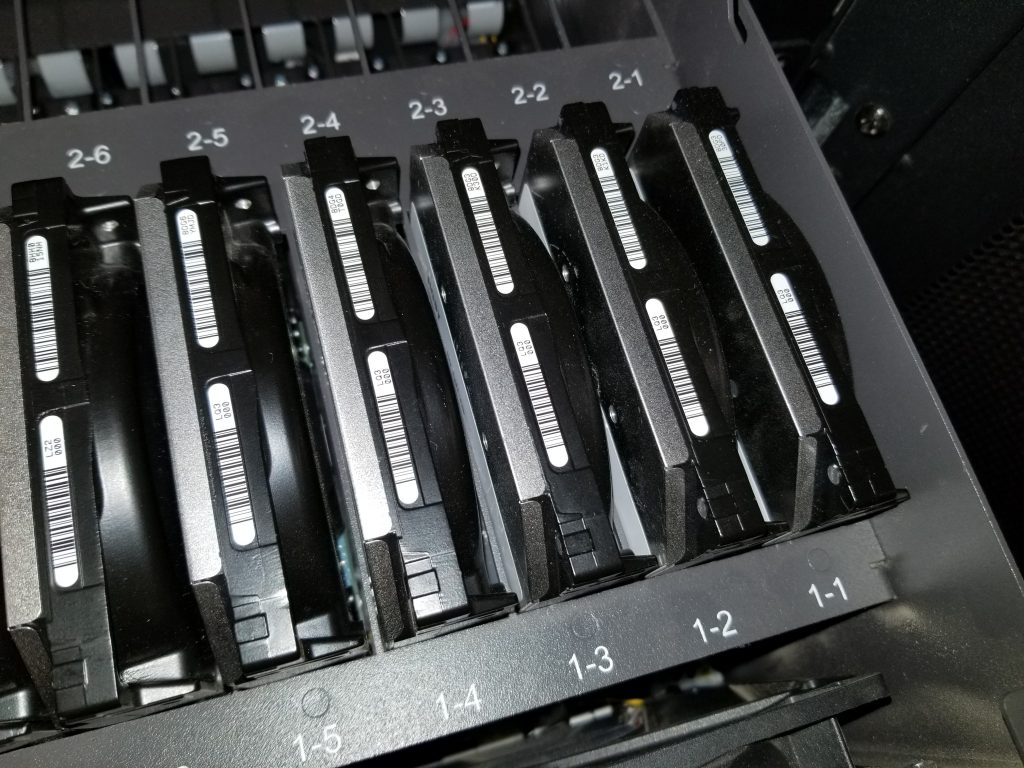
- After all the drives are inserted into the slots, you can close up the unit and move on to hooking up the needed cables to your unit.
Front Loading (Mi4, C8) with Tomahawk Gear
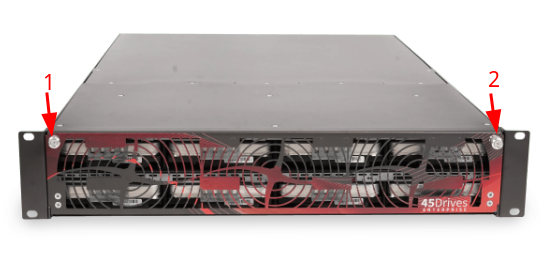
- When dealing with one of our front-loading servers (Mi4 or C8) you will see two screws (top left and top right) on the front plate. Unscrew these by hand and the front plate will fold forward.
- Each drive slot will have a red tab with the slot number, for example (1-1). Slide this tab to the left and your drive will slide out for you to grab.
Front Loading (Mi4, C8) with Trays
- When dealing with one of our front-loading servers (Mi4 or C8) you will see a little button on the left hand side to push in to eject the tray that holds the hard drives.

- With the HD tray popped out a little, you will slide it out all the way and place the HDD into the tray.
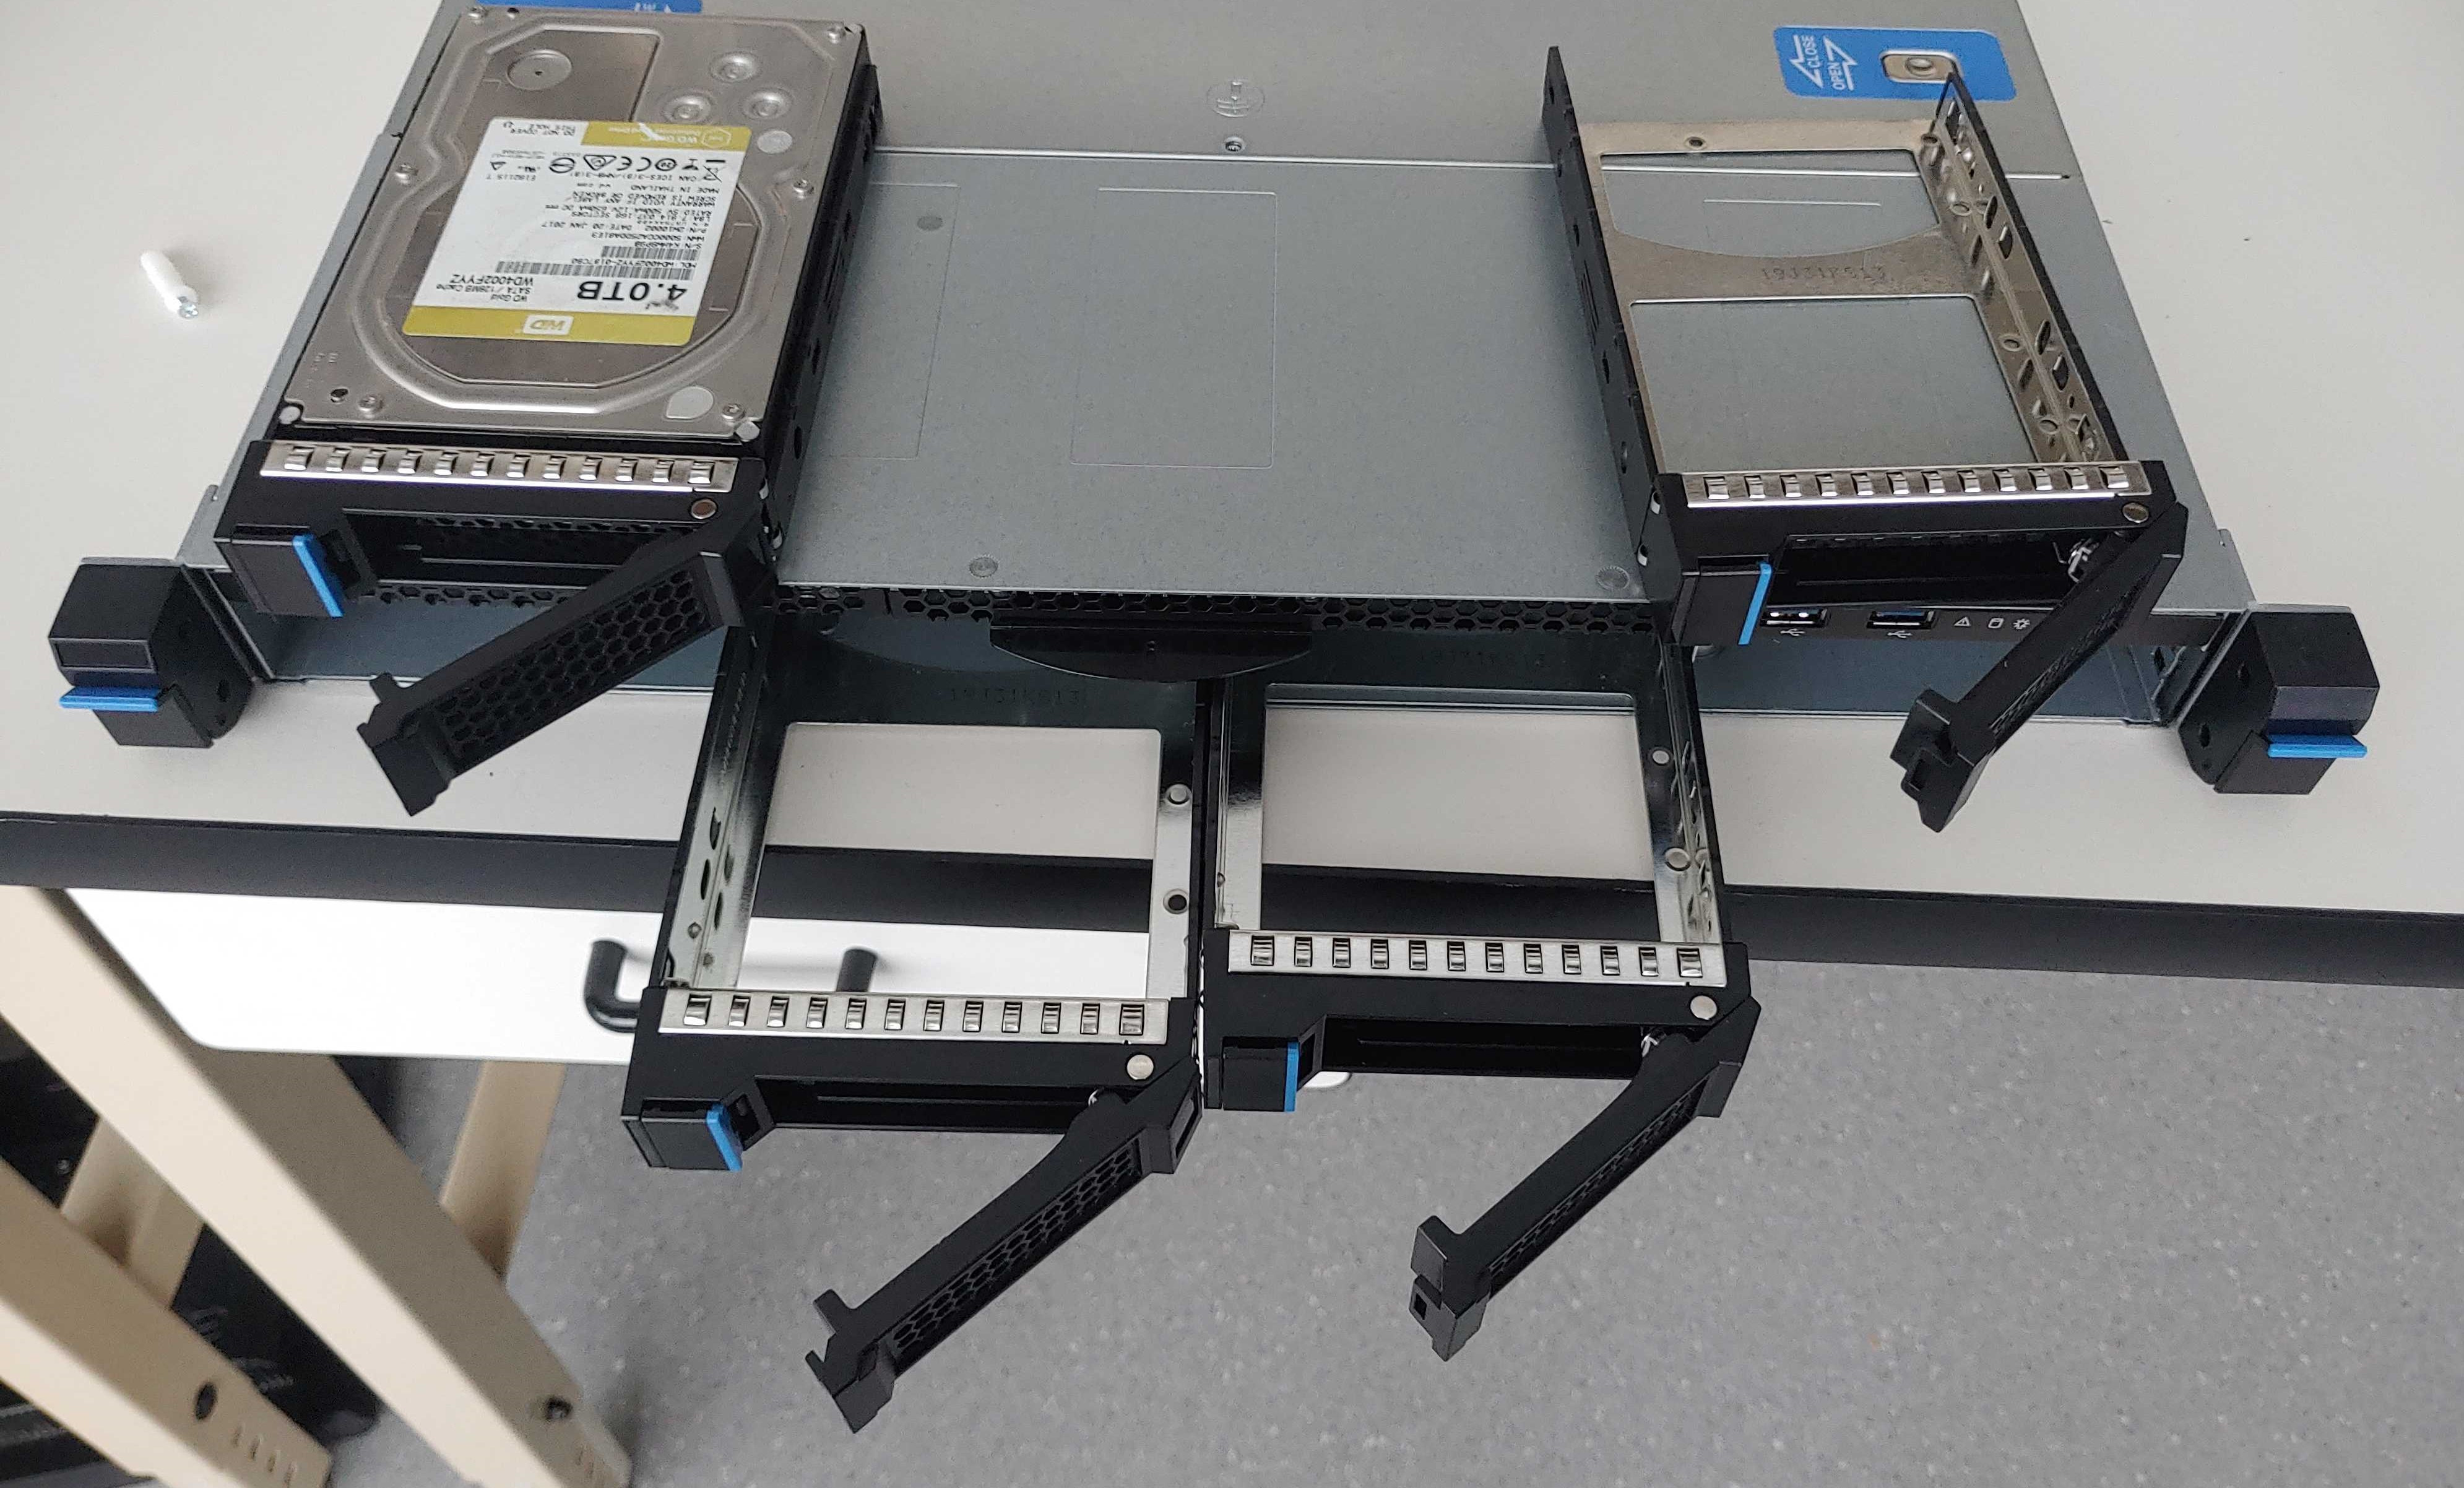
- With the HDD in the tray, you will slide the holders back into place in your server.
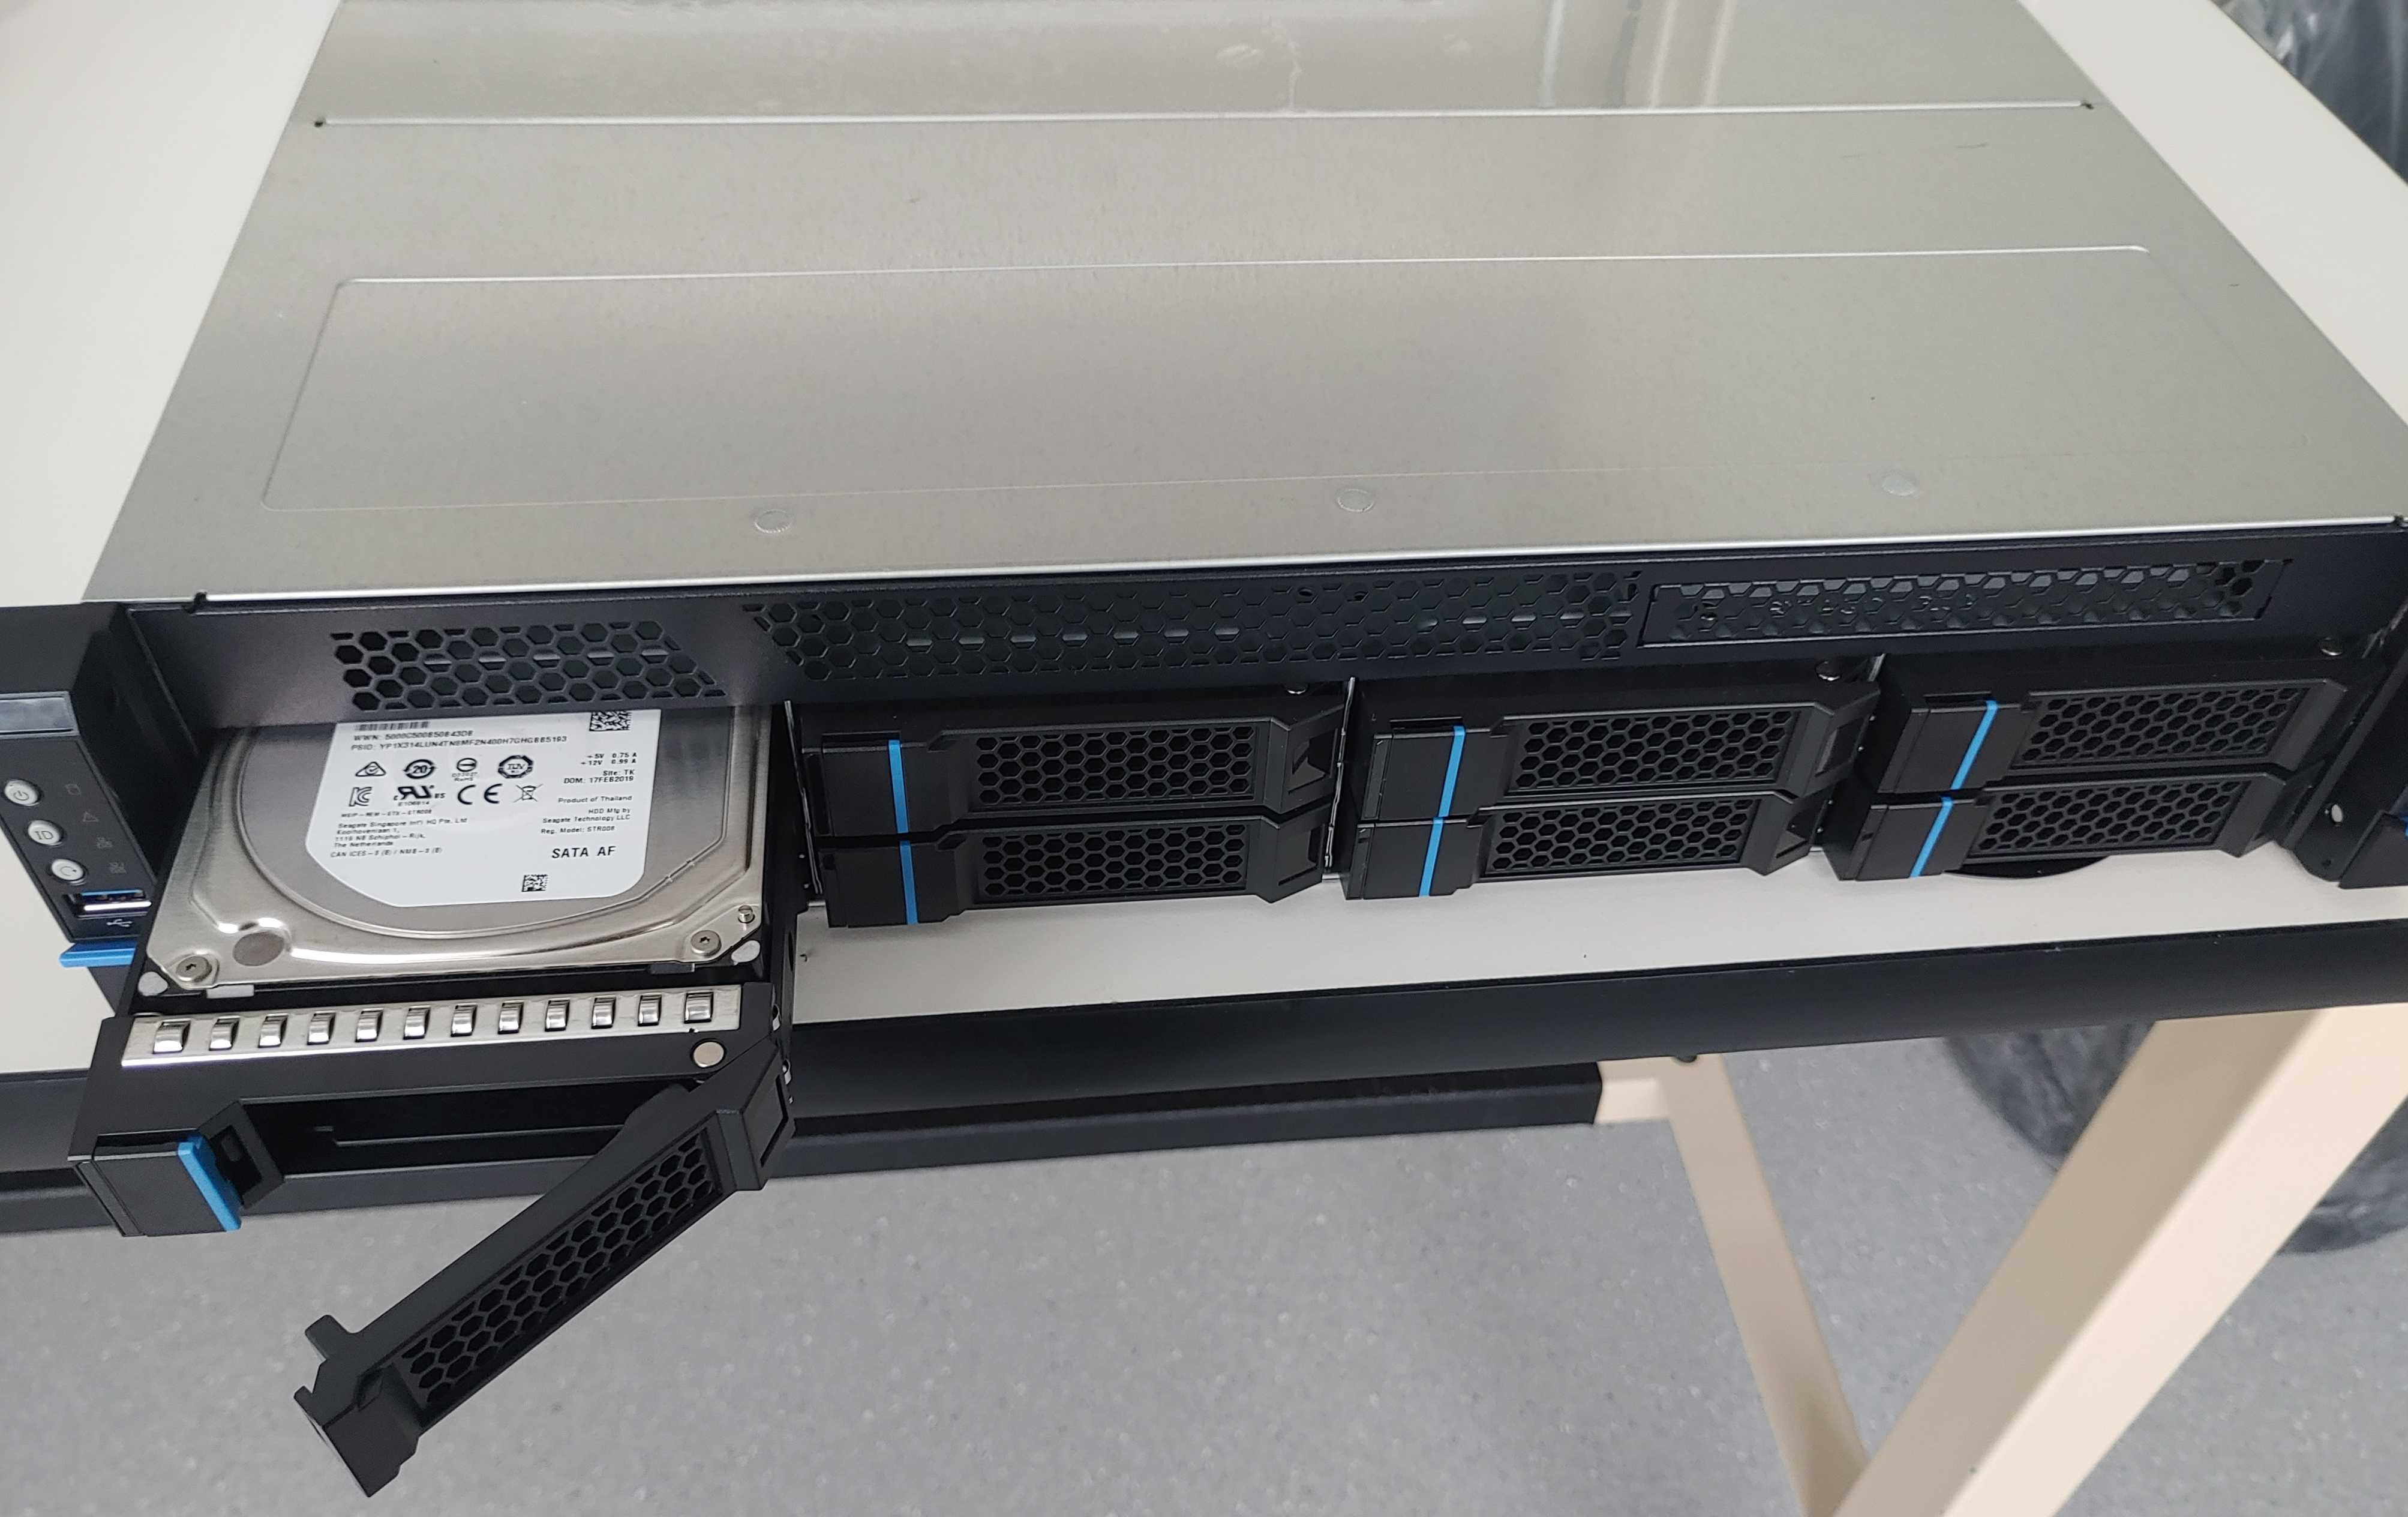
- Your front-loading server is now populated with drives.
Verification
- The drives are seated correctly in the bays, and power on when the system is powered on.
Troubleshooting
- Ensure you are lining up the drives correctly when inserting. The bays are designed in such a way it should force it to line up automatically, but just ensure you are not twisting or applying pressure against the drive bays when inserting your drives.
Further Reading
- Now that your storage drives have been installed, you will need to Setup the Initial Cabling.
Views: 3799