Table of Contents
Scope/Description
This article describes the process to install a extended boot drive bracket to the 45Drives Unit. This will typically be done when a ZIL or L2ARC are added to the system.
Prerequisites
- Unit Powered Down
Steps
- Shut down the unit you are replacing the drives in and unplug the power.
- Open the back of your unit with a Phillips screwdriver.
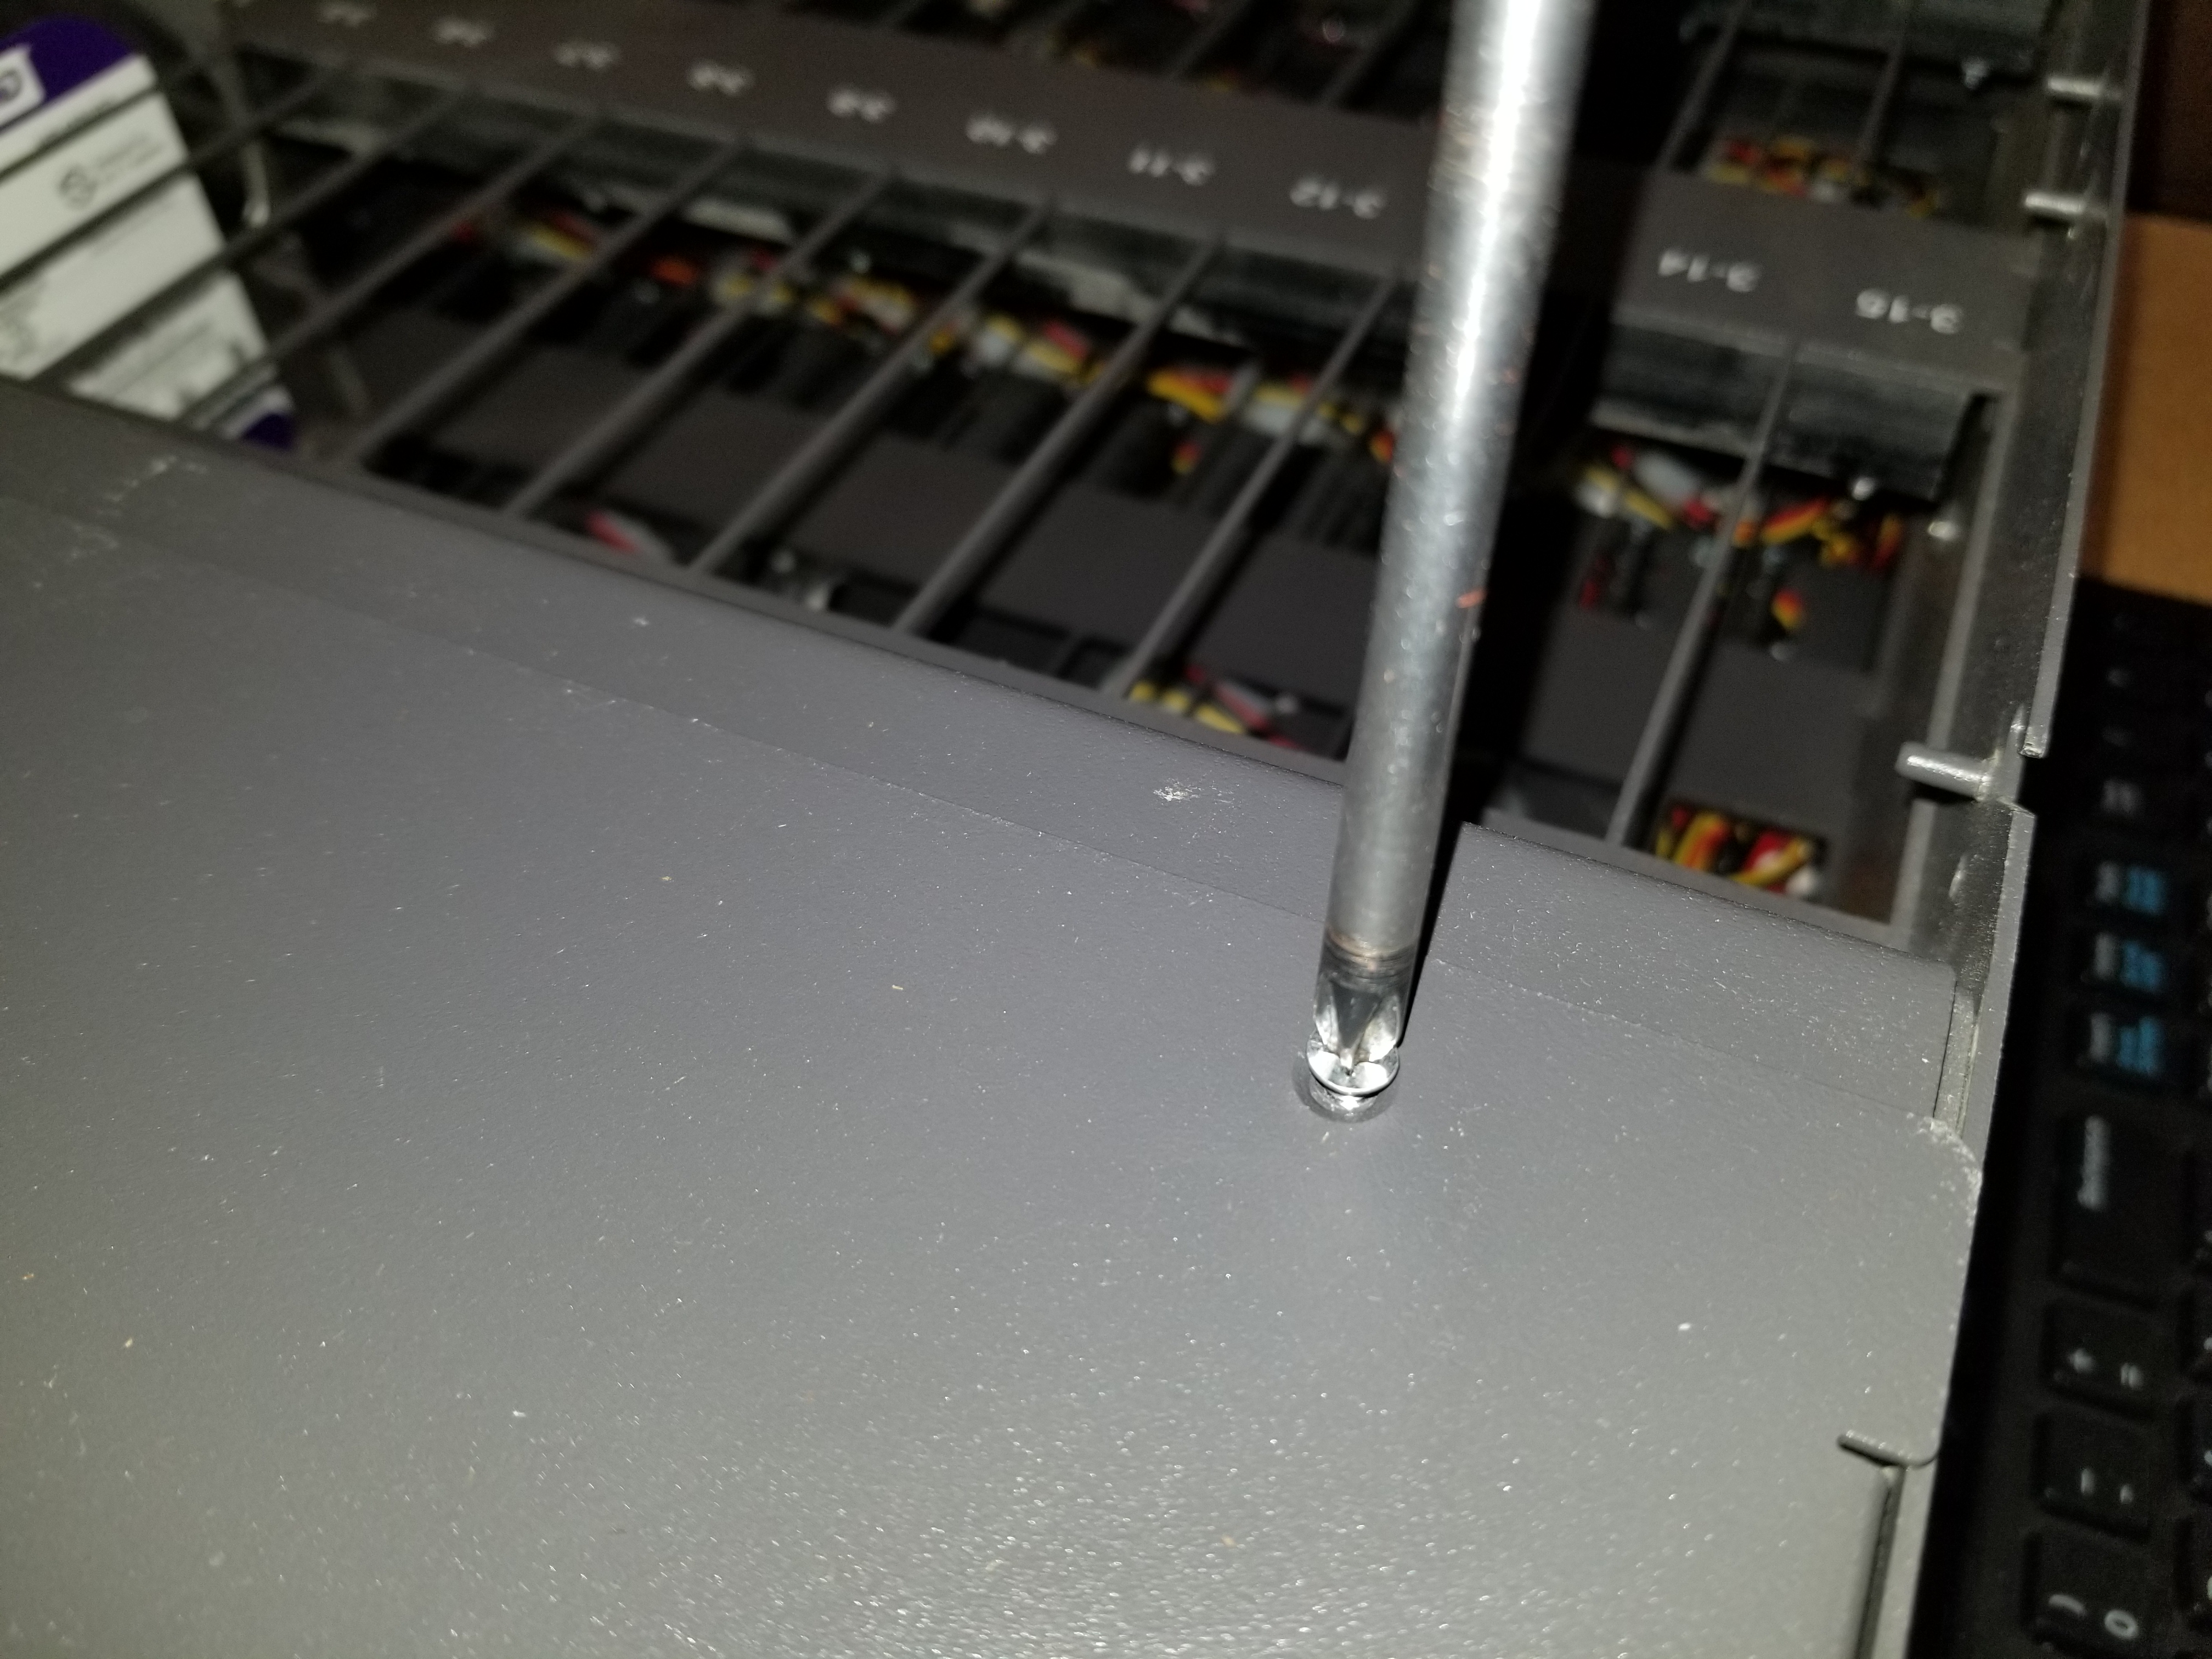
-
- Unplug the power and and SATA cables from the boot drives.
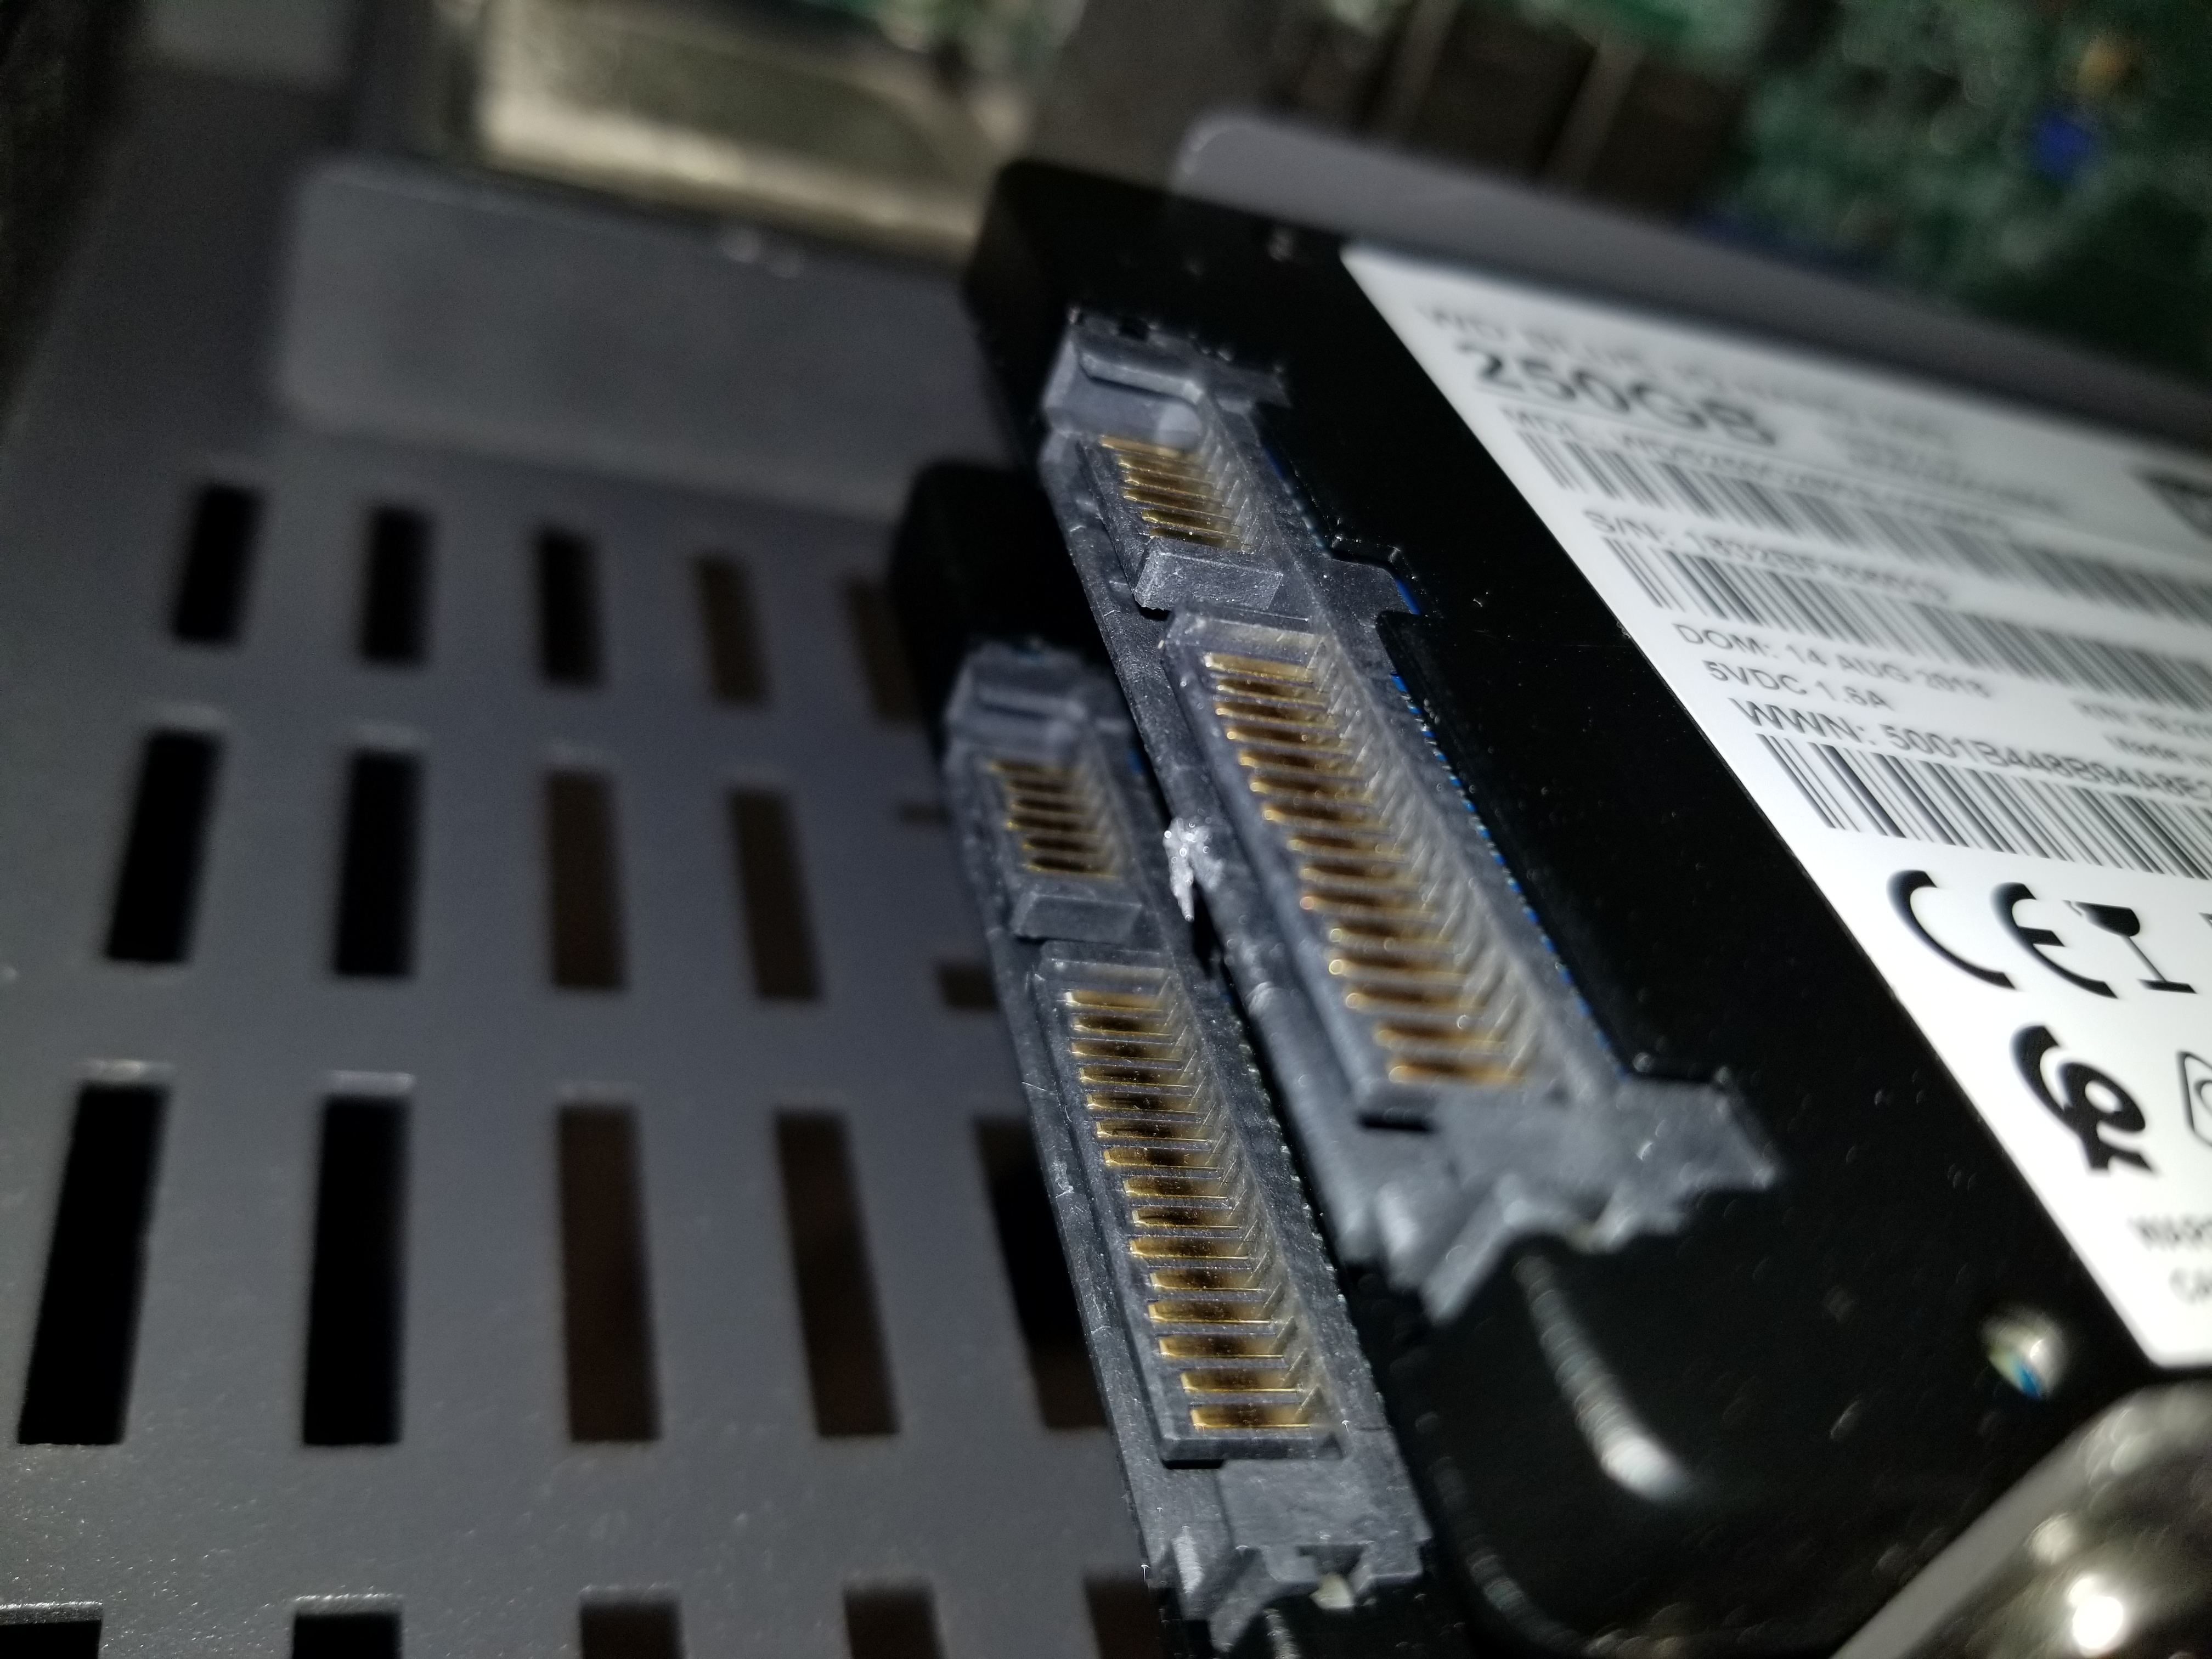
-
- Unscrew the boot drive bracket from the back of the unit.
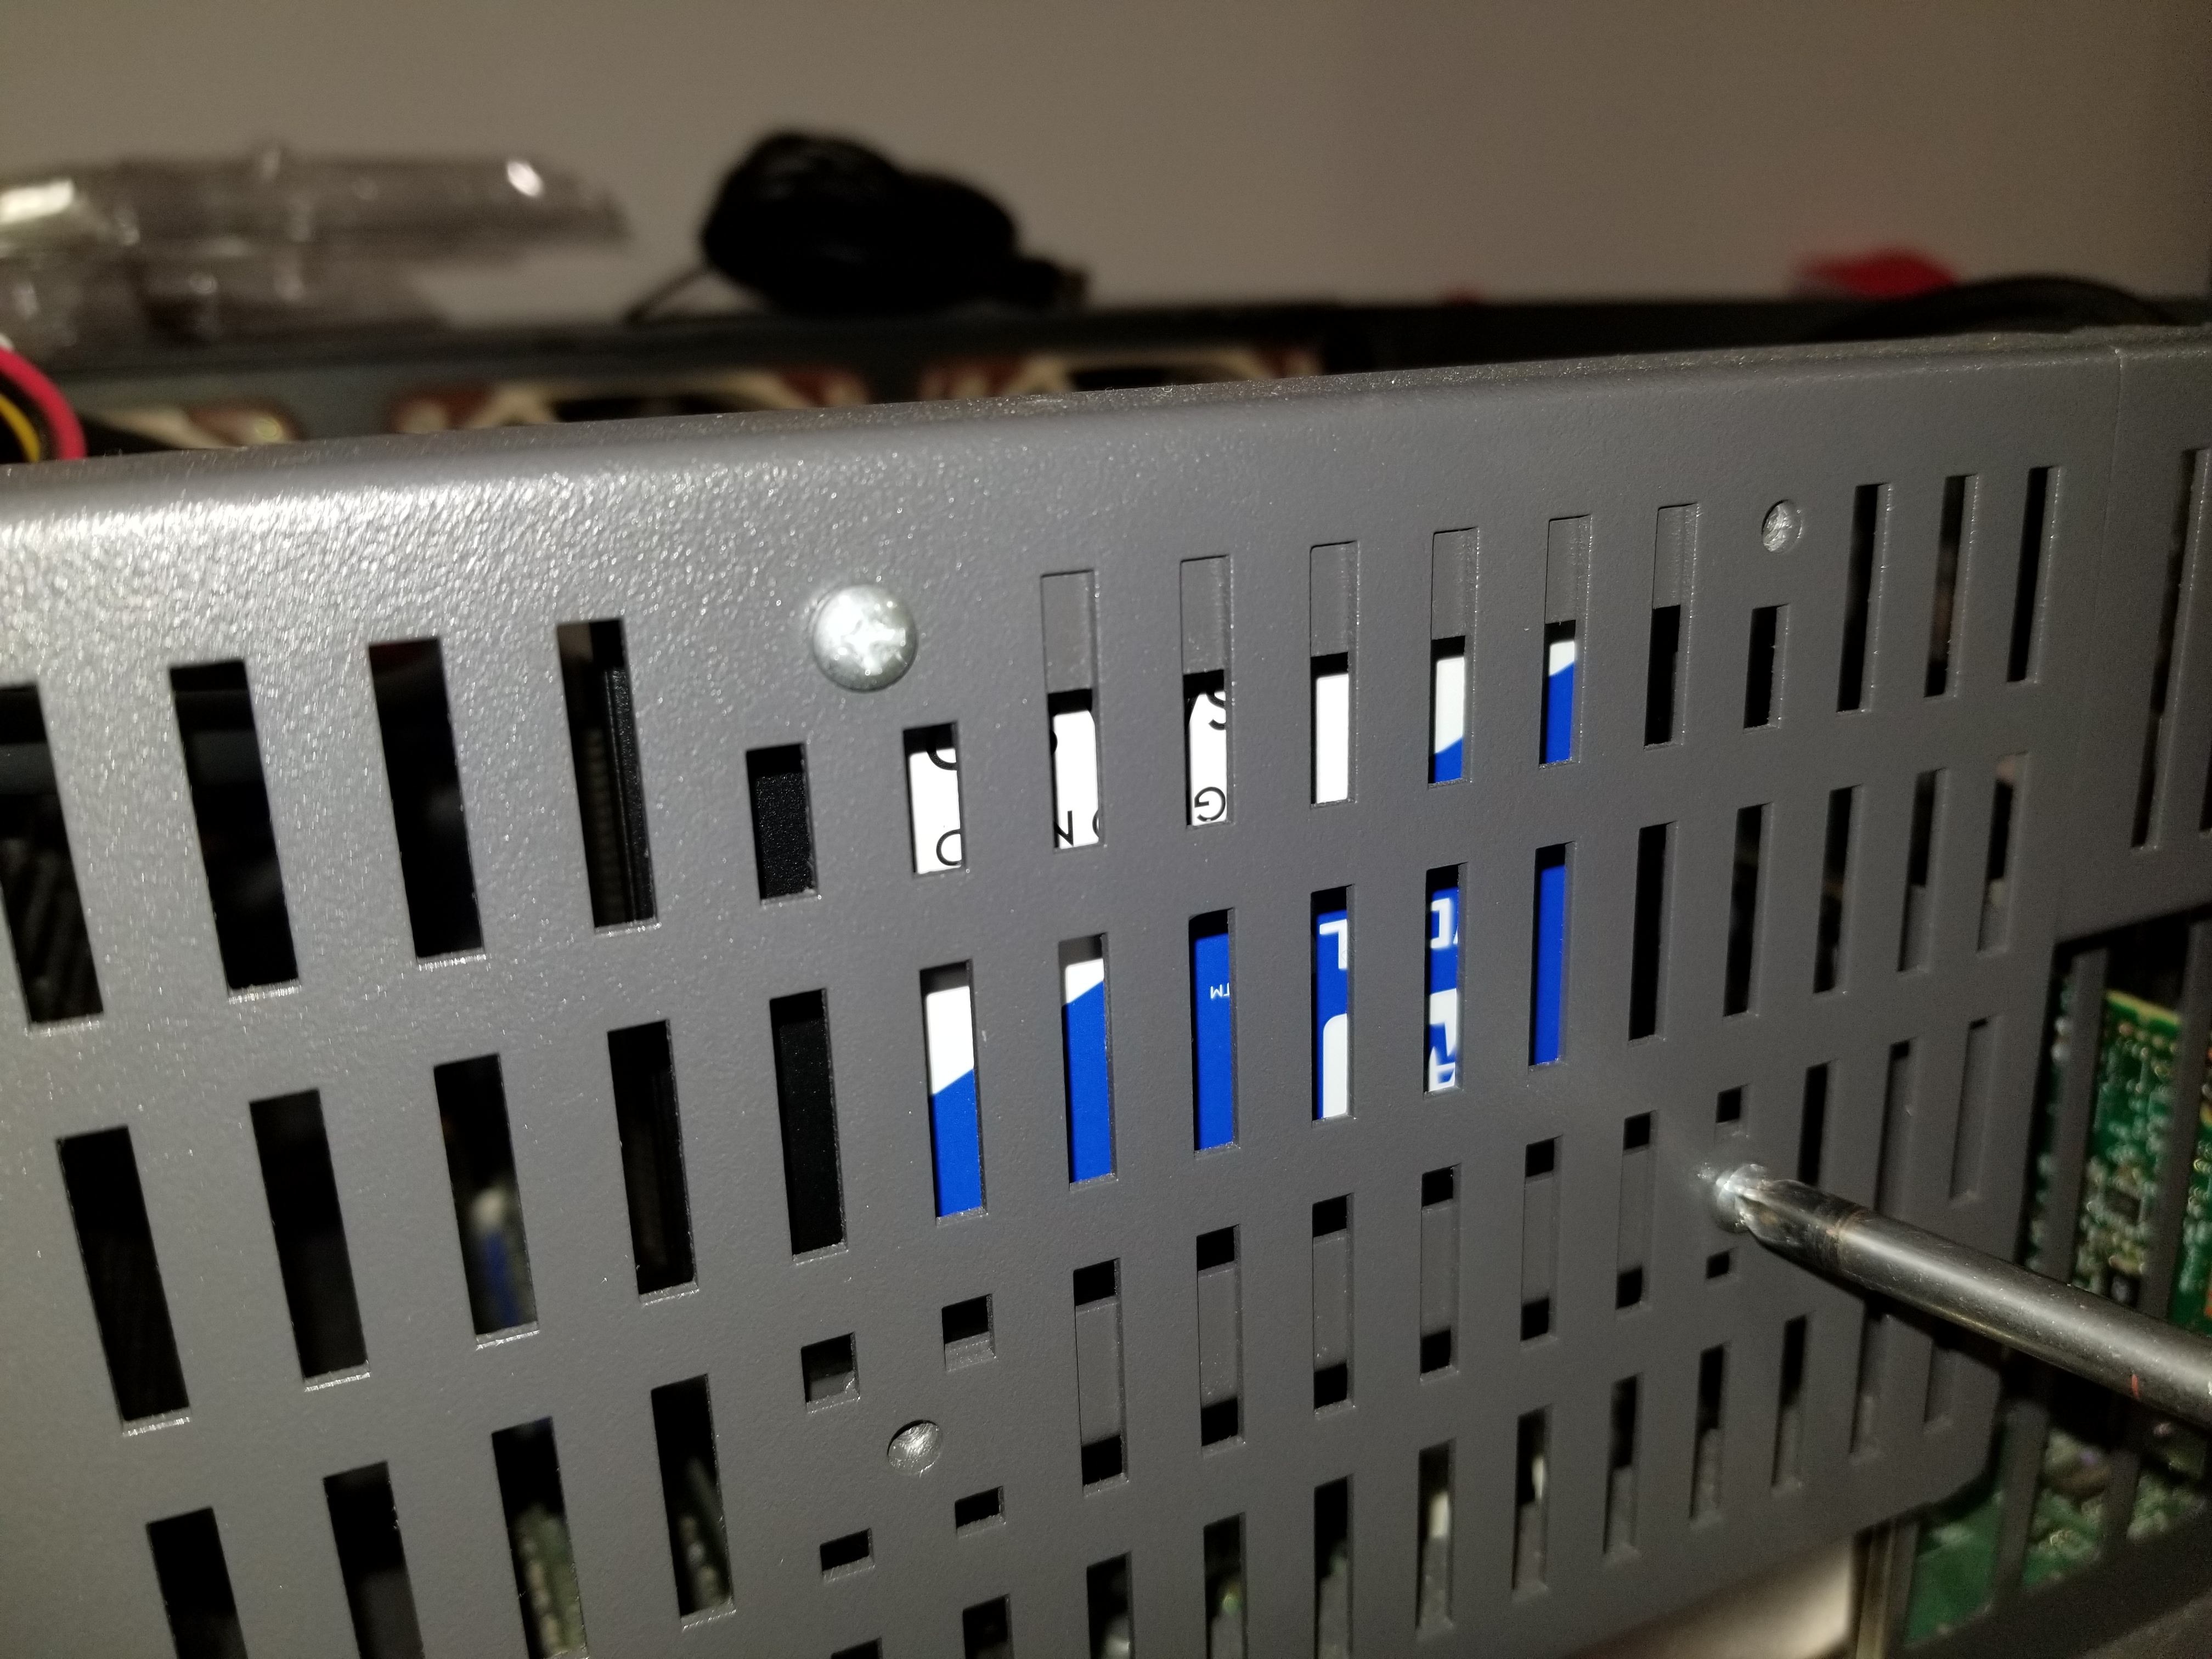
-
- Detach the bracket from the boot drives.
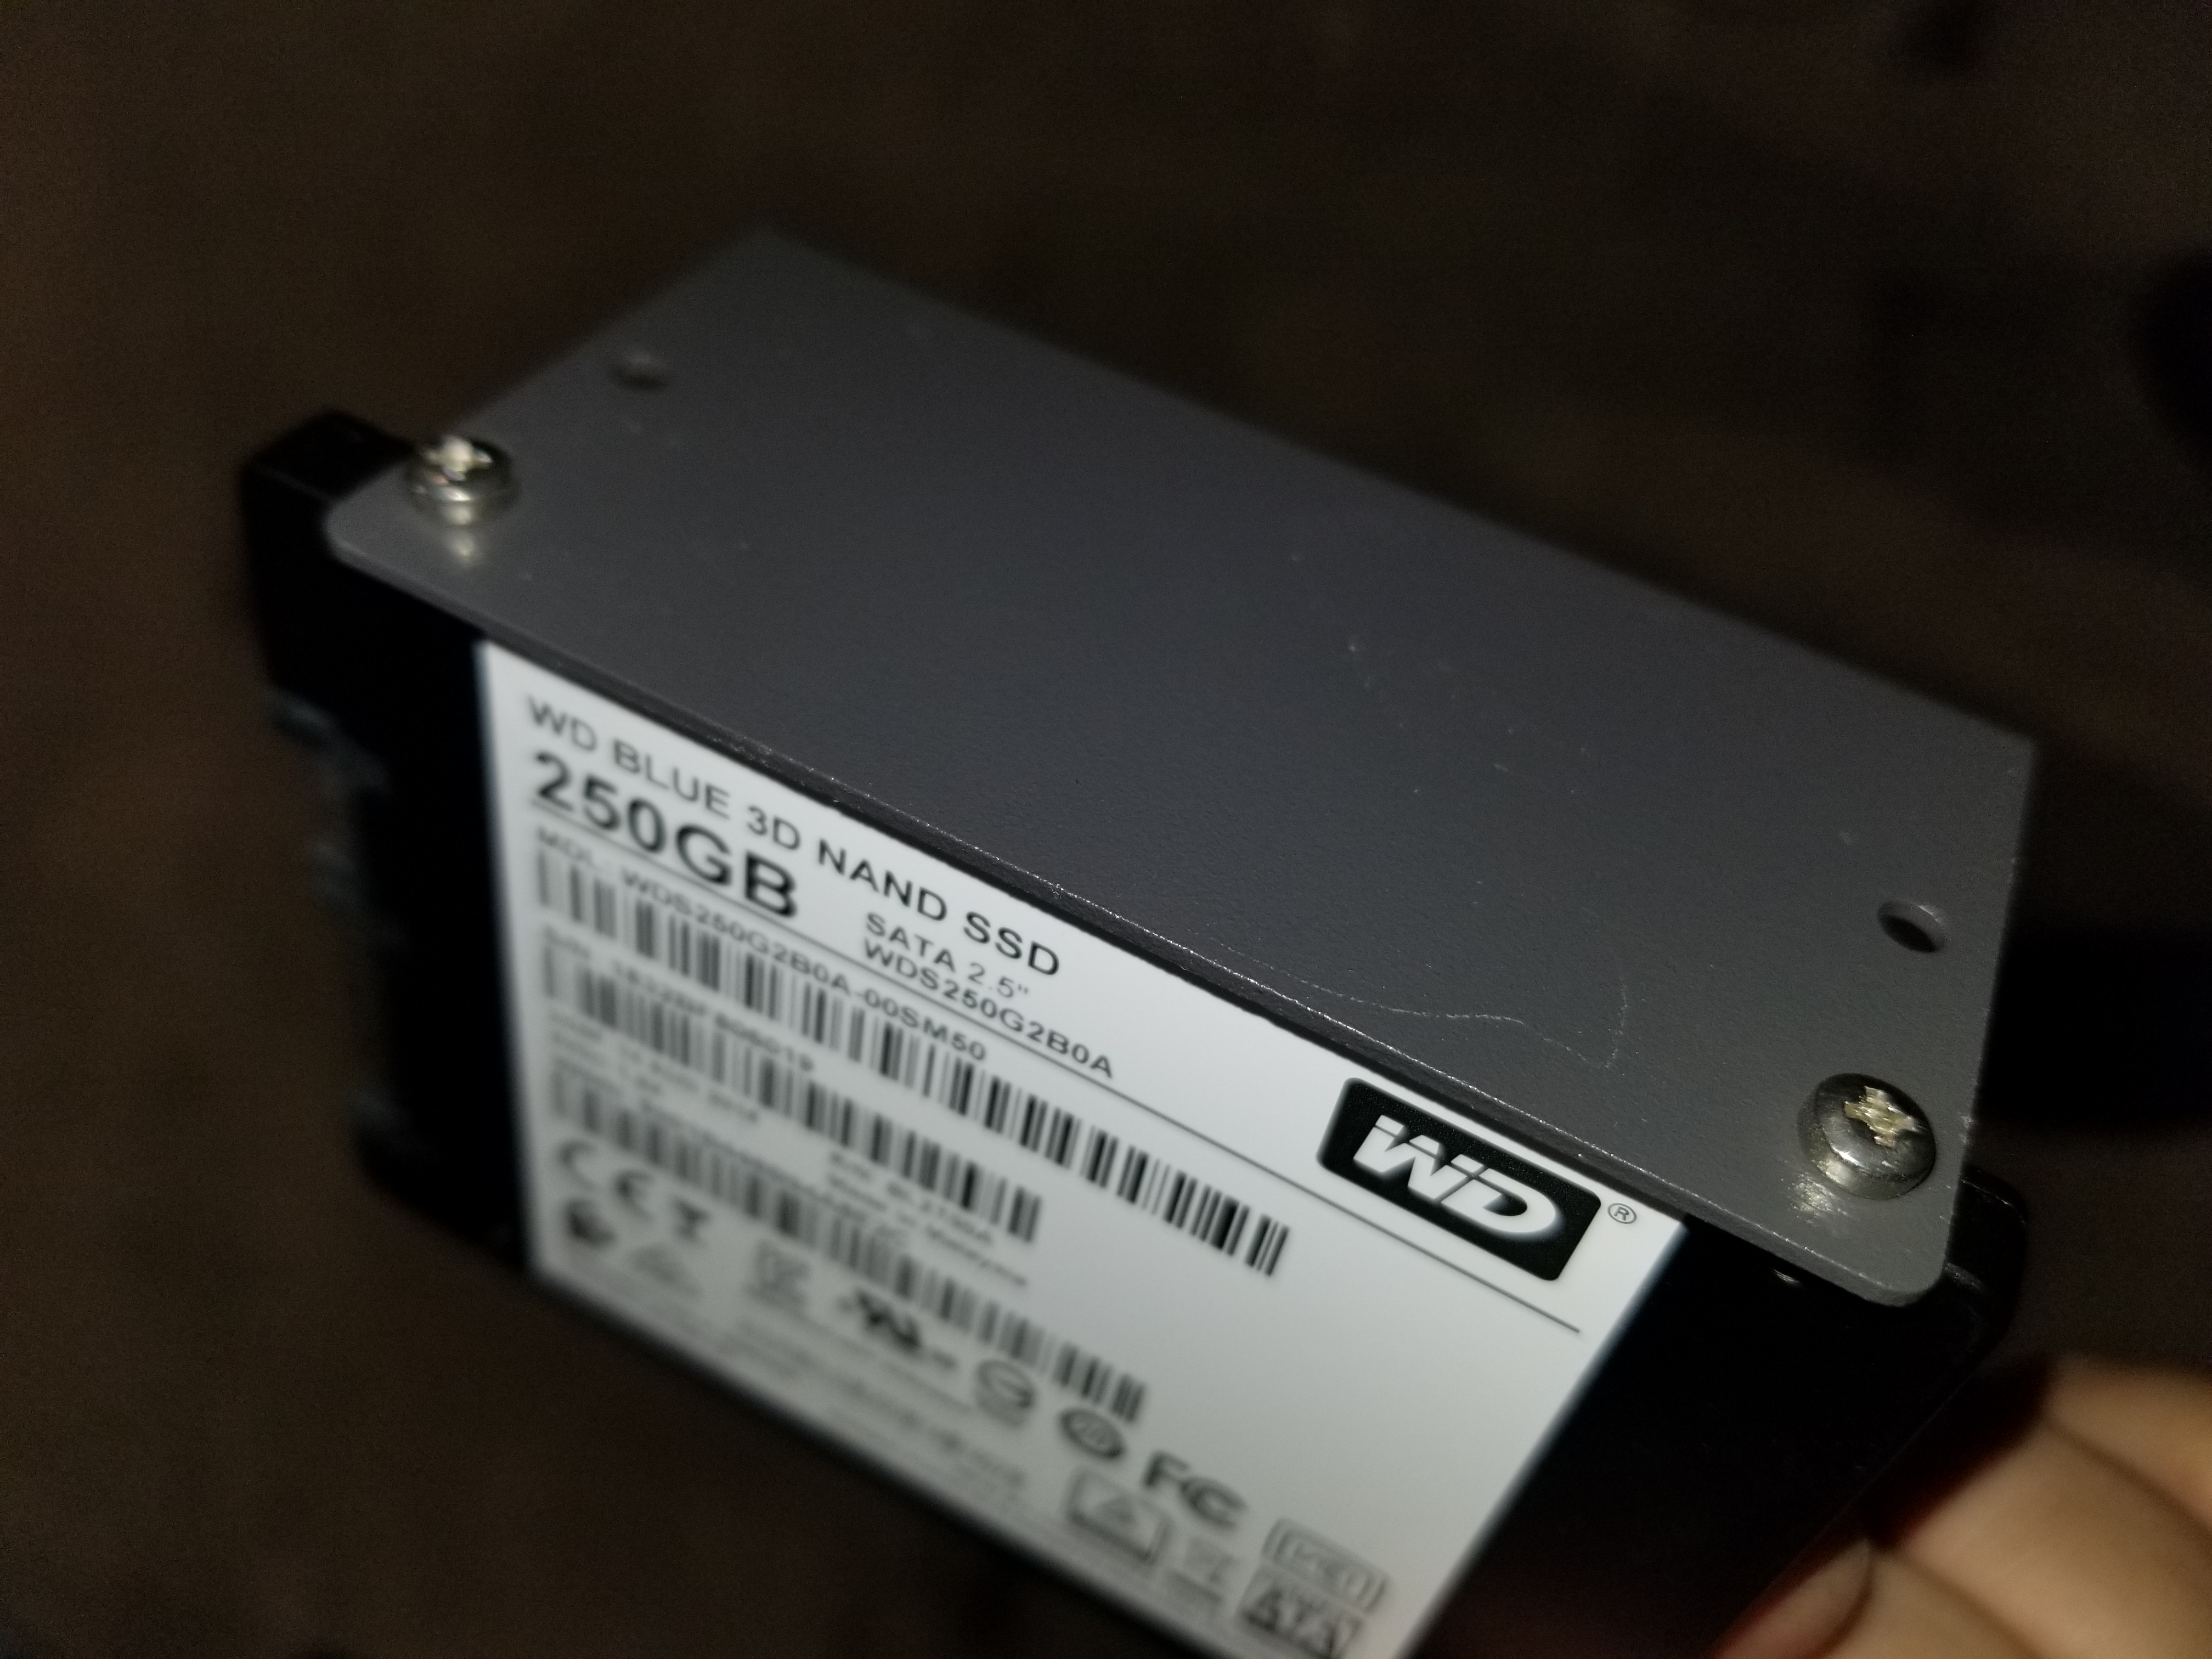
-
- Attach the bracket to the boot drives as well as any additional cache SSD’s.

-
- Screw the bracket with the new boot drives and cache SSD’s in it to the back of the unit.
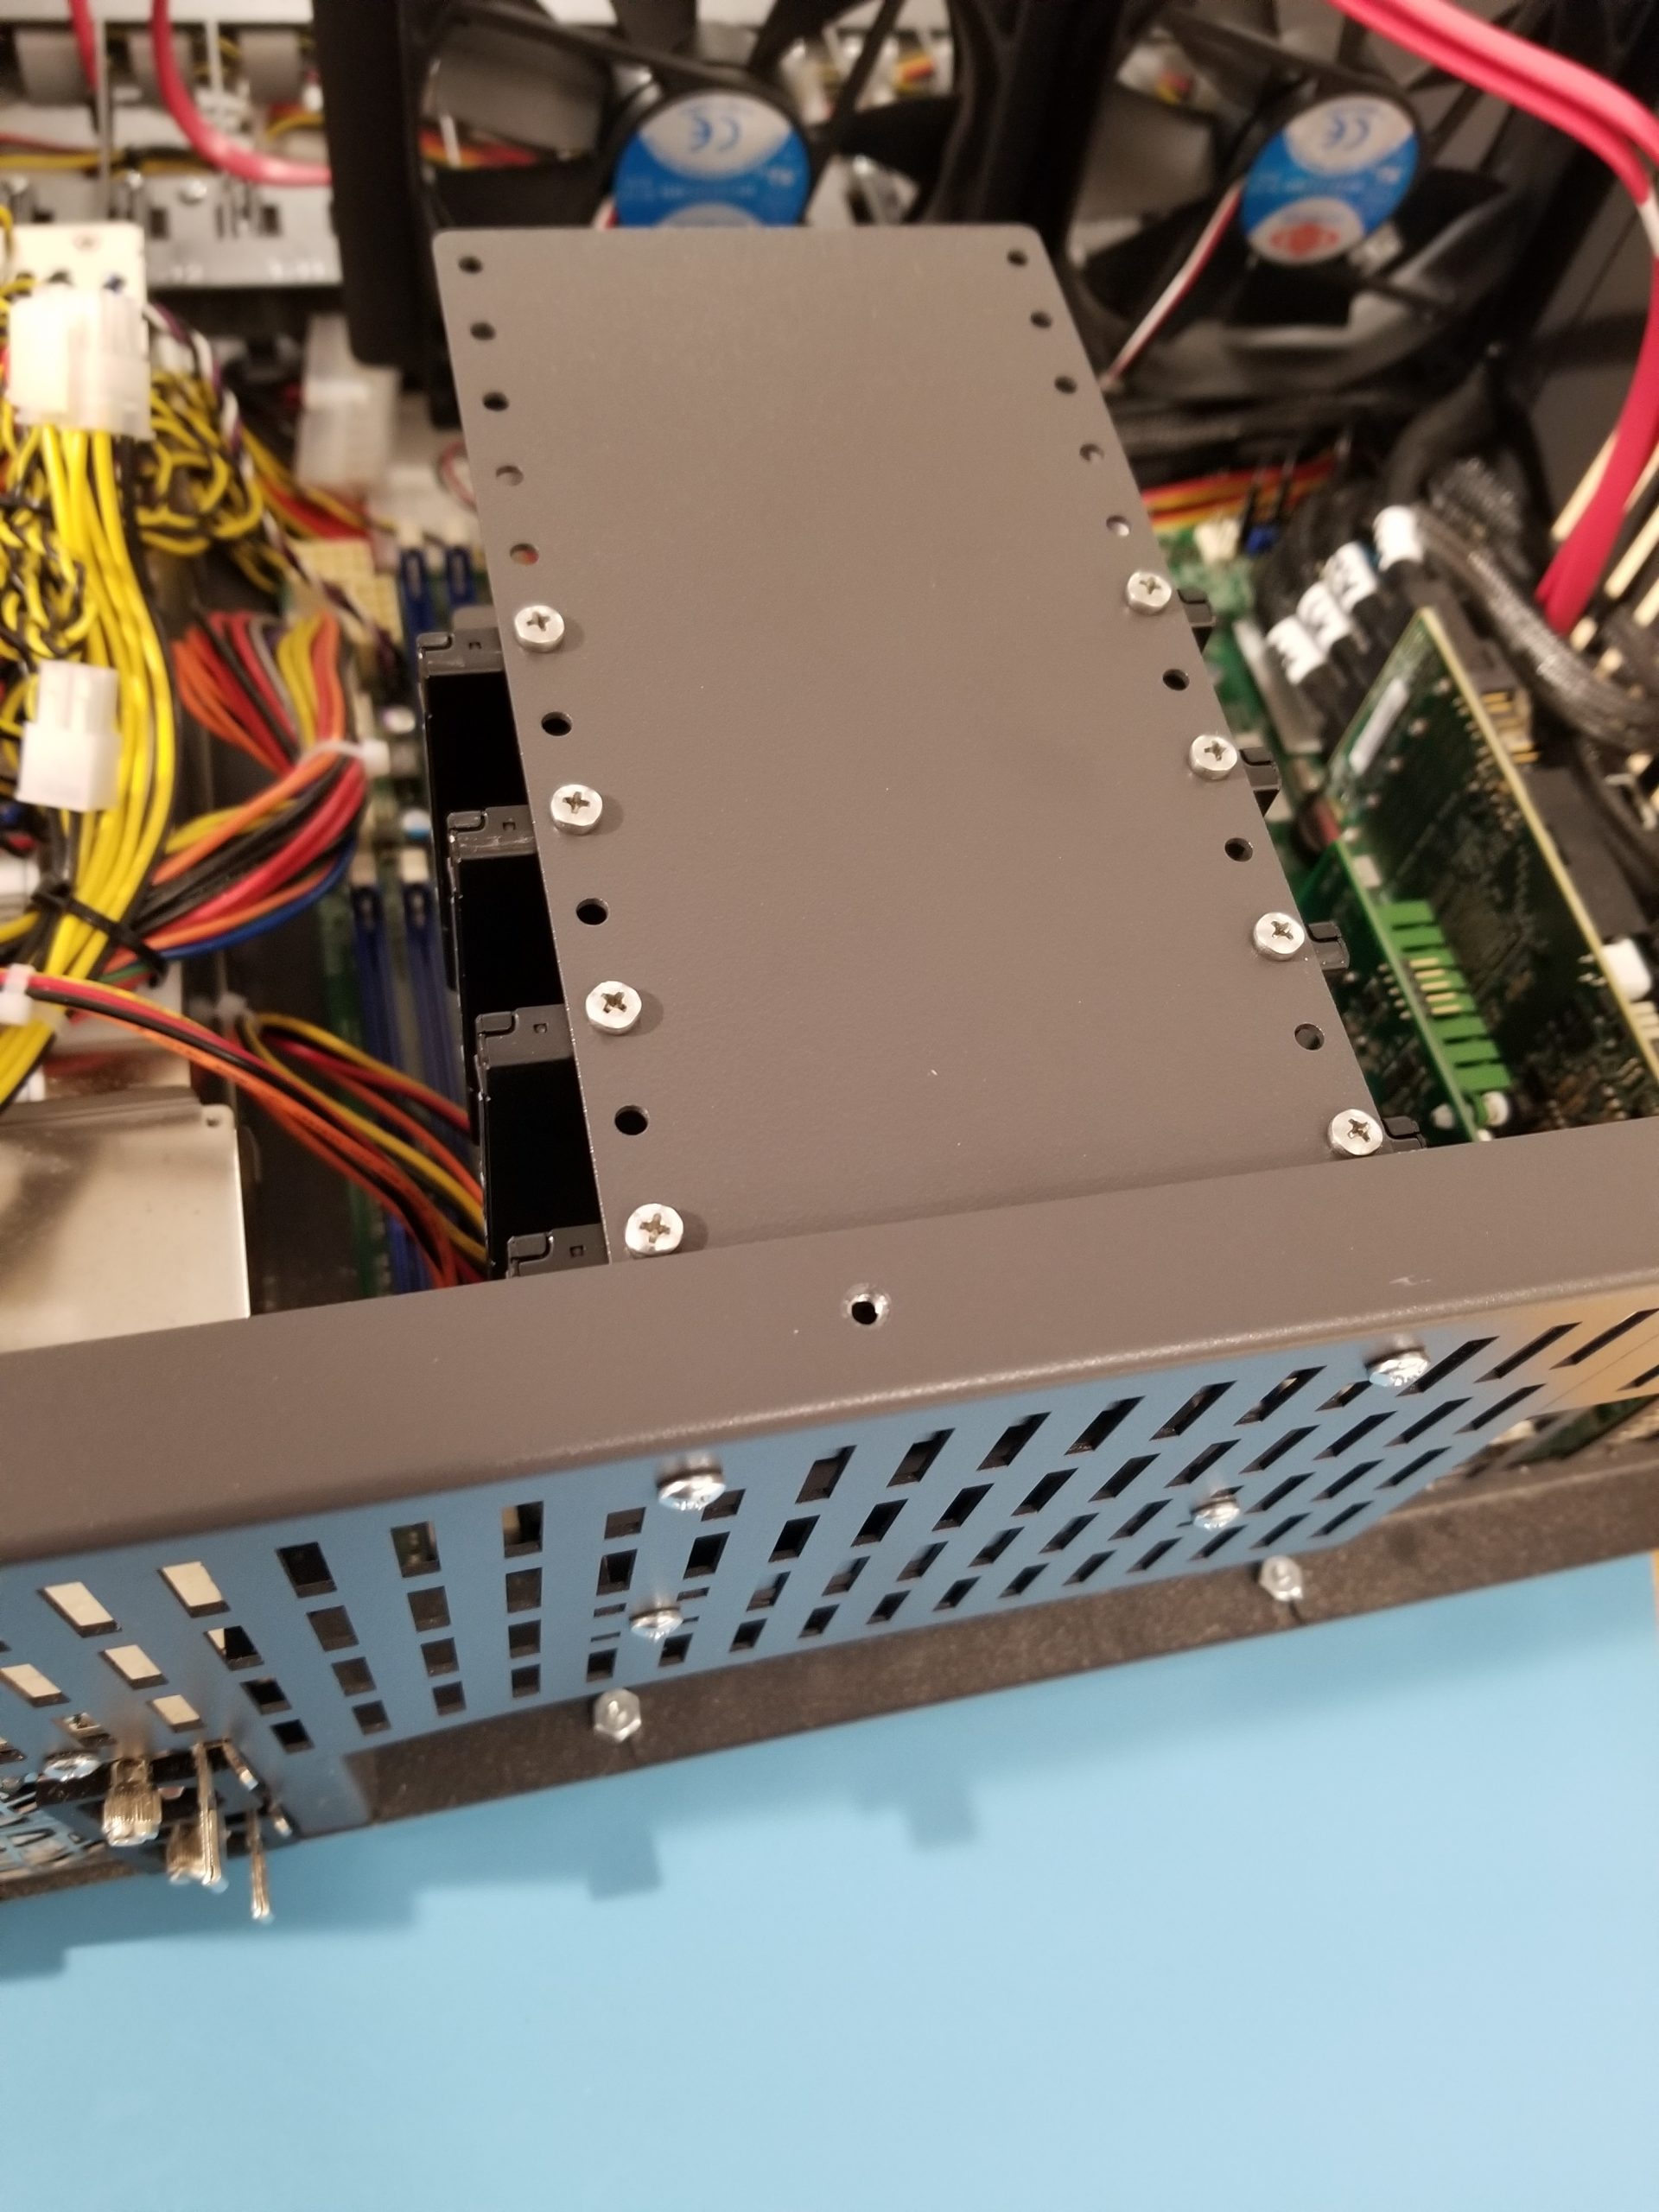
-
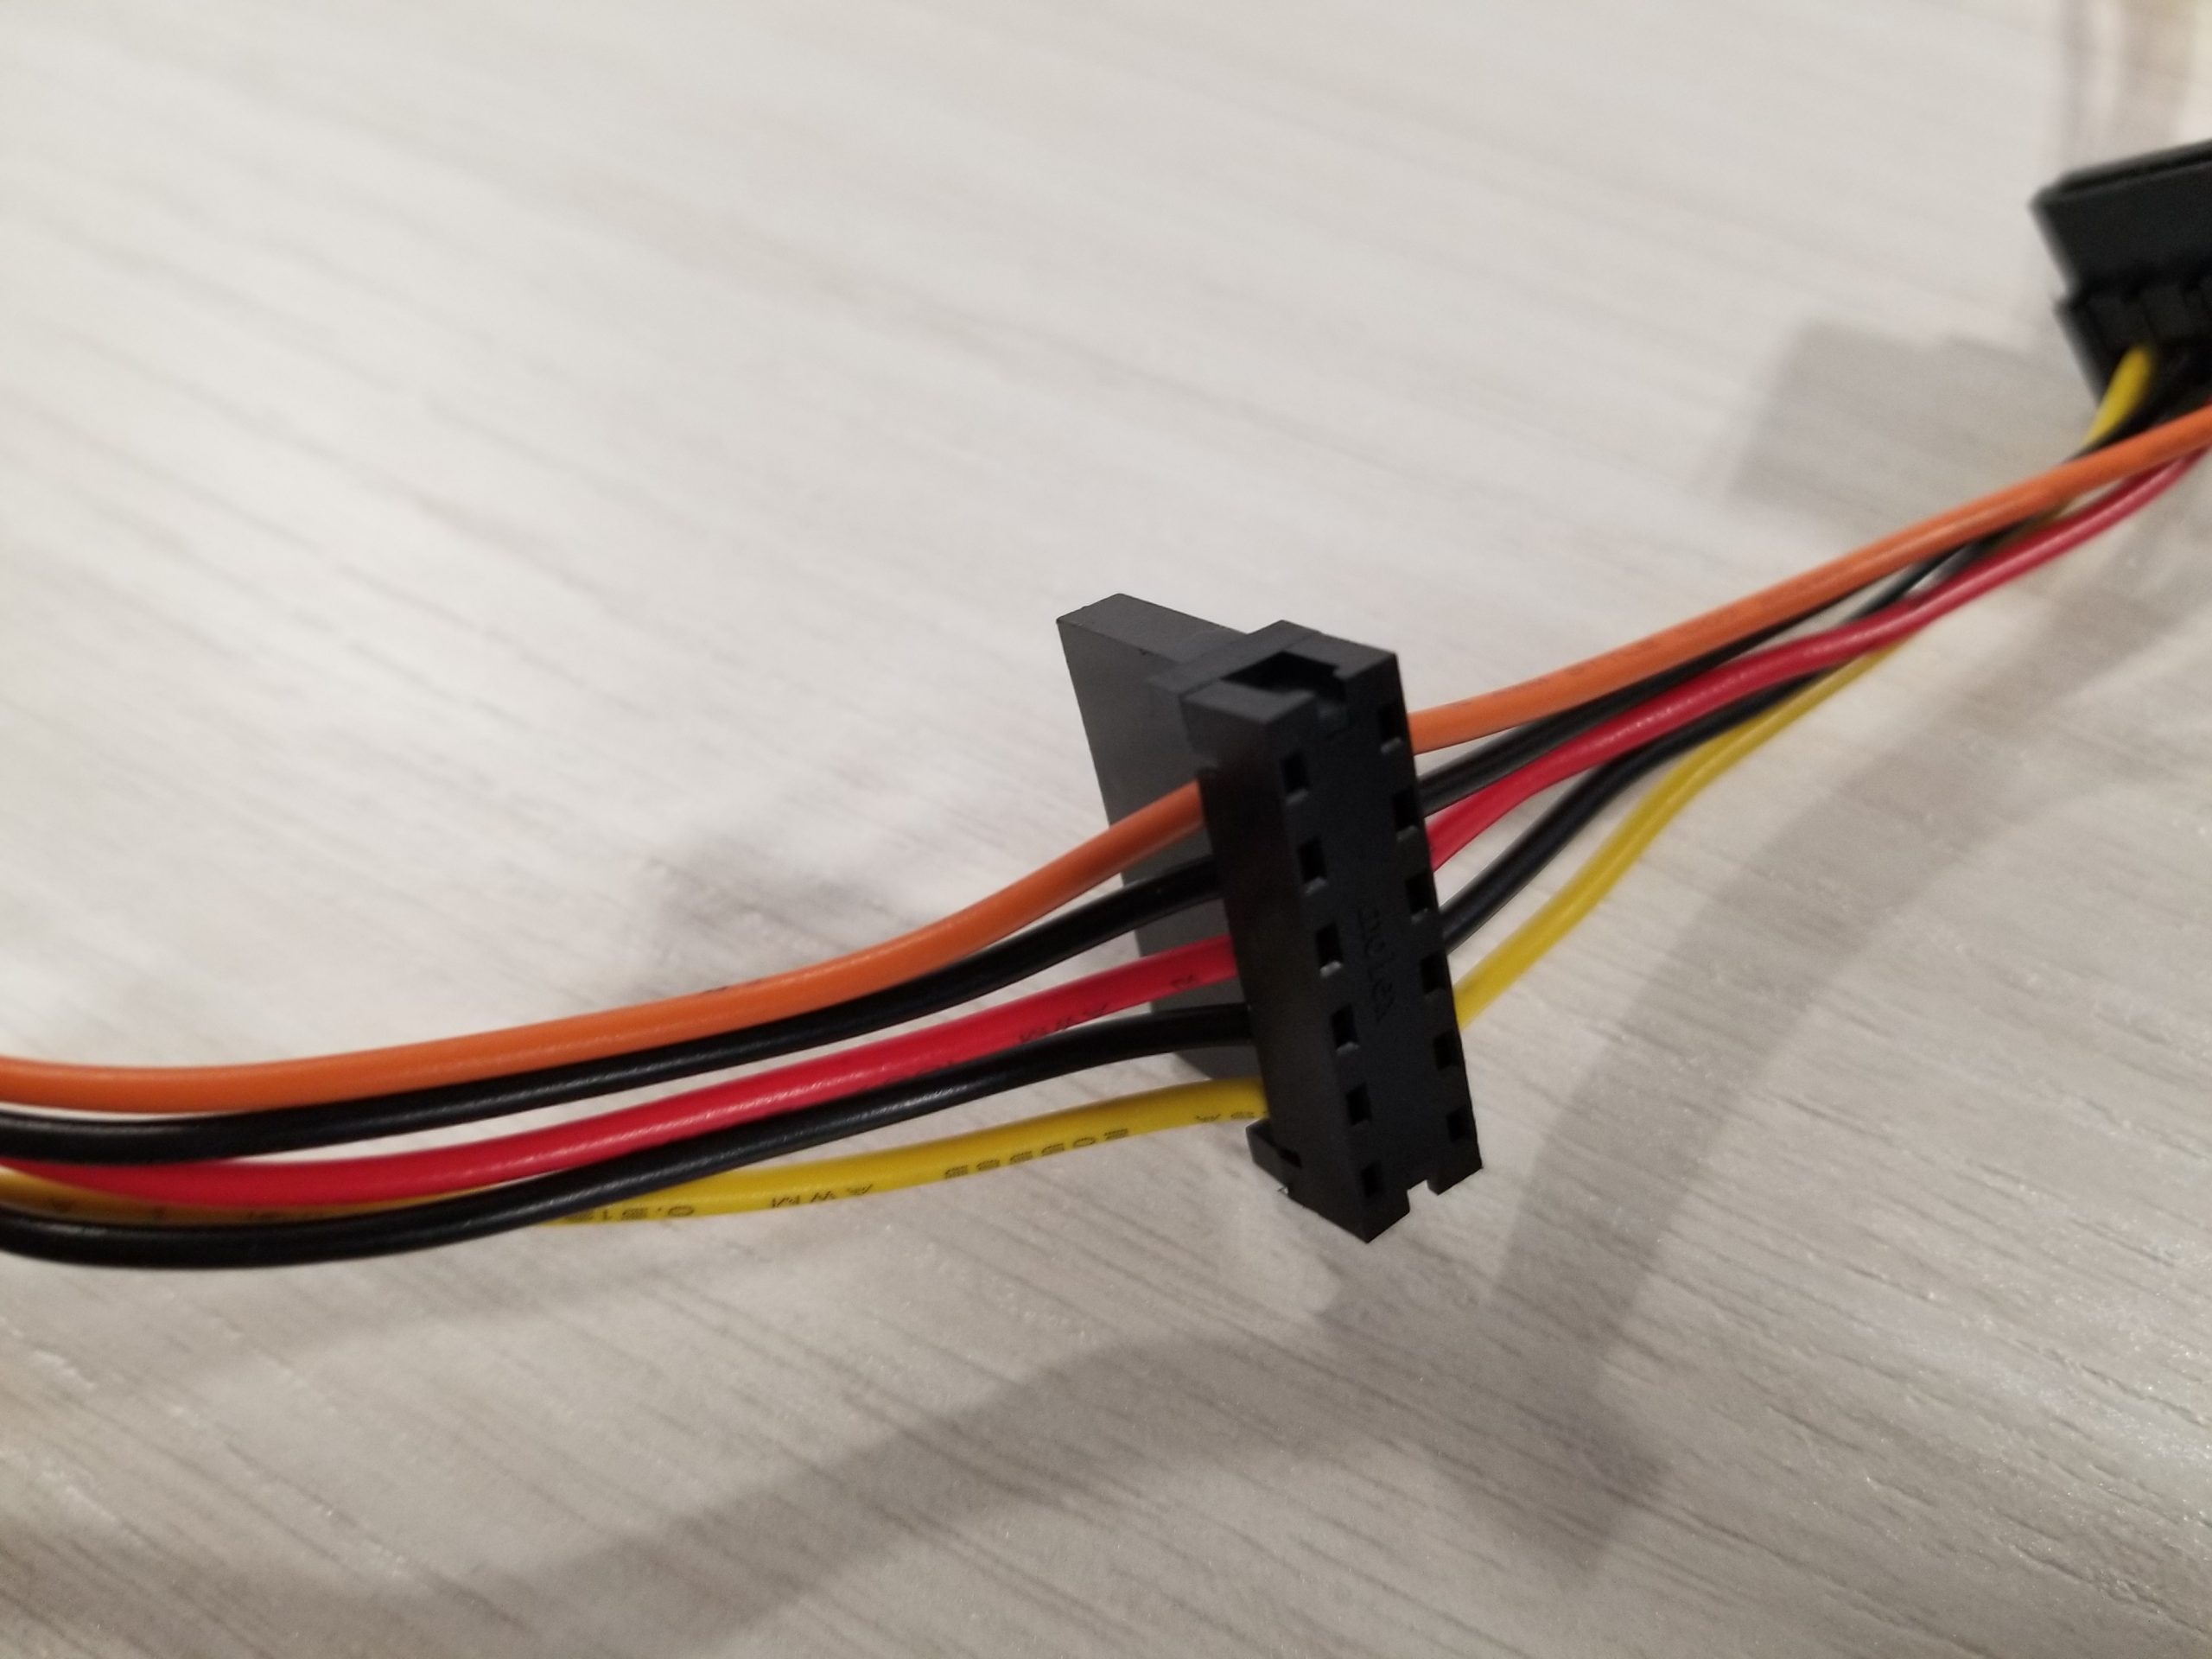
- Splice extra power connectors on to the SATA Power line coming from the power supply. Make sure to line up the connector so that the the “L” is in the correct position and the cable colors line up in the supplied connector. Use a crimp tool or alternatively a flat head screw driver to push the wires into the connector and make sure they are down all of the way. After that is complete, attach the top cap of the connector to finish the power splicing.
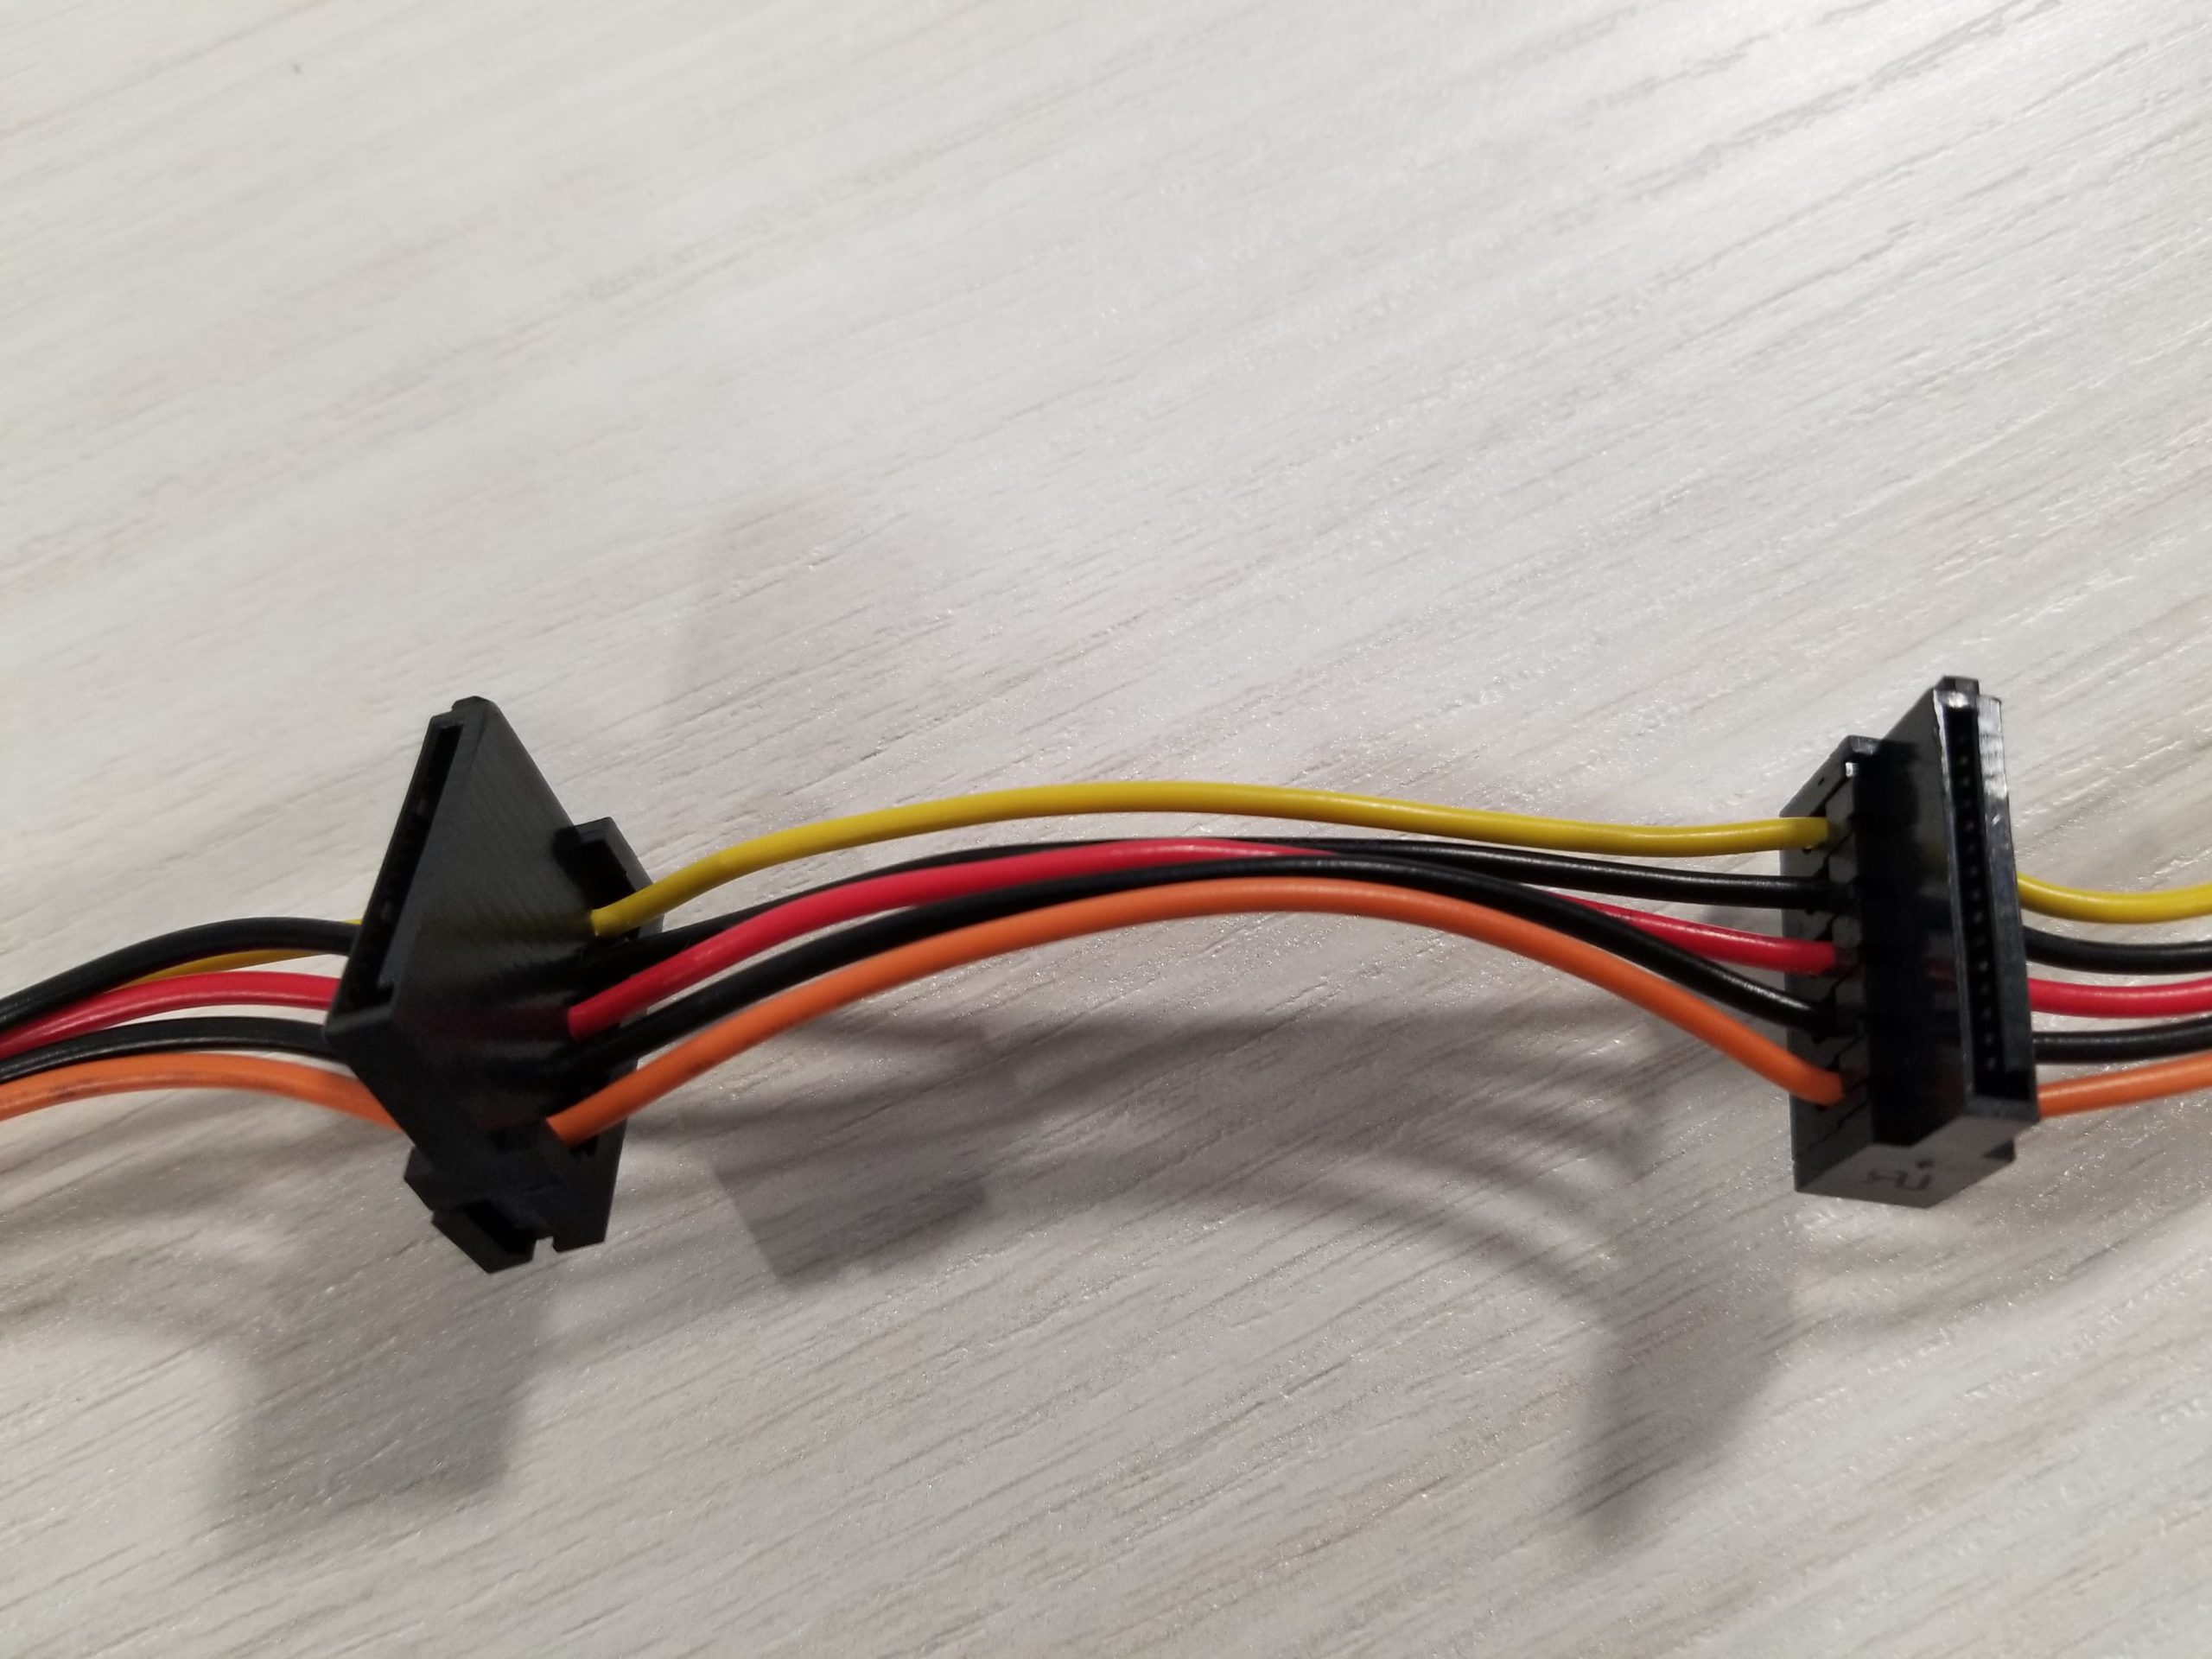
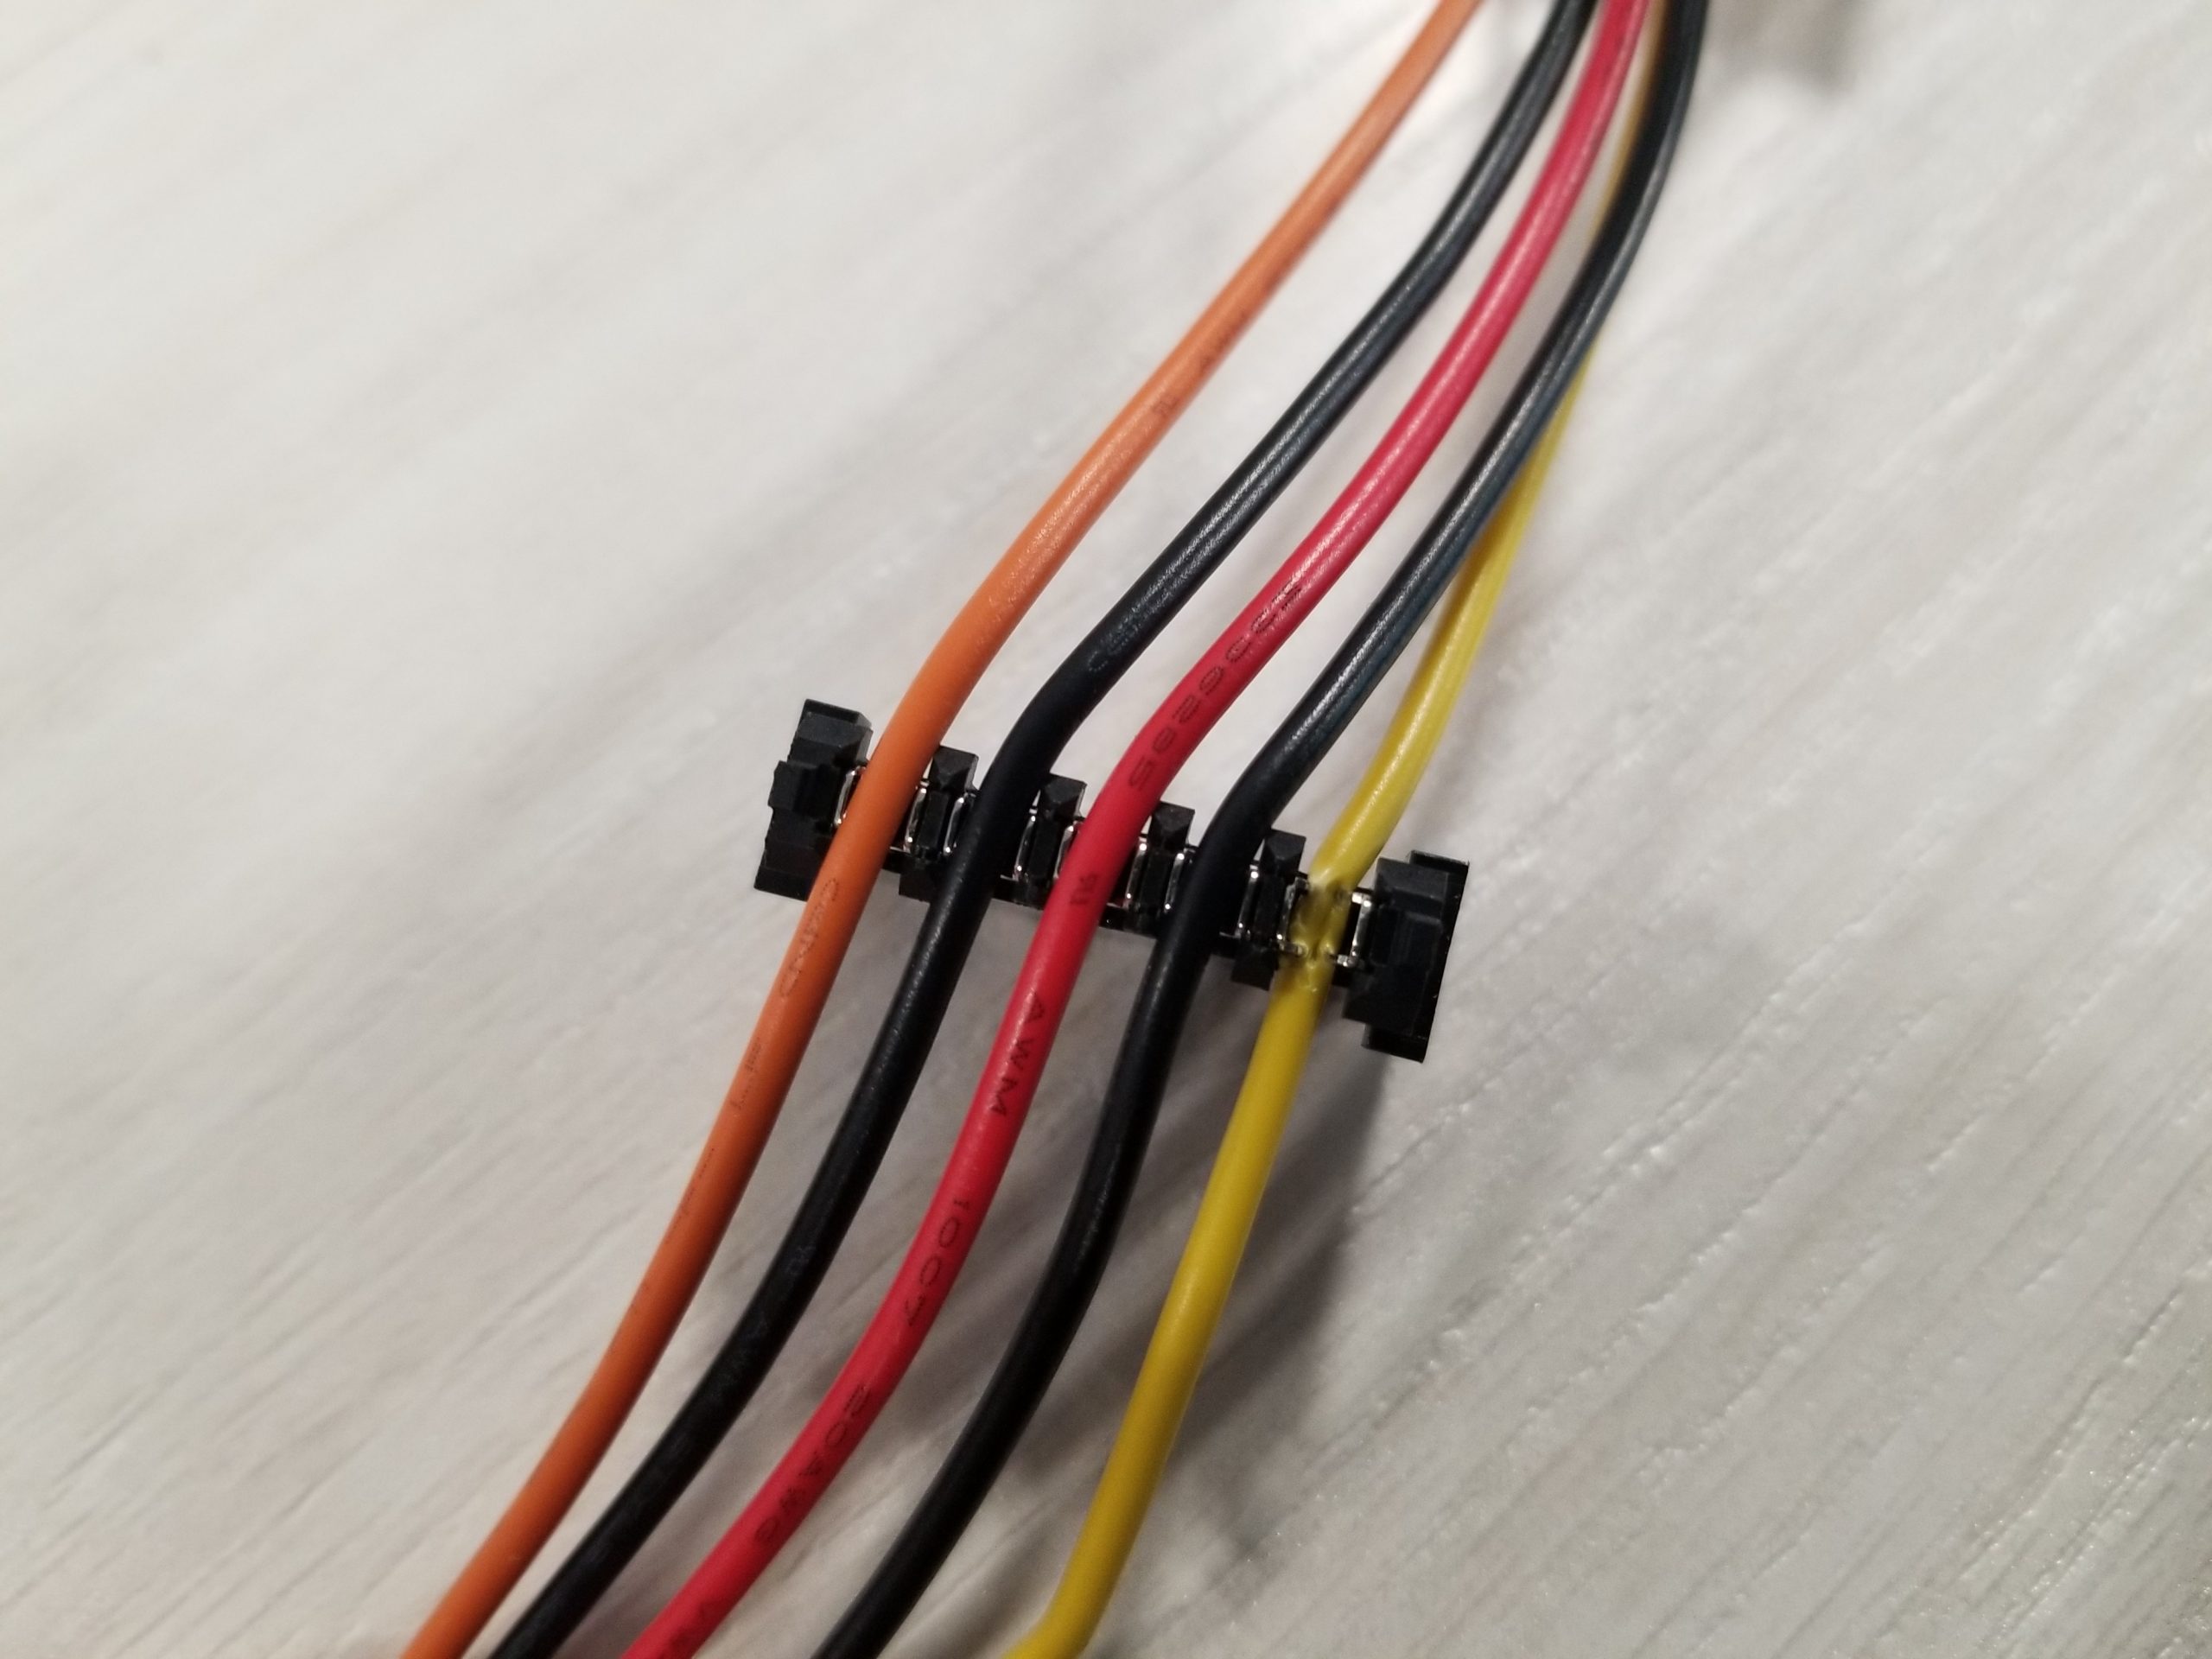
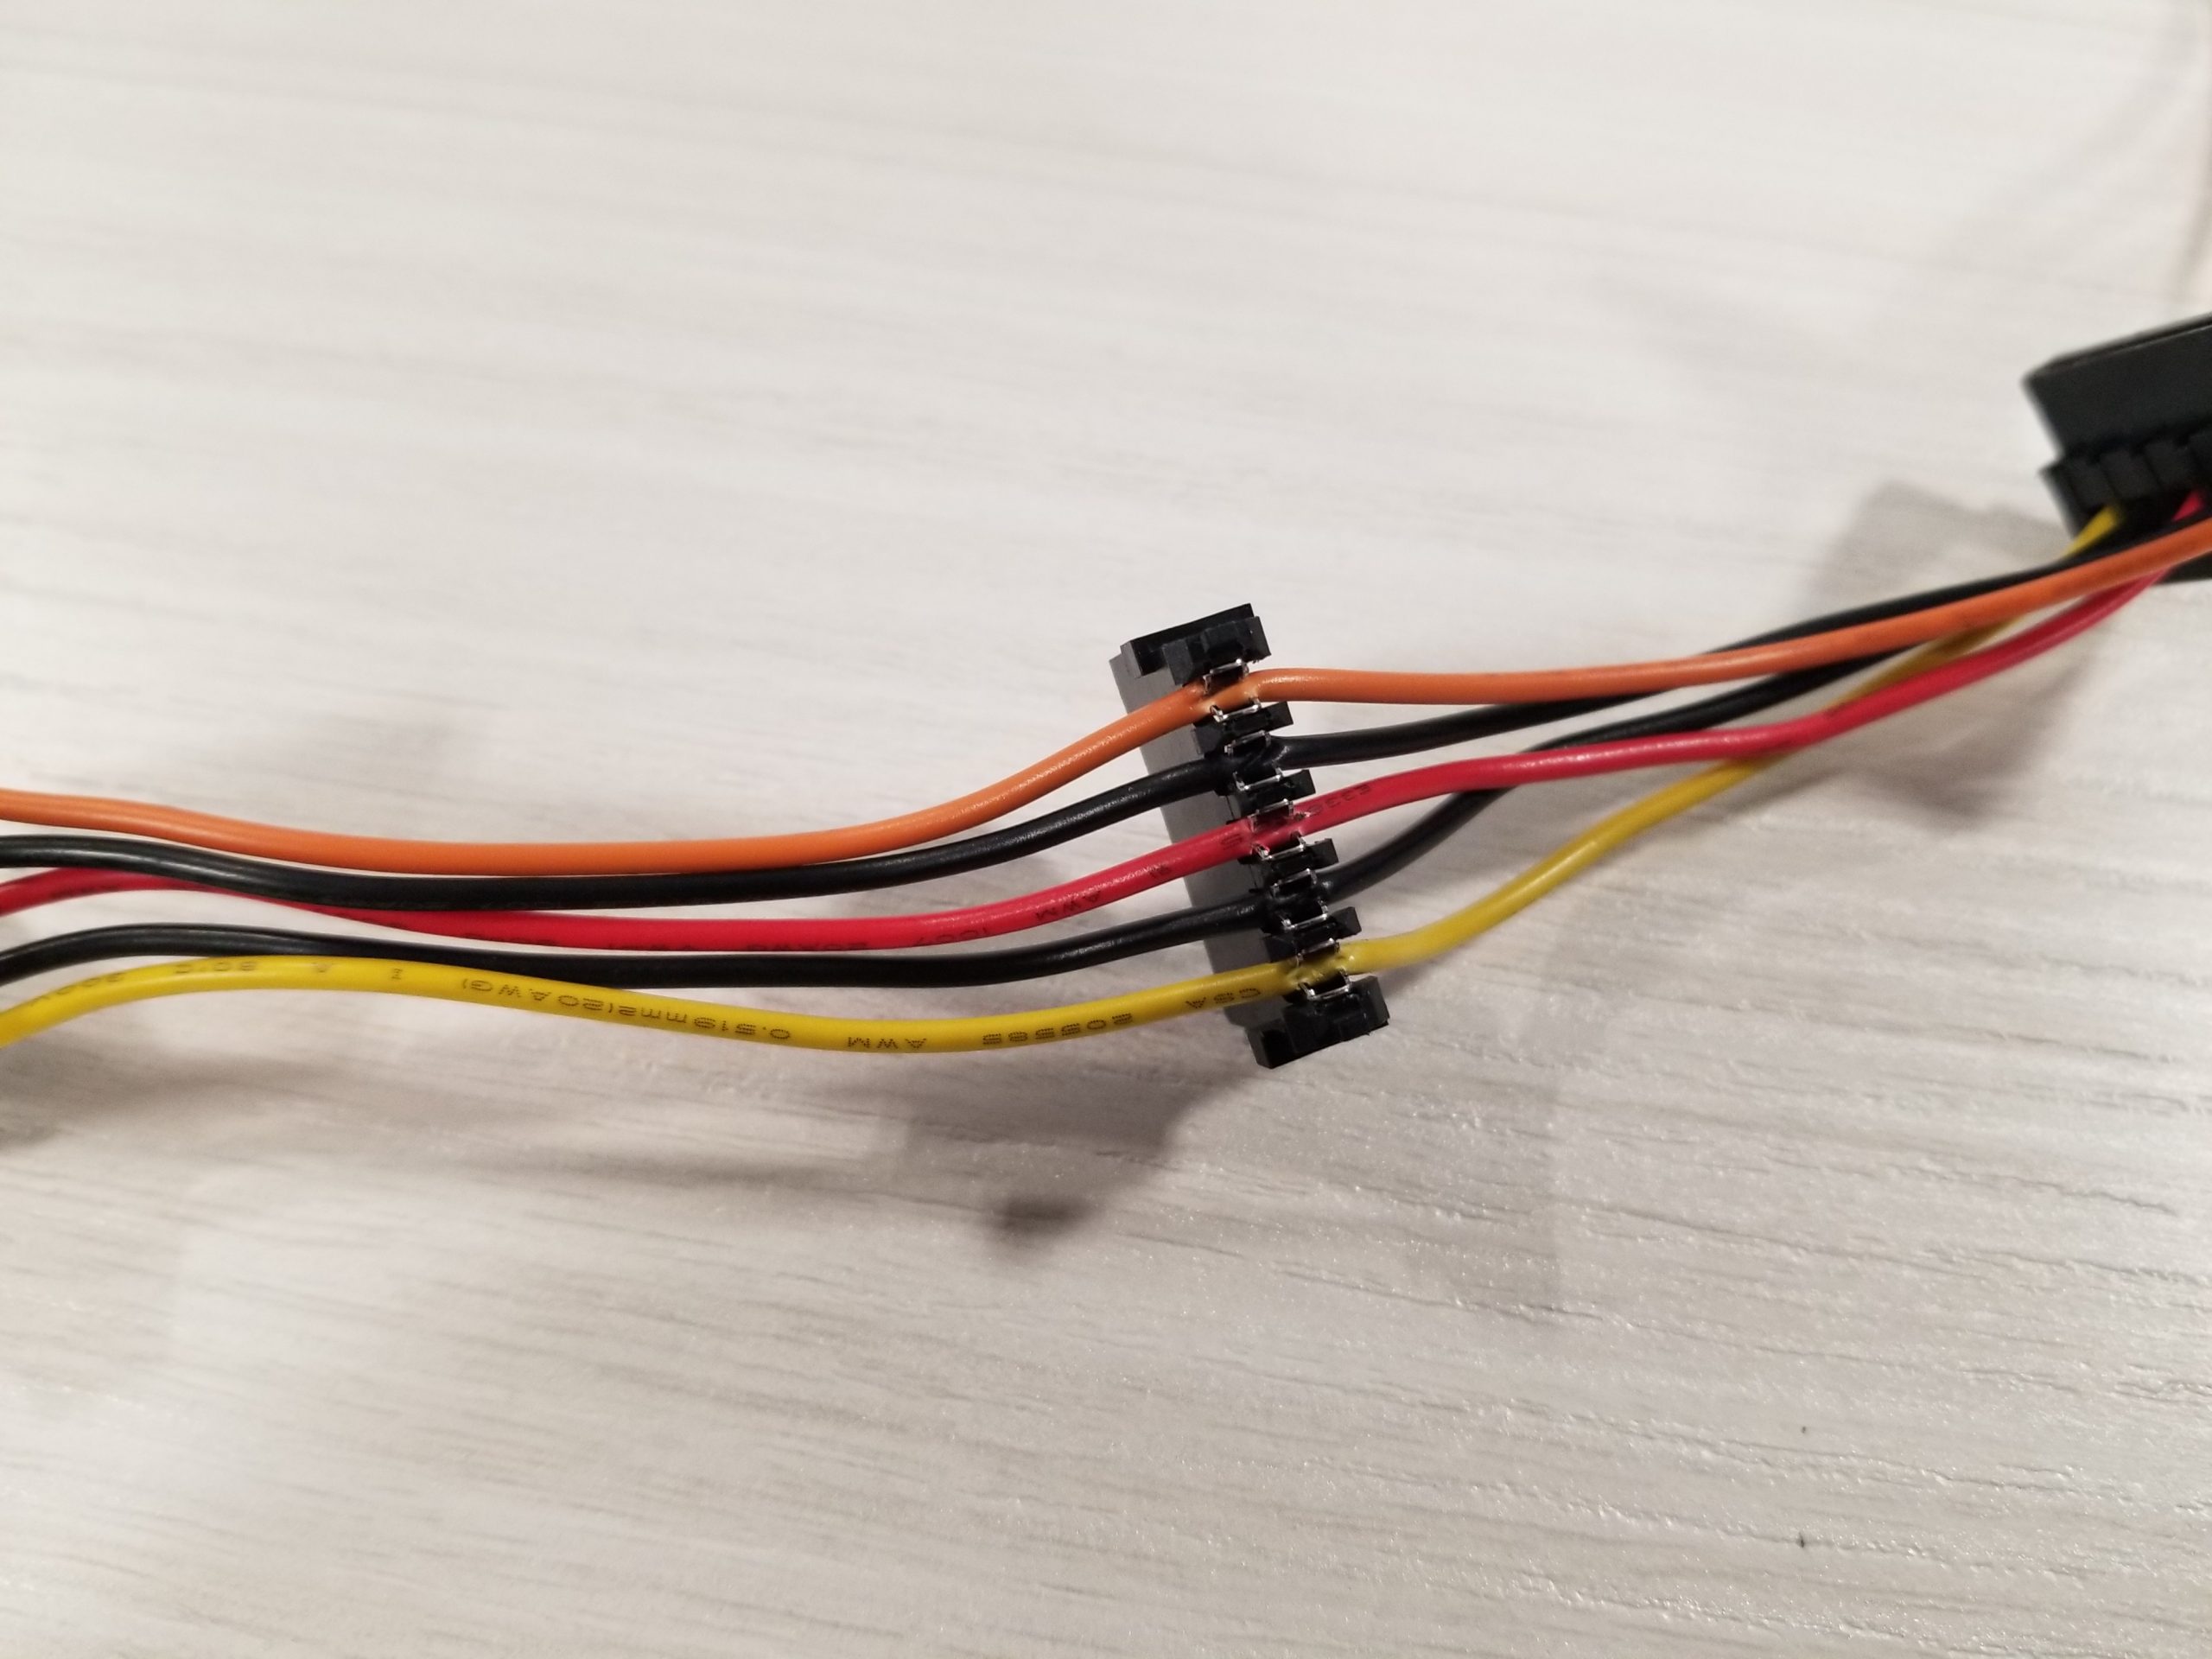
-
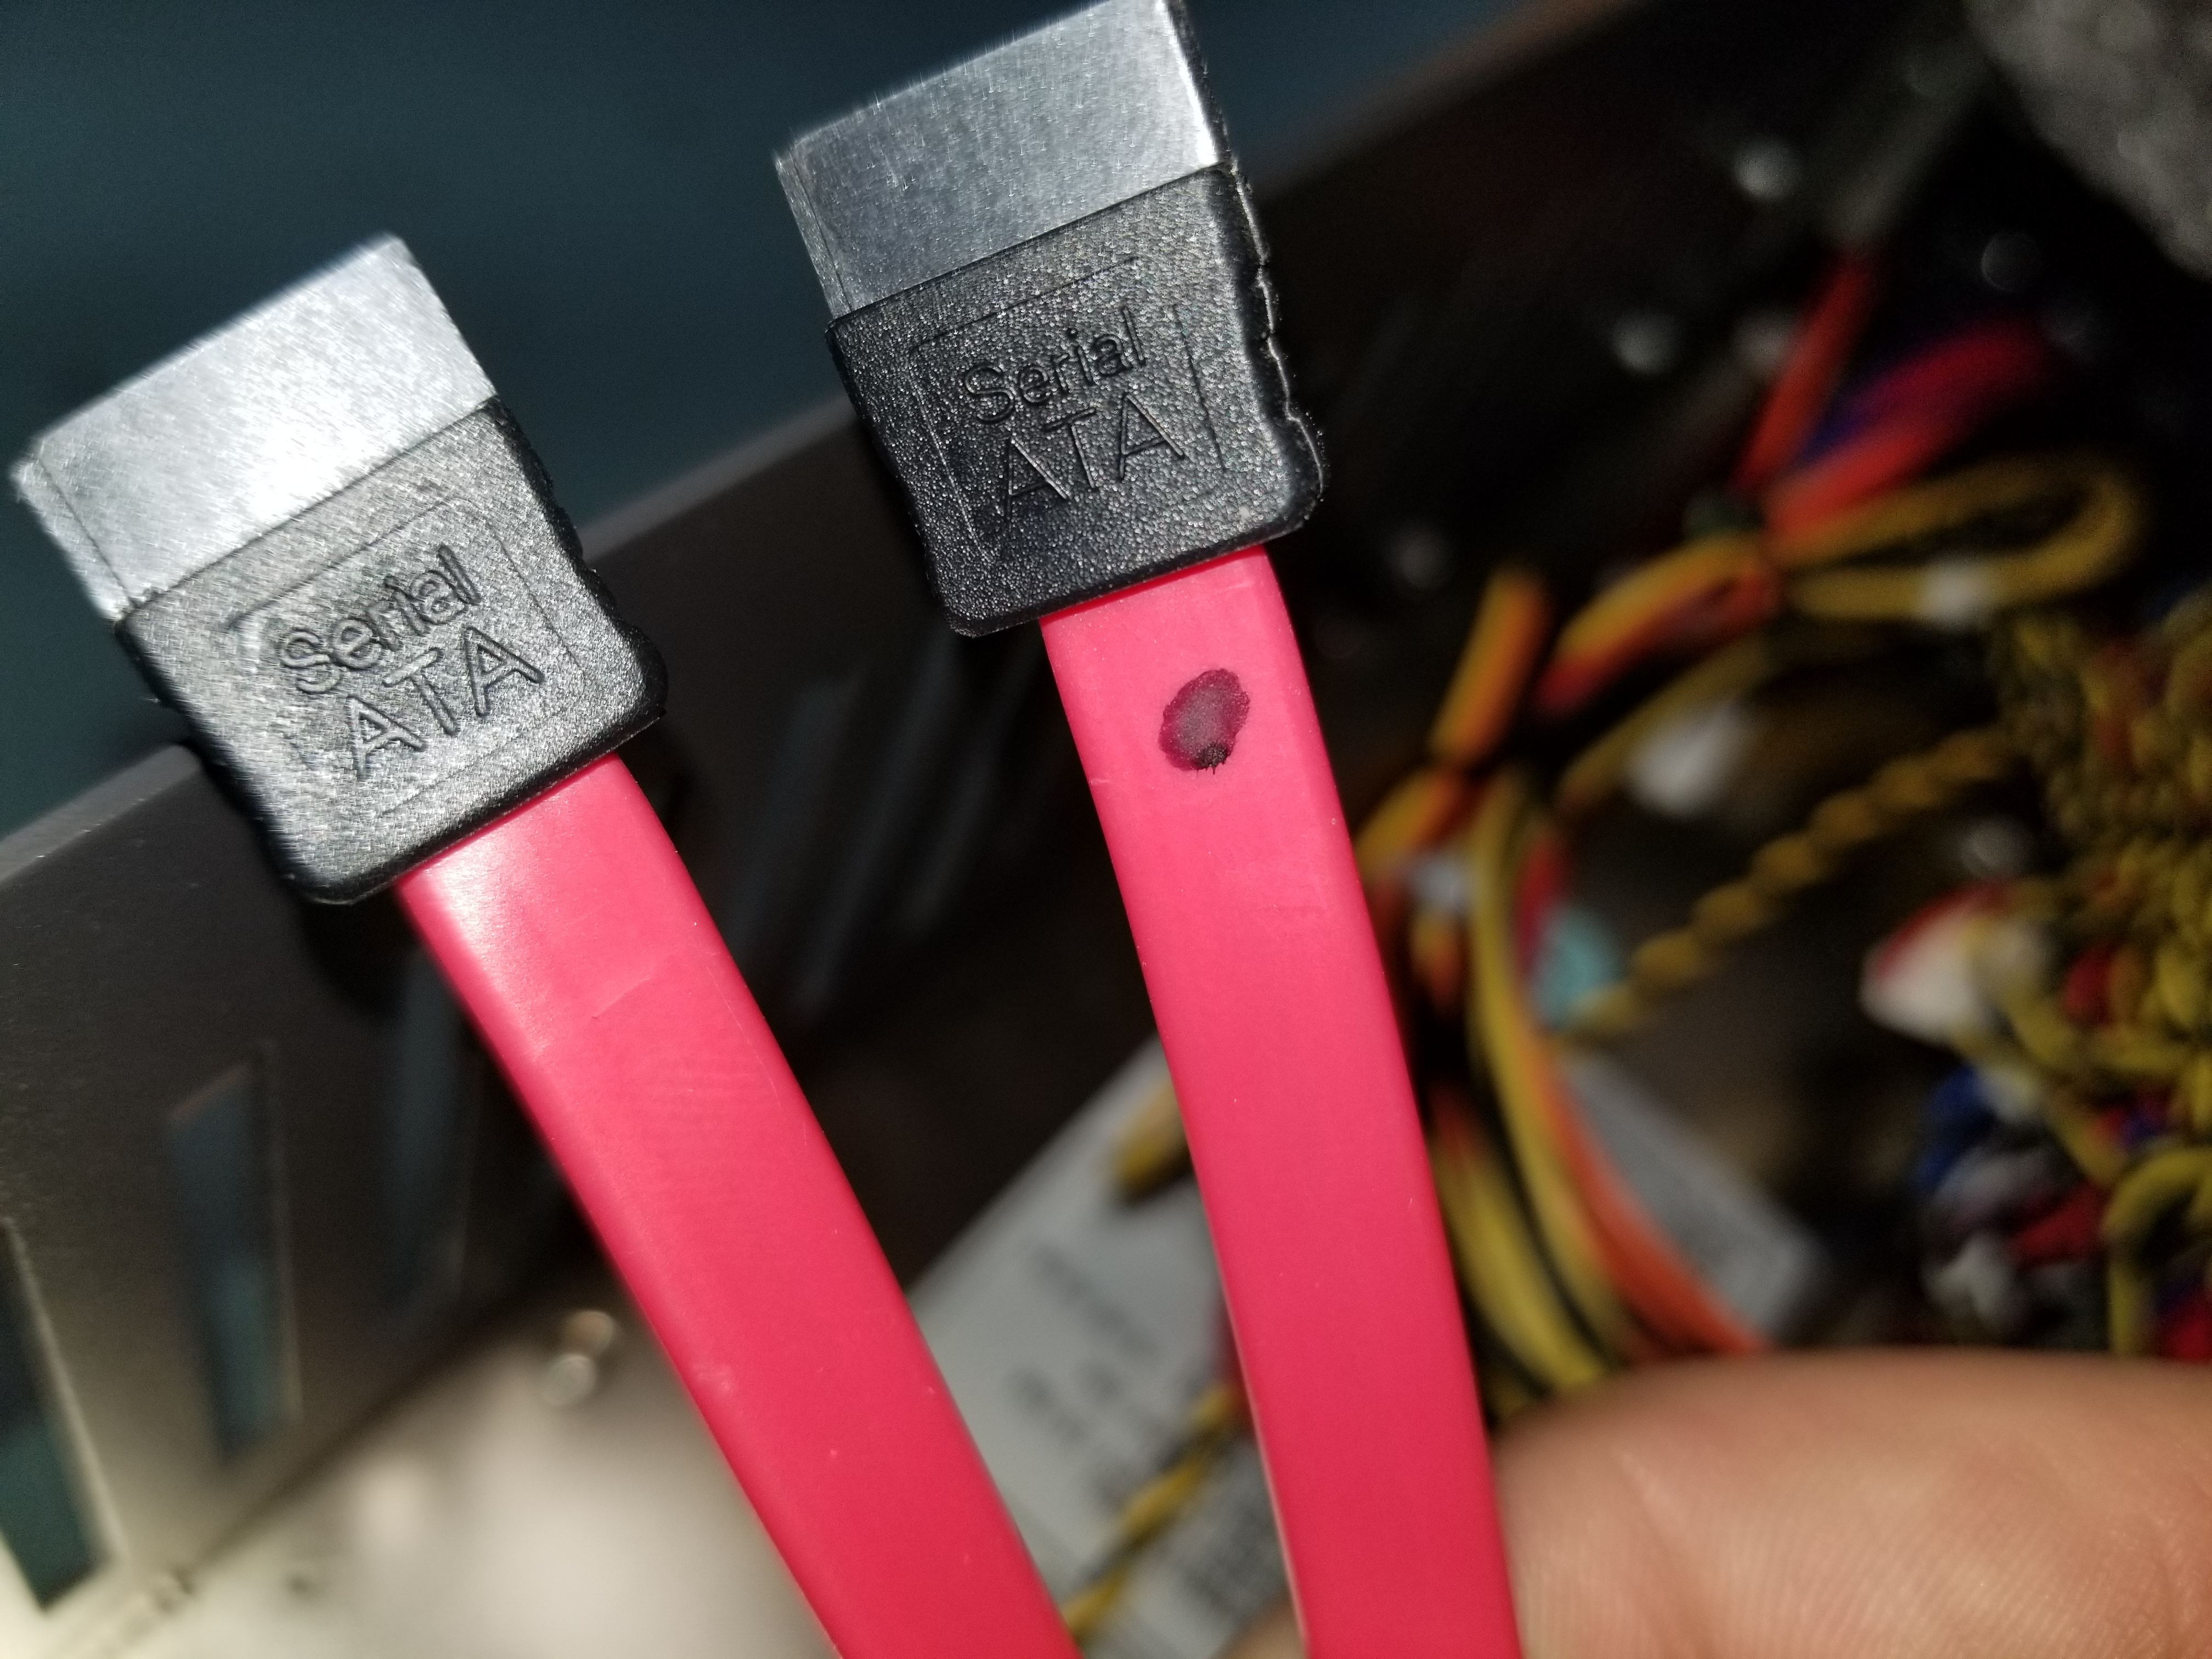
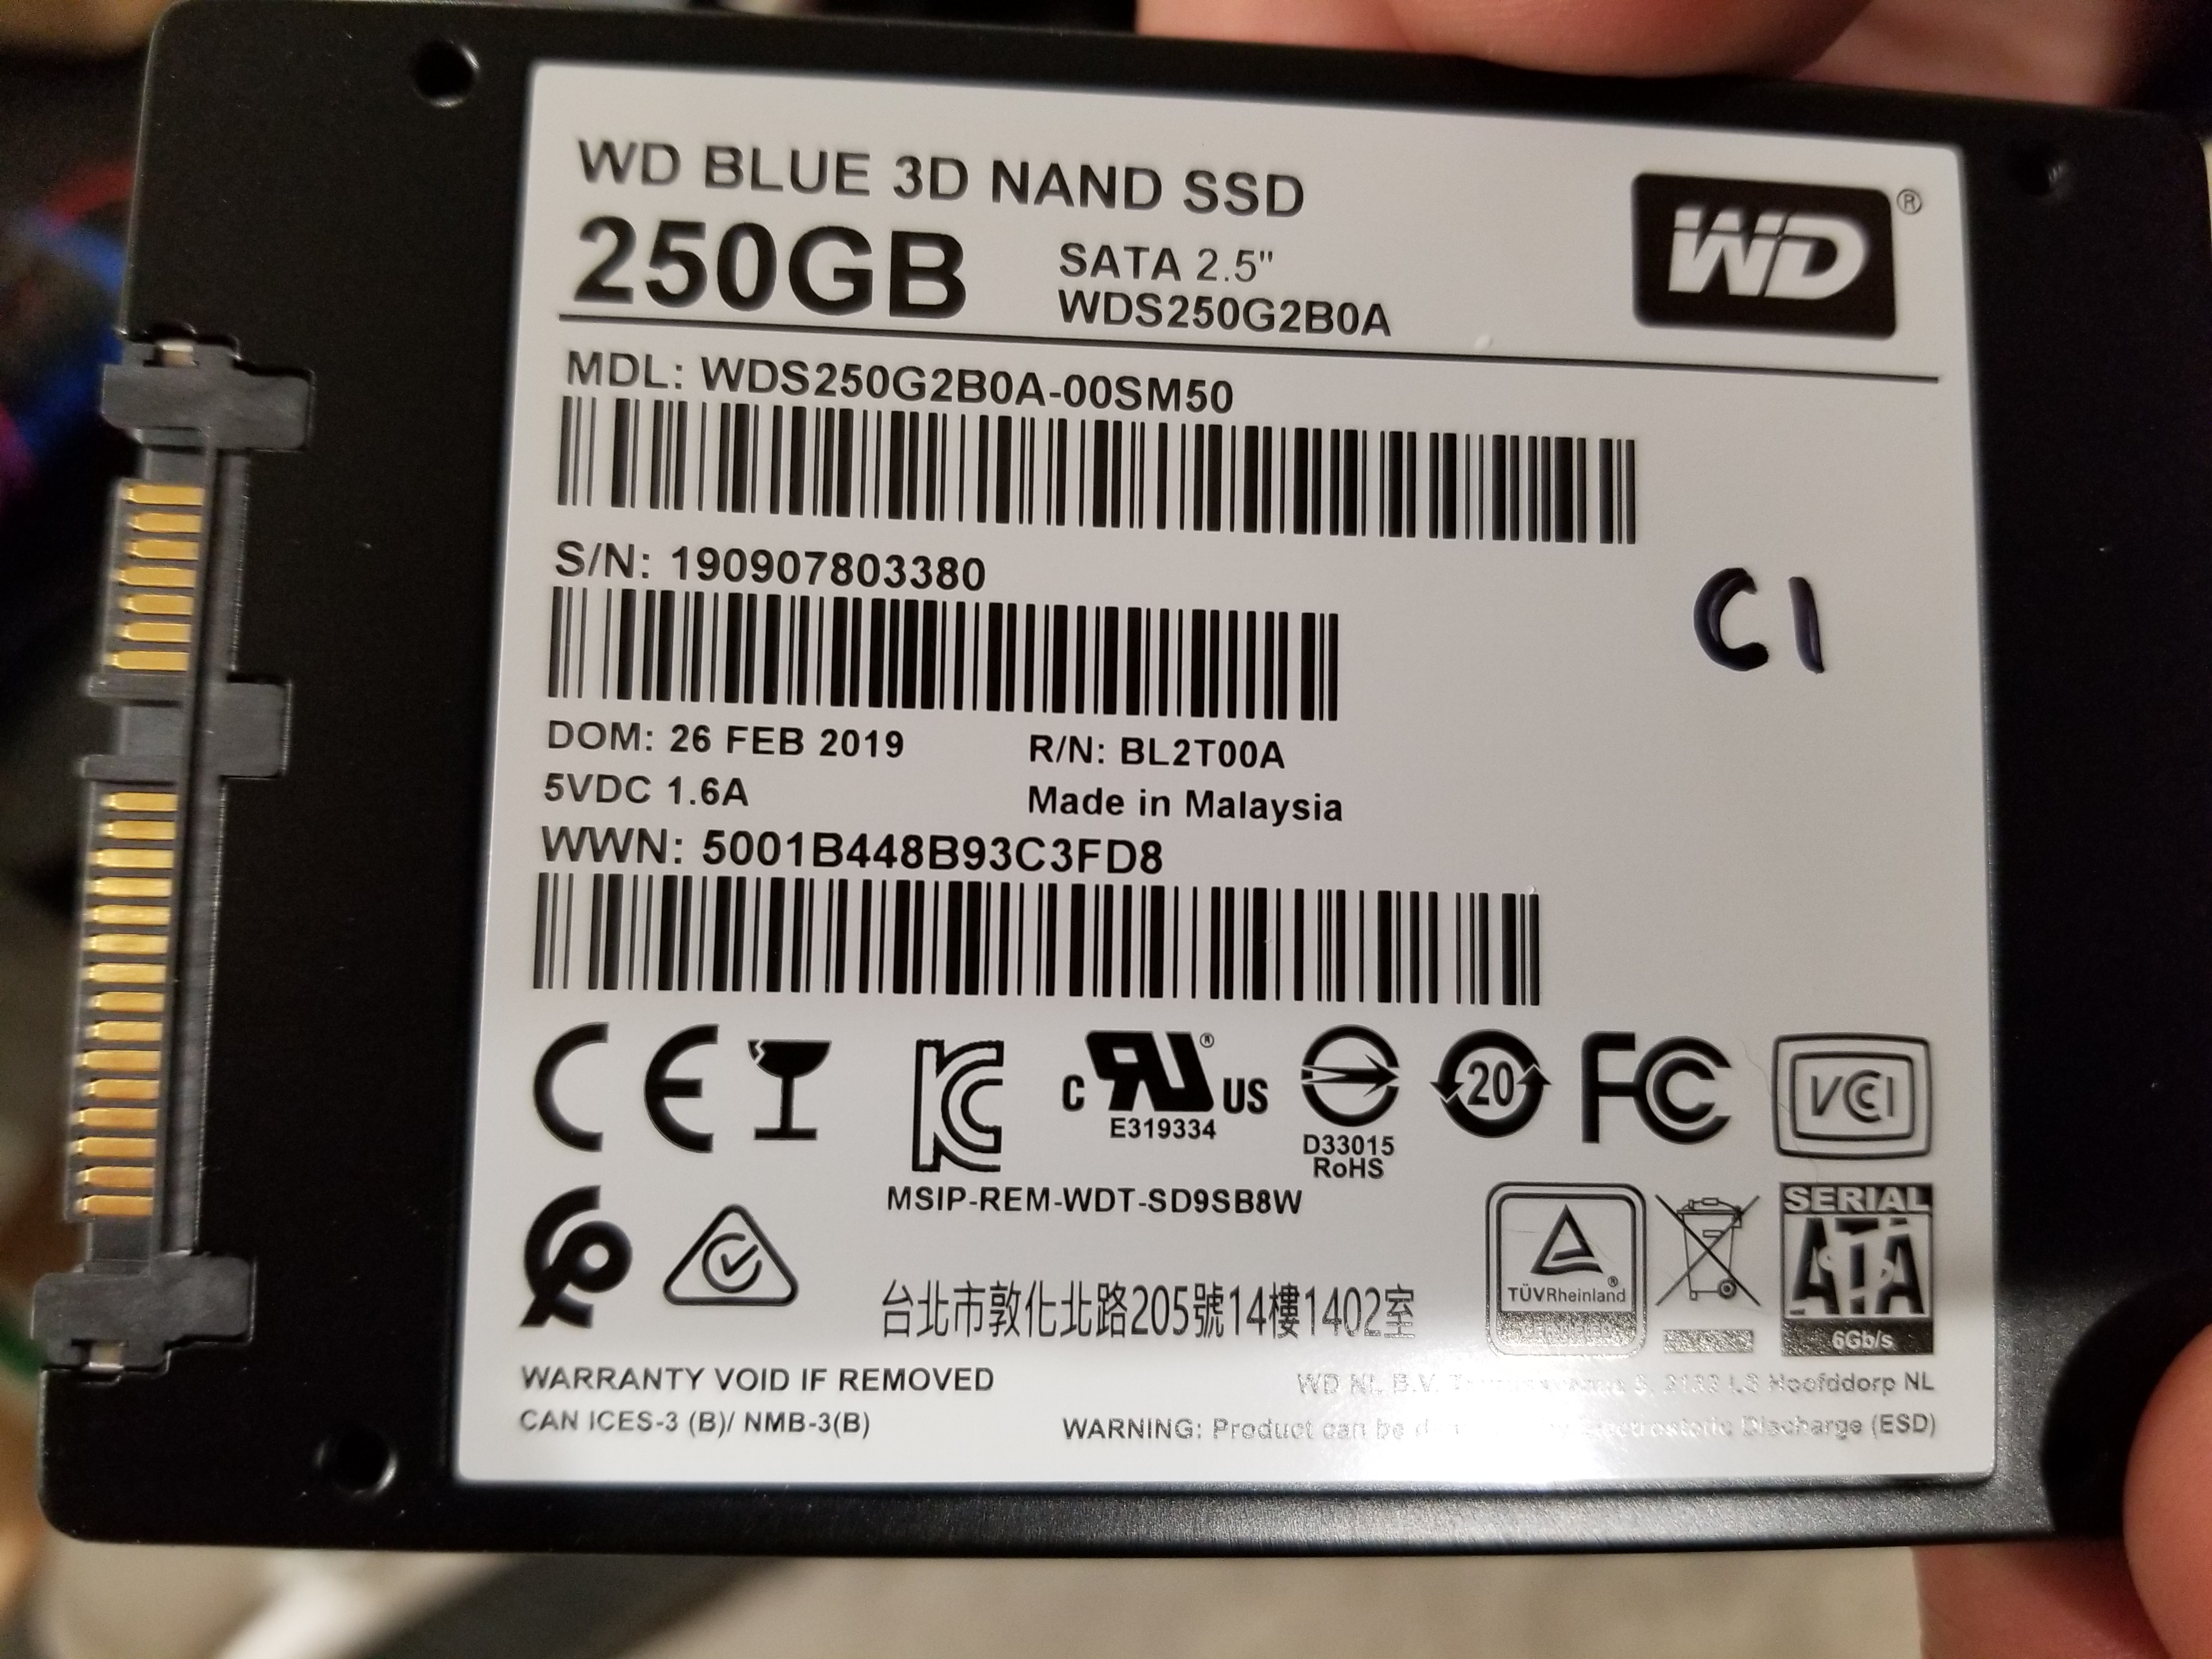
- Reconnect the power and SATA cables to the boot drives and the cache drives. The SATA cable with the black dot on it is SATA0 and the drive that connects to will have a 1 on it (F1, C1, U1, or D1) You can connect the cache drives with the extra SATA cable supplied to SATA2 and SATA3.
-
- Close up the back panel.
- Plug the unit back in and power it up.
Views: 654