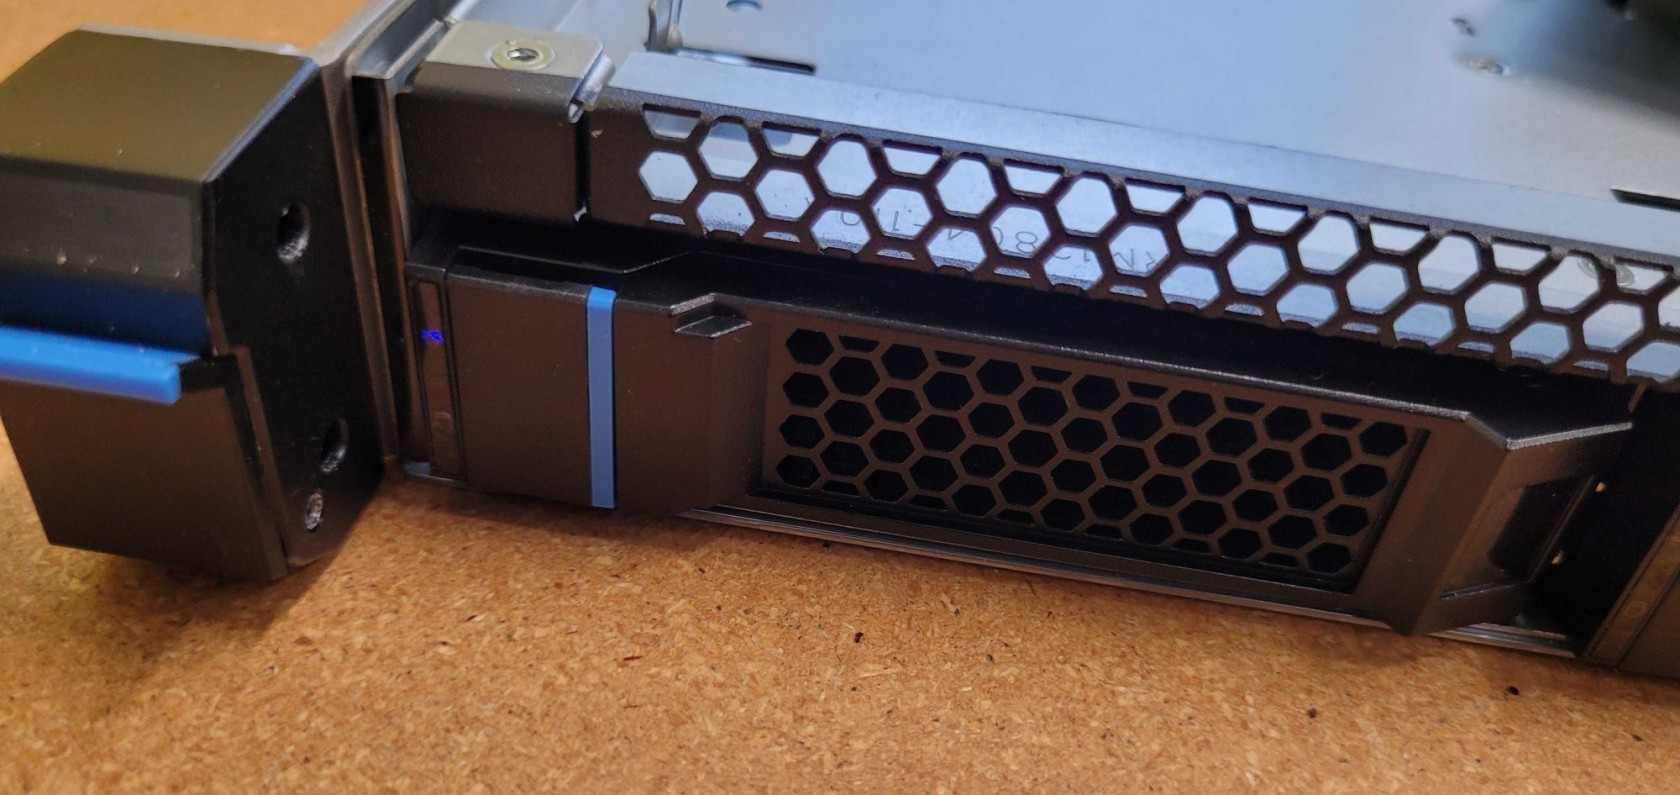
The Storinator C8 and Storinator MI4 feature removable storage drive caddies. This document outlines how to install 7mm or 15mm SSDs in the removable storage drive caddies that come with the Storinator C8/MI4.
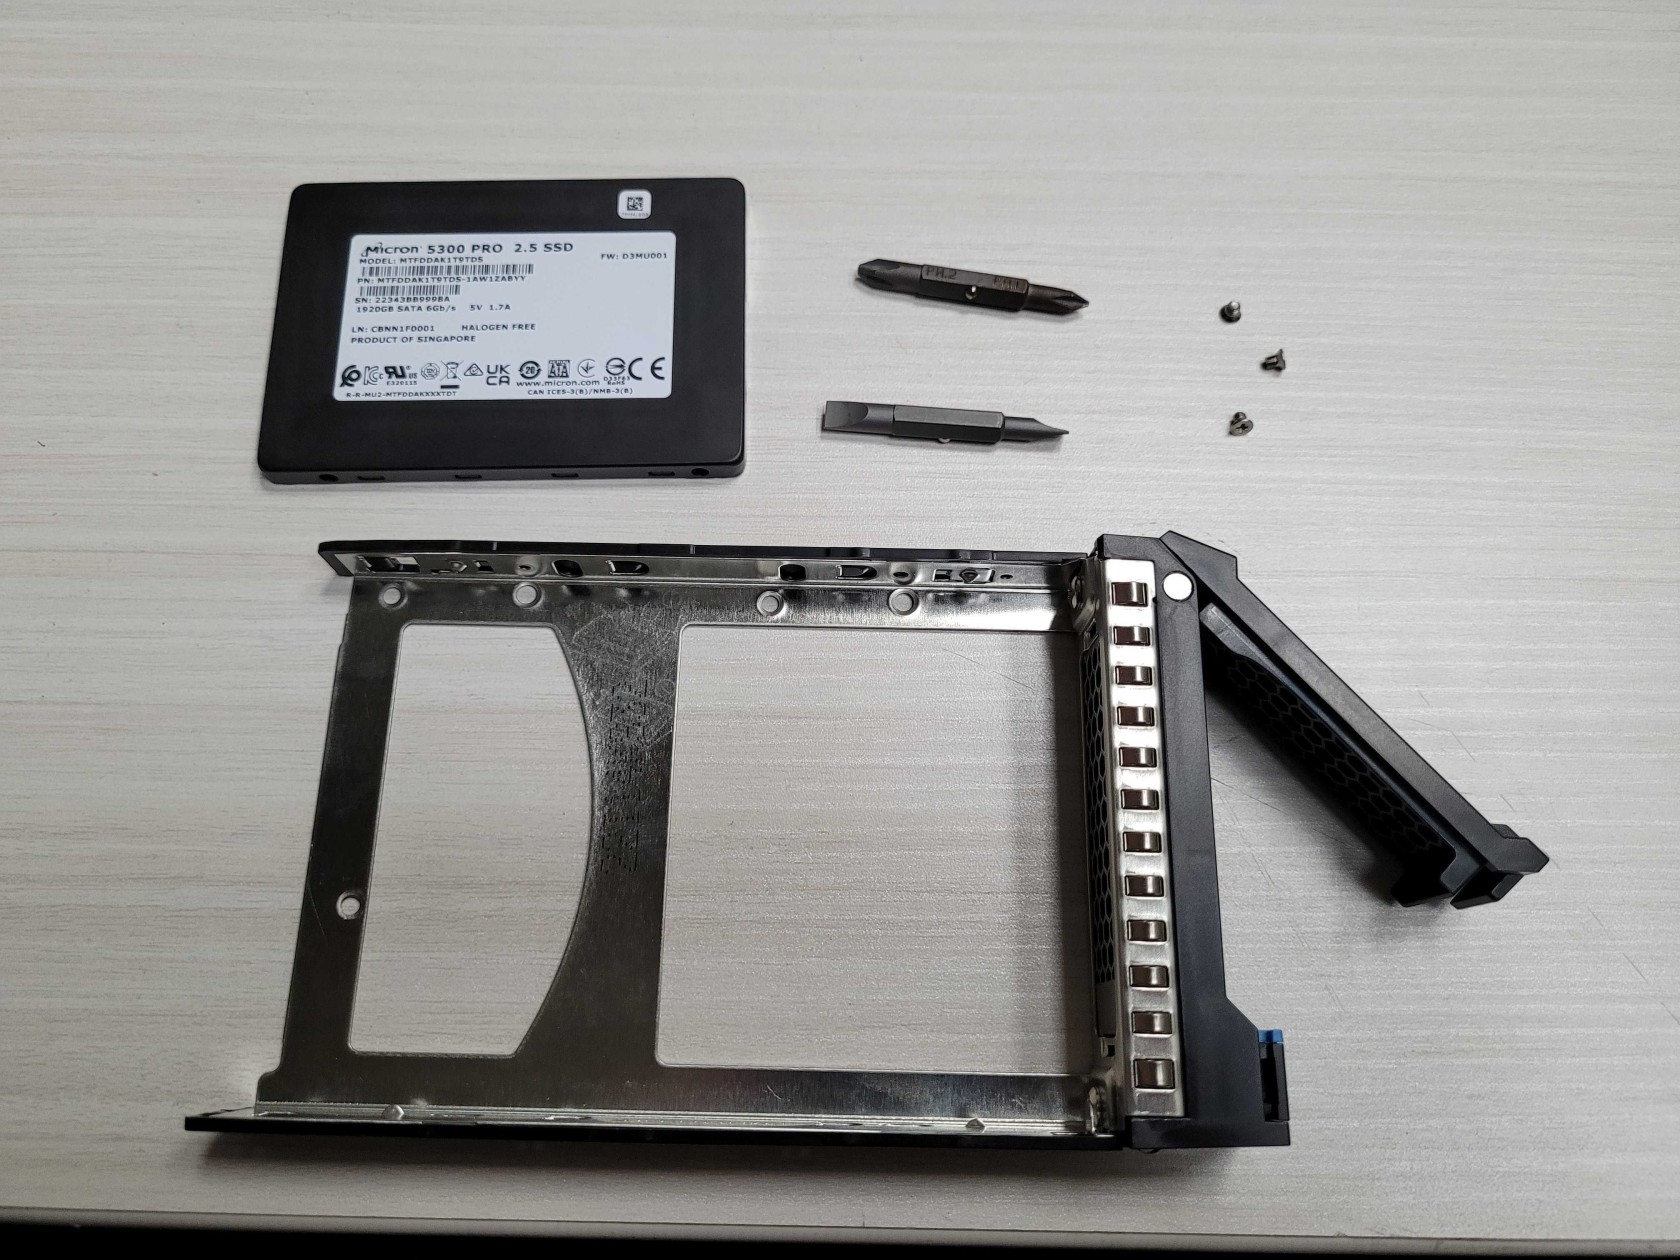
What You’ll Need:
- (1x) 7mm or 15mm SSD
- (3x) Low Profile M3x4mm Flat Head Screw
- (1x) #1 Philips Screwdriver
- (1x) Small Slotted Screwdriver
- (1x) C8/MI4 Drive Caddy
Step 1:
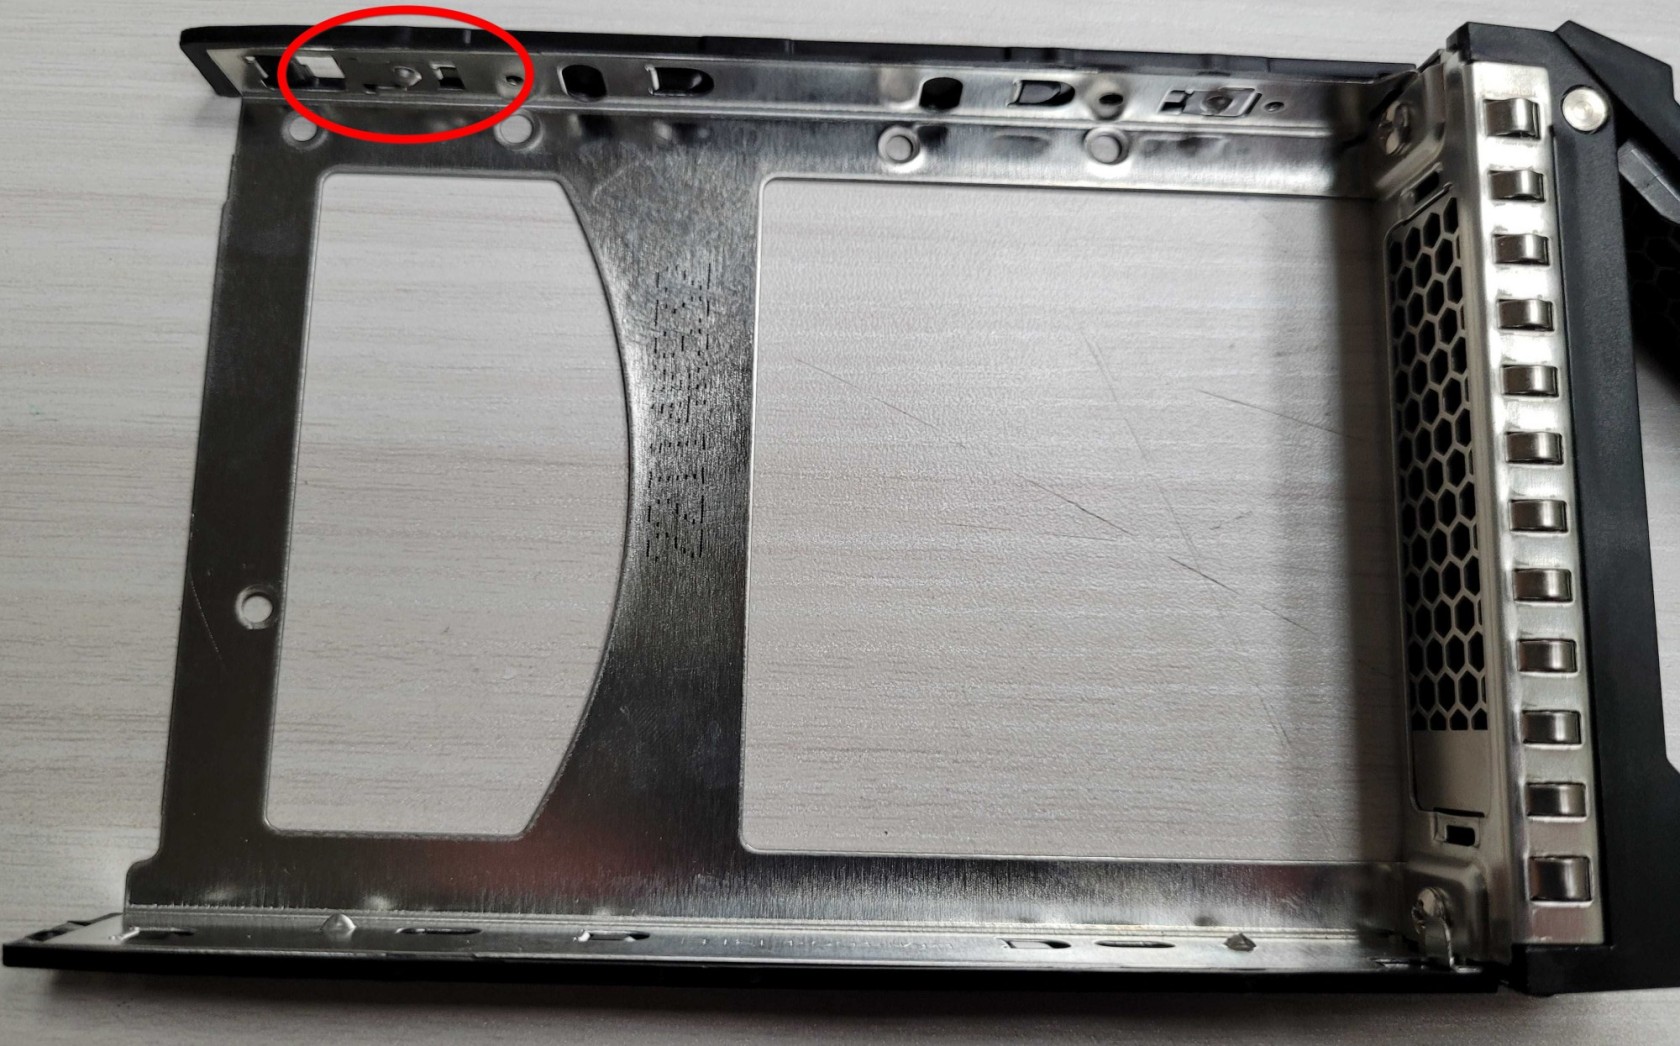
In order to get the side wall of the SSD to sit flush with the inside wall of the drive caddy, we need to remove one of the removable disk retention tabs located as shown.
Step 2:
Using a slotted screwdriver, lift up on the retention tab, and bend it toward the inside of the drive caddy.
Step 3:
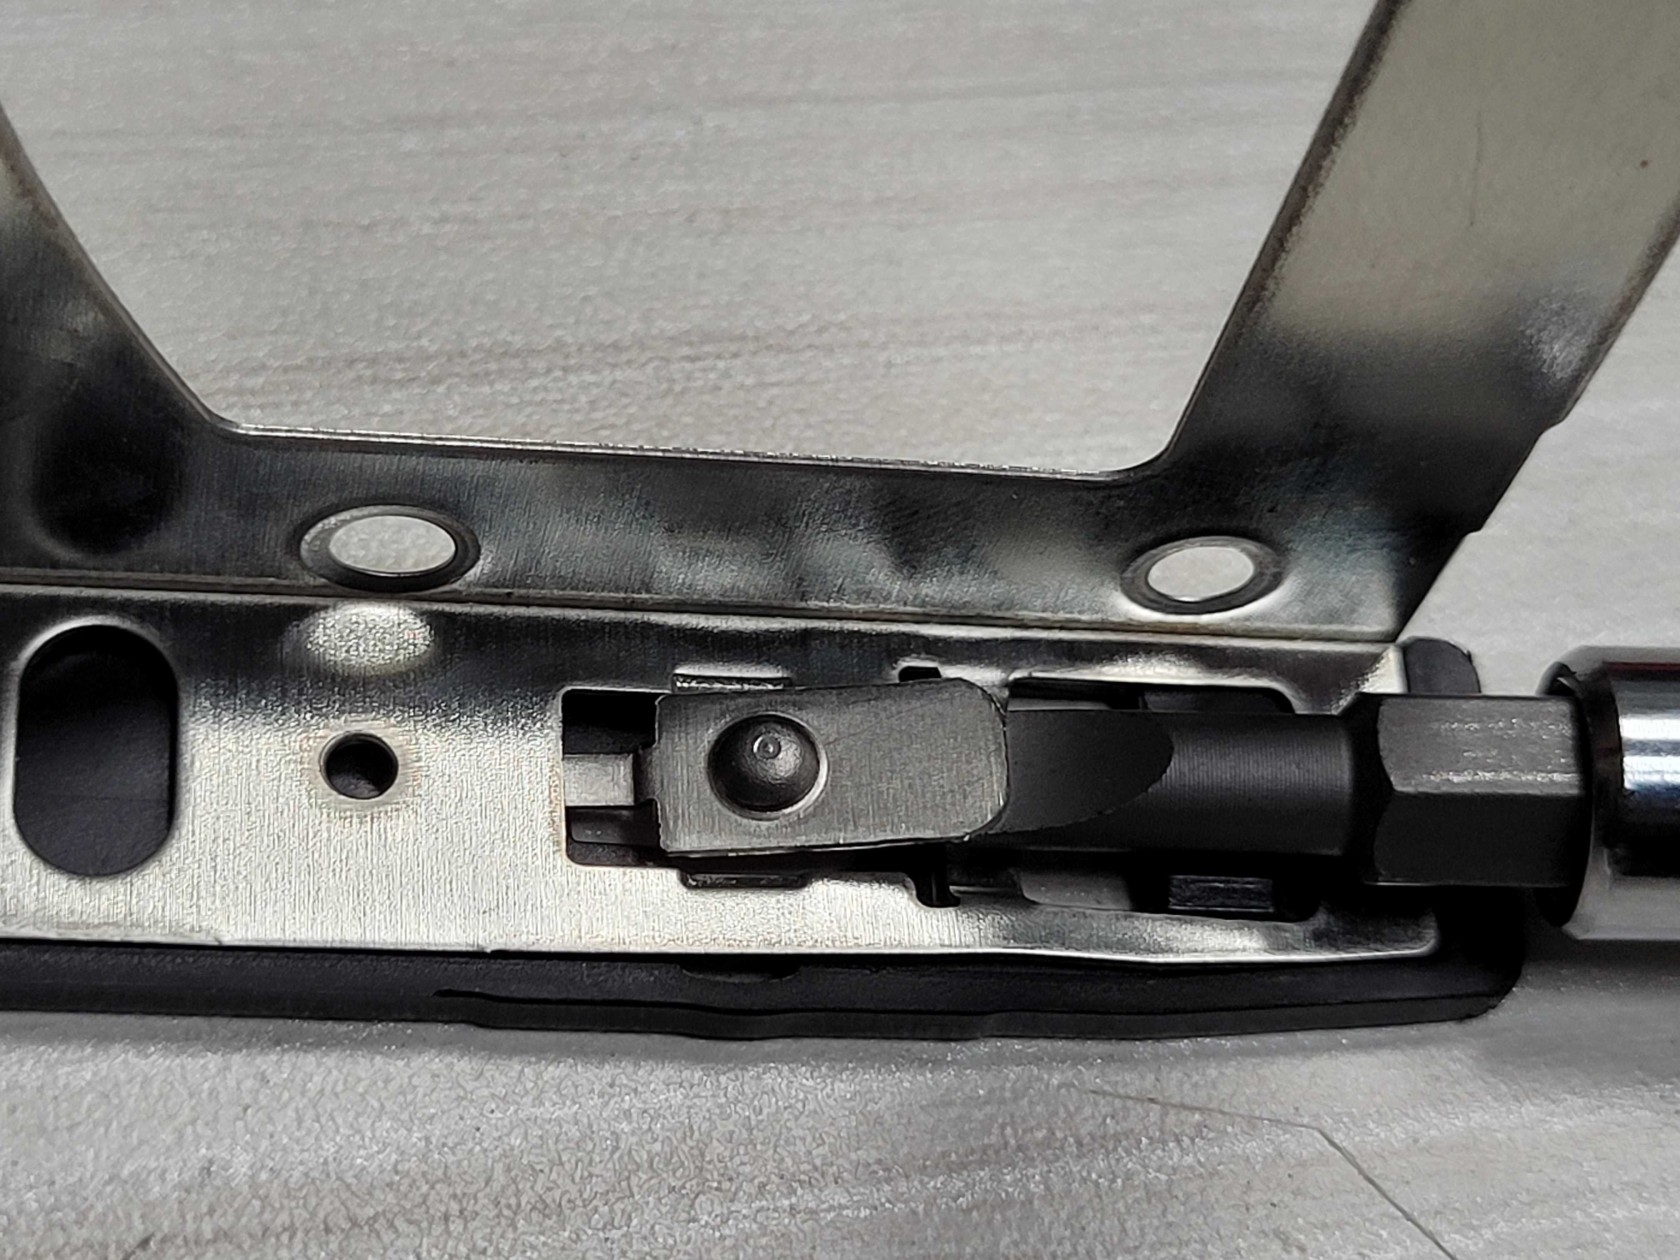
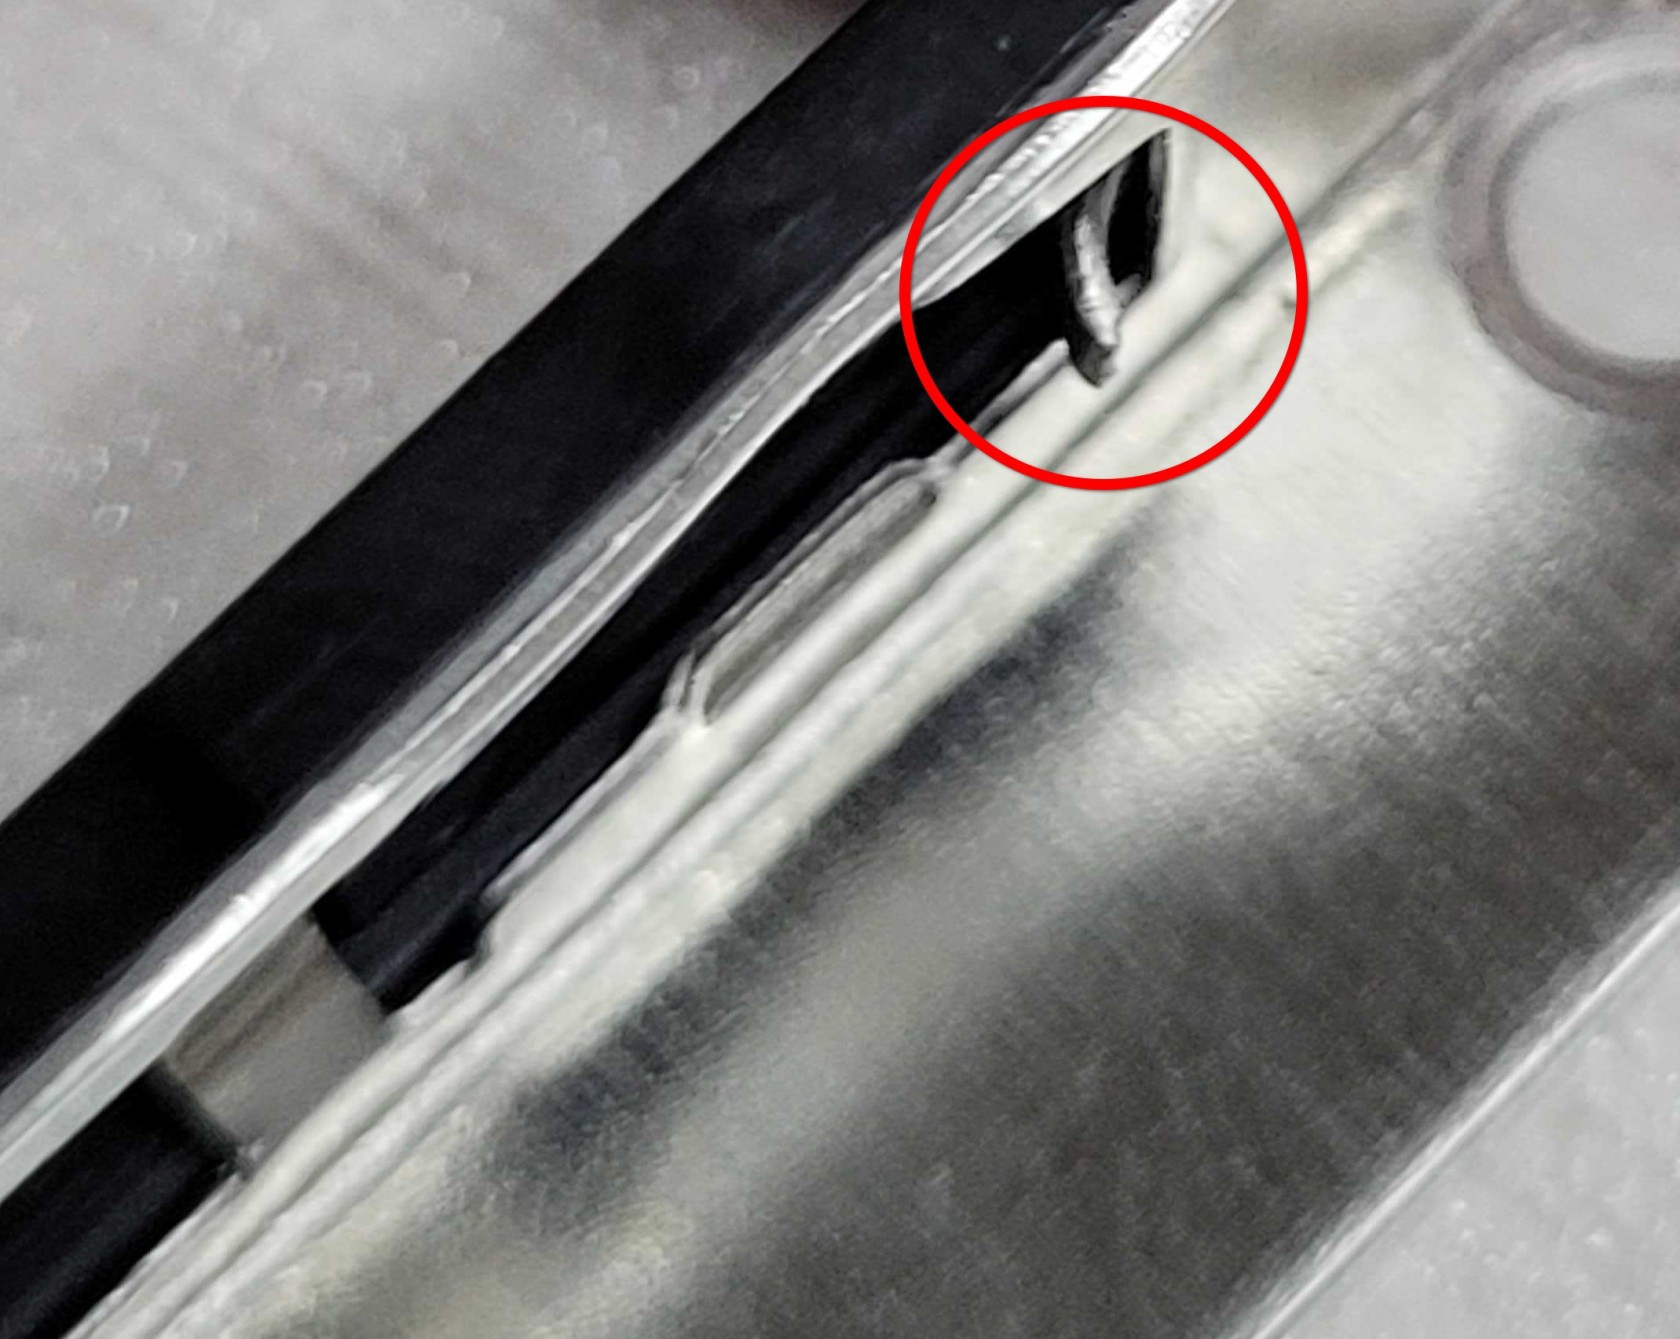
Lever the tab back and forth as shown in order to shear the thin section of sheet metal holding the tab in place.
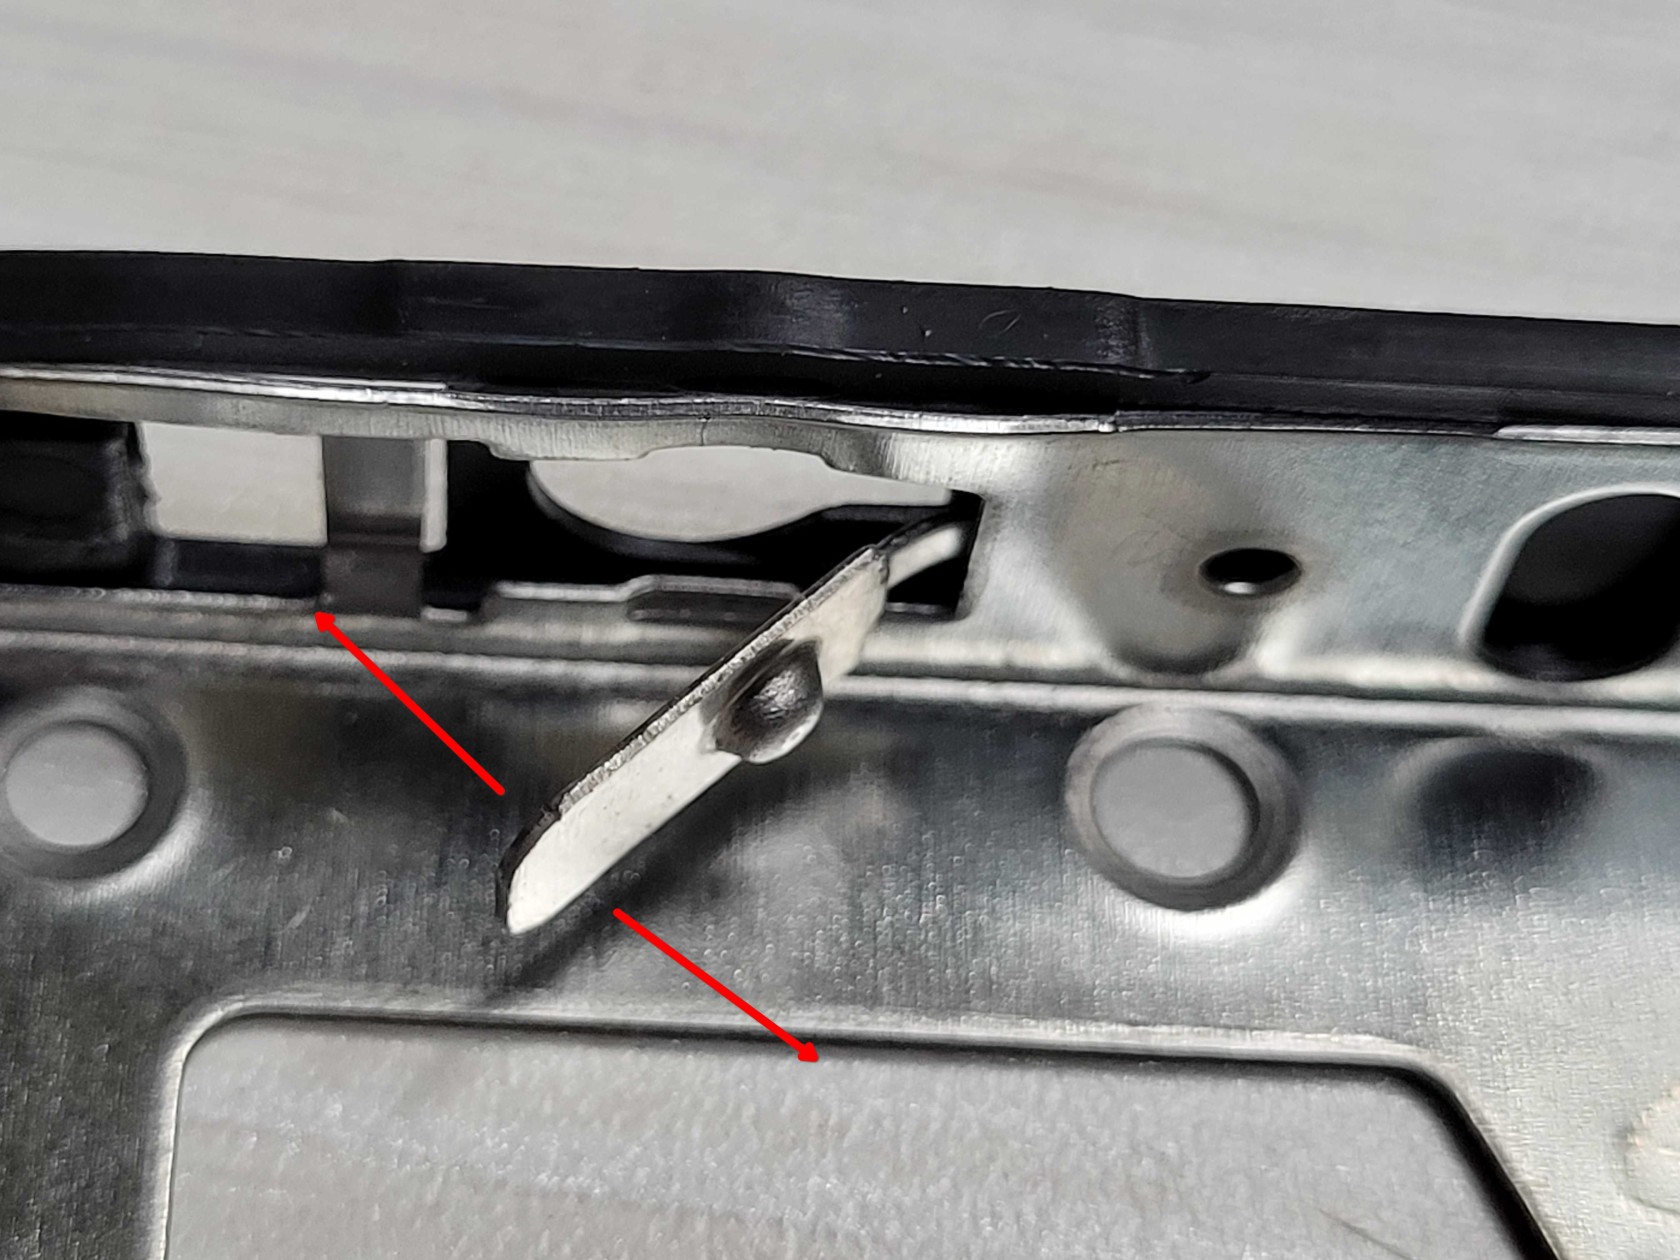
This will leave a small amount of sheet metal behind as shown.
Step 4:
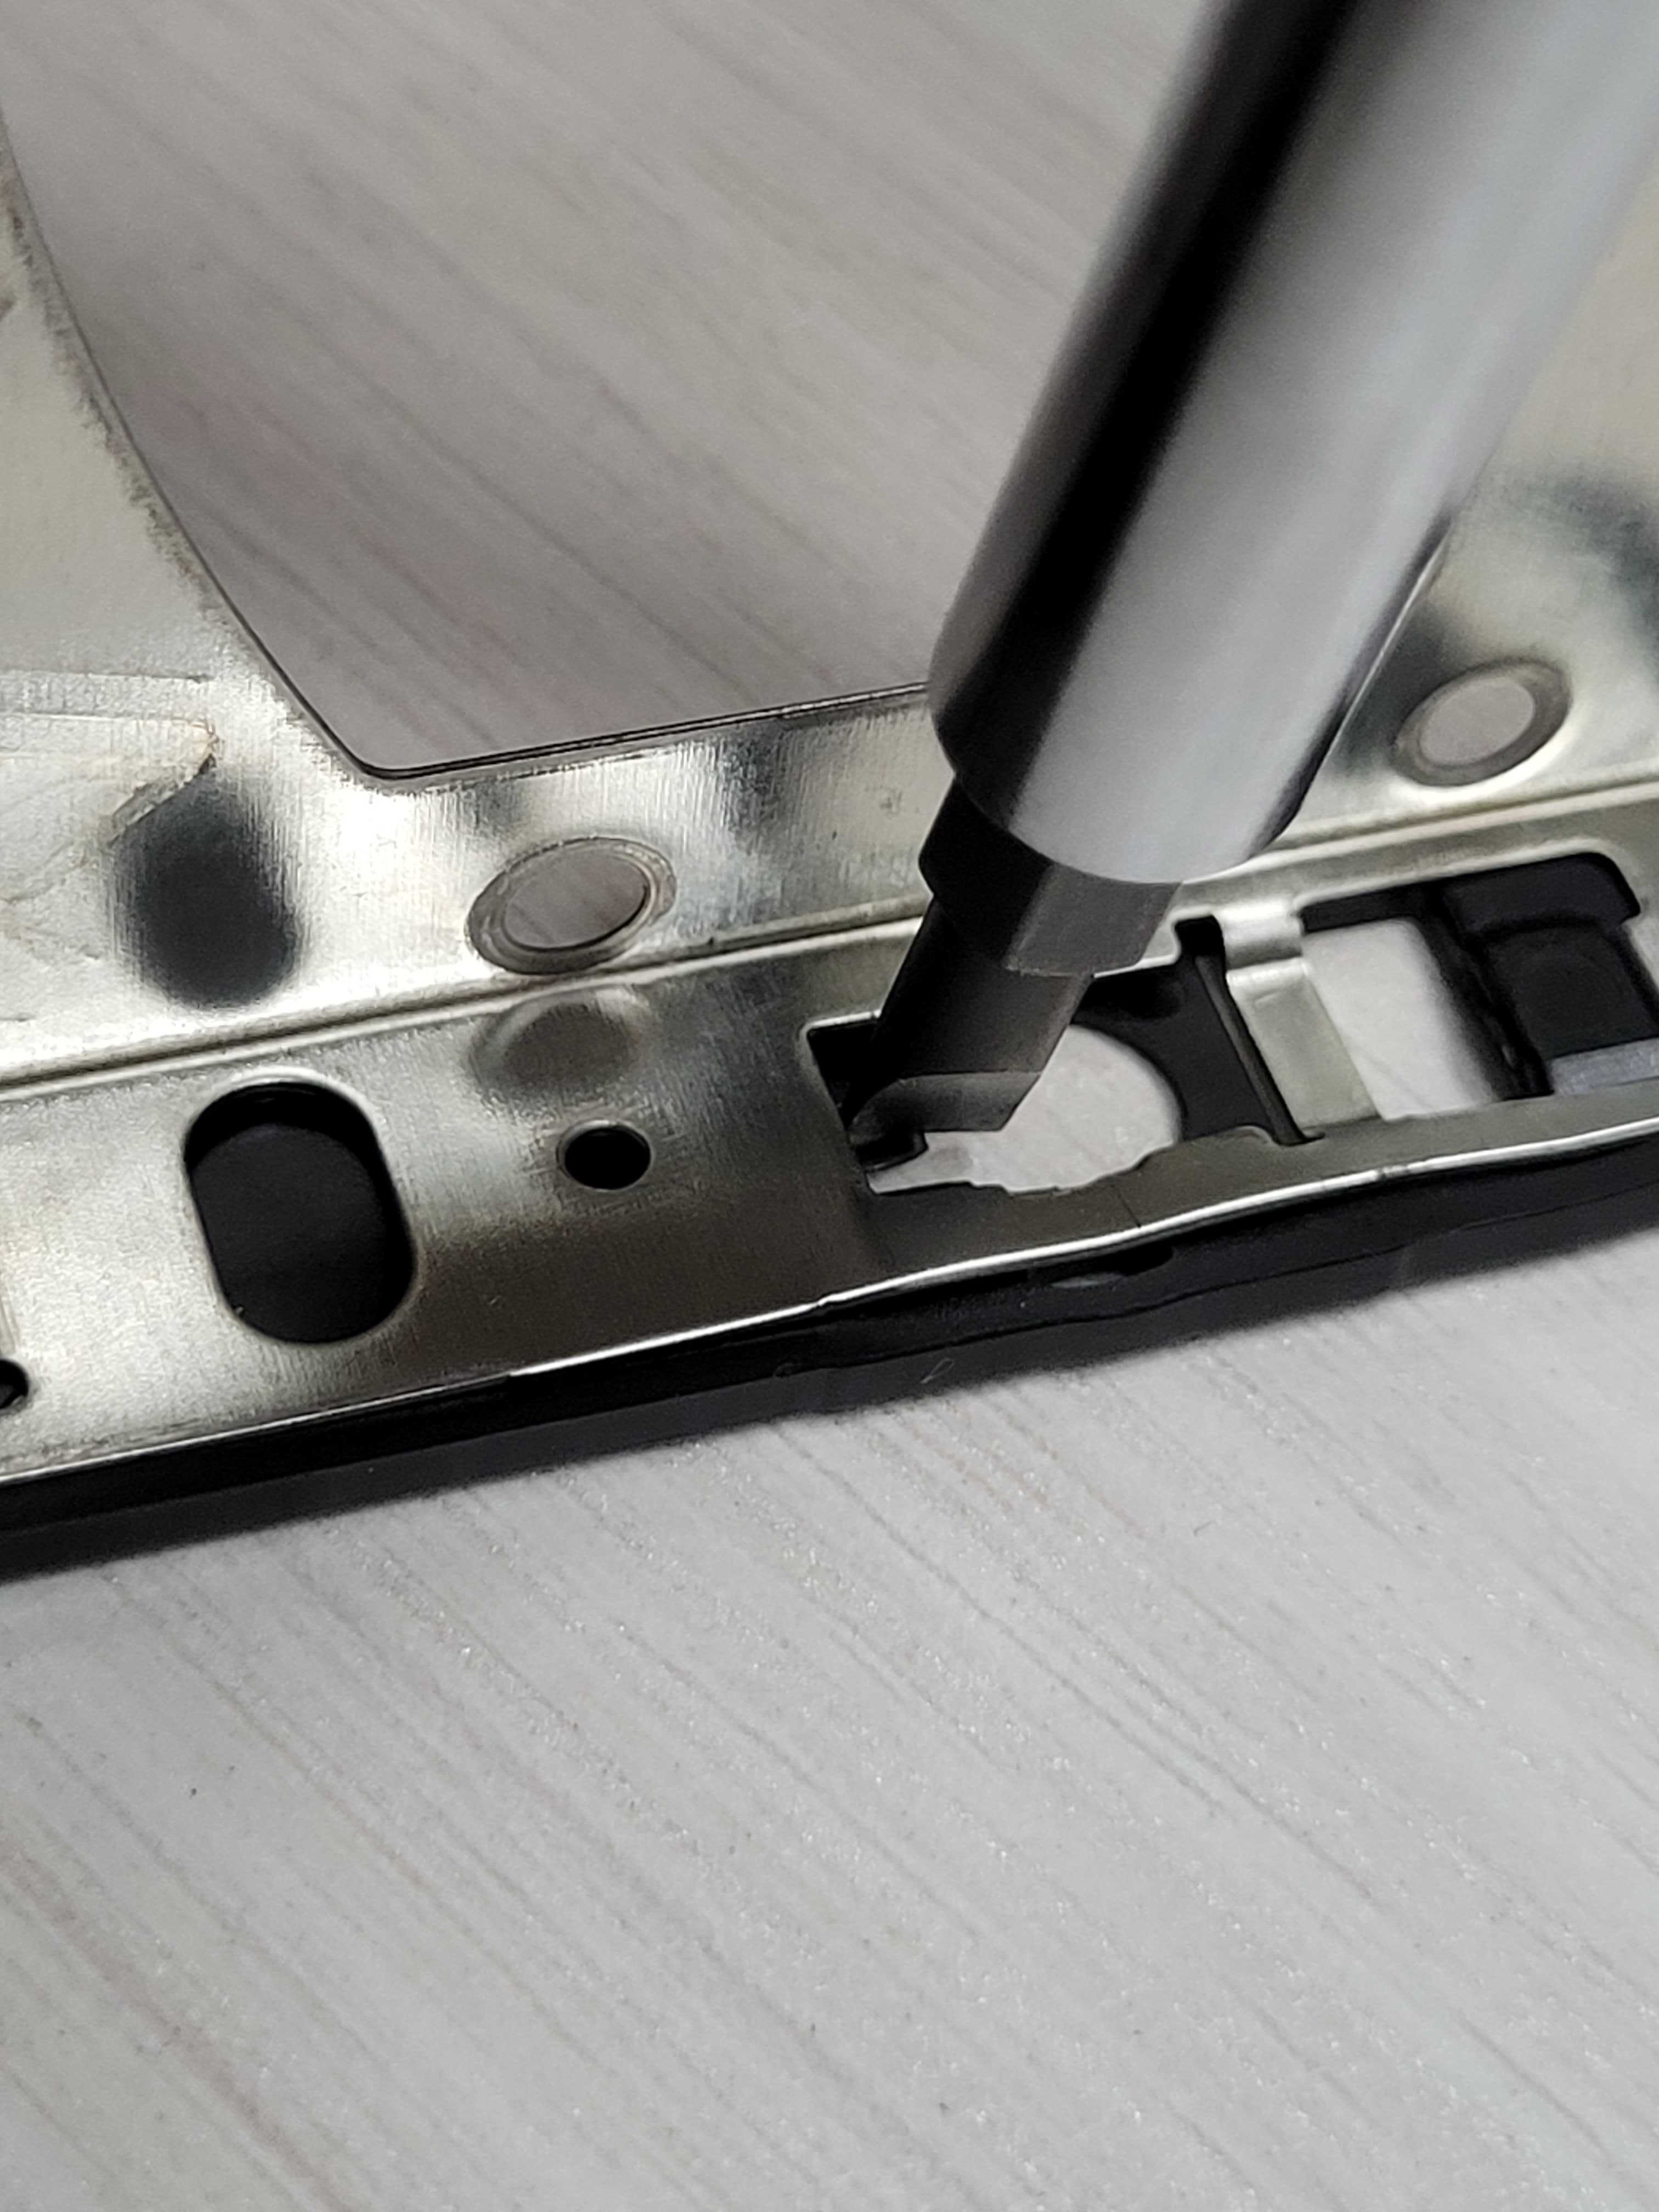
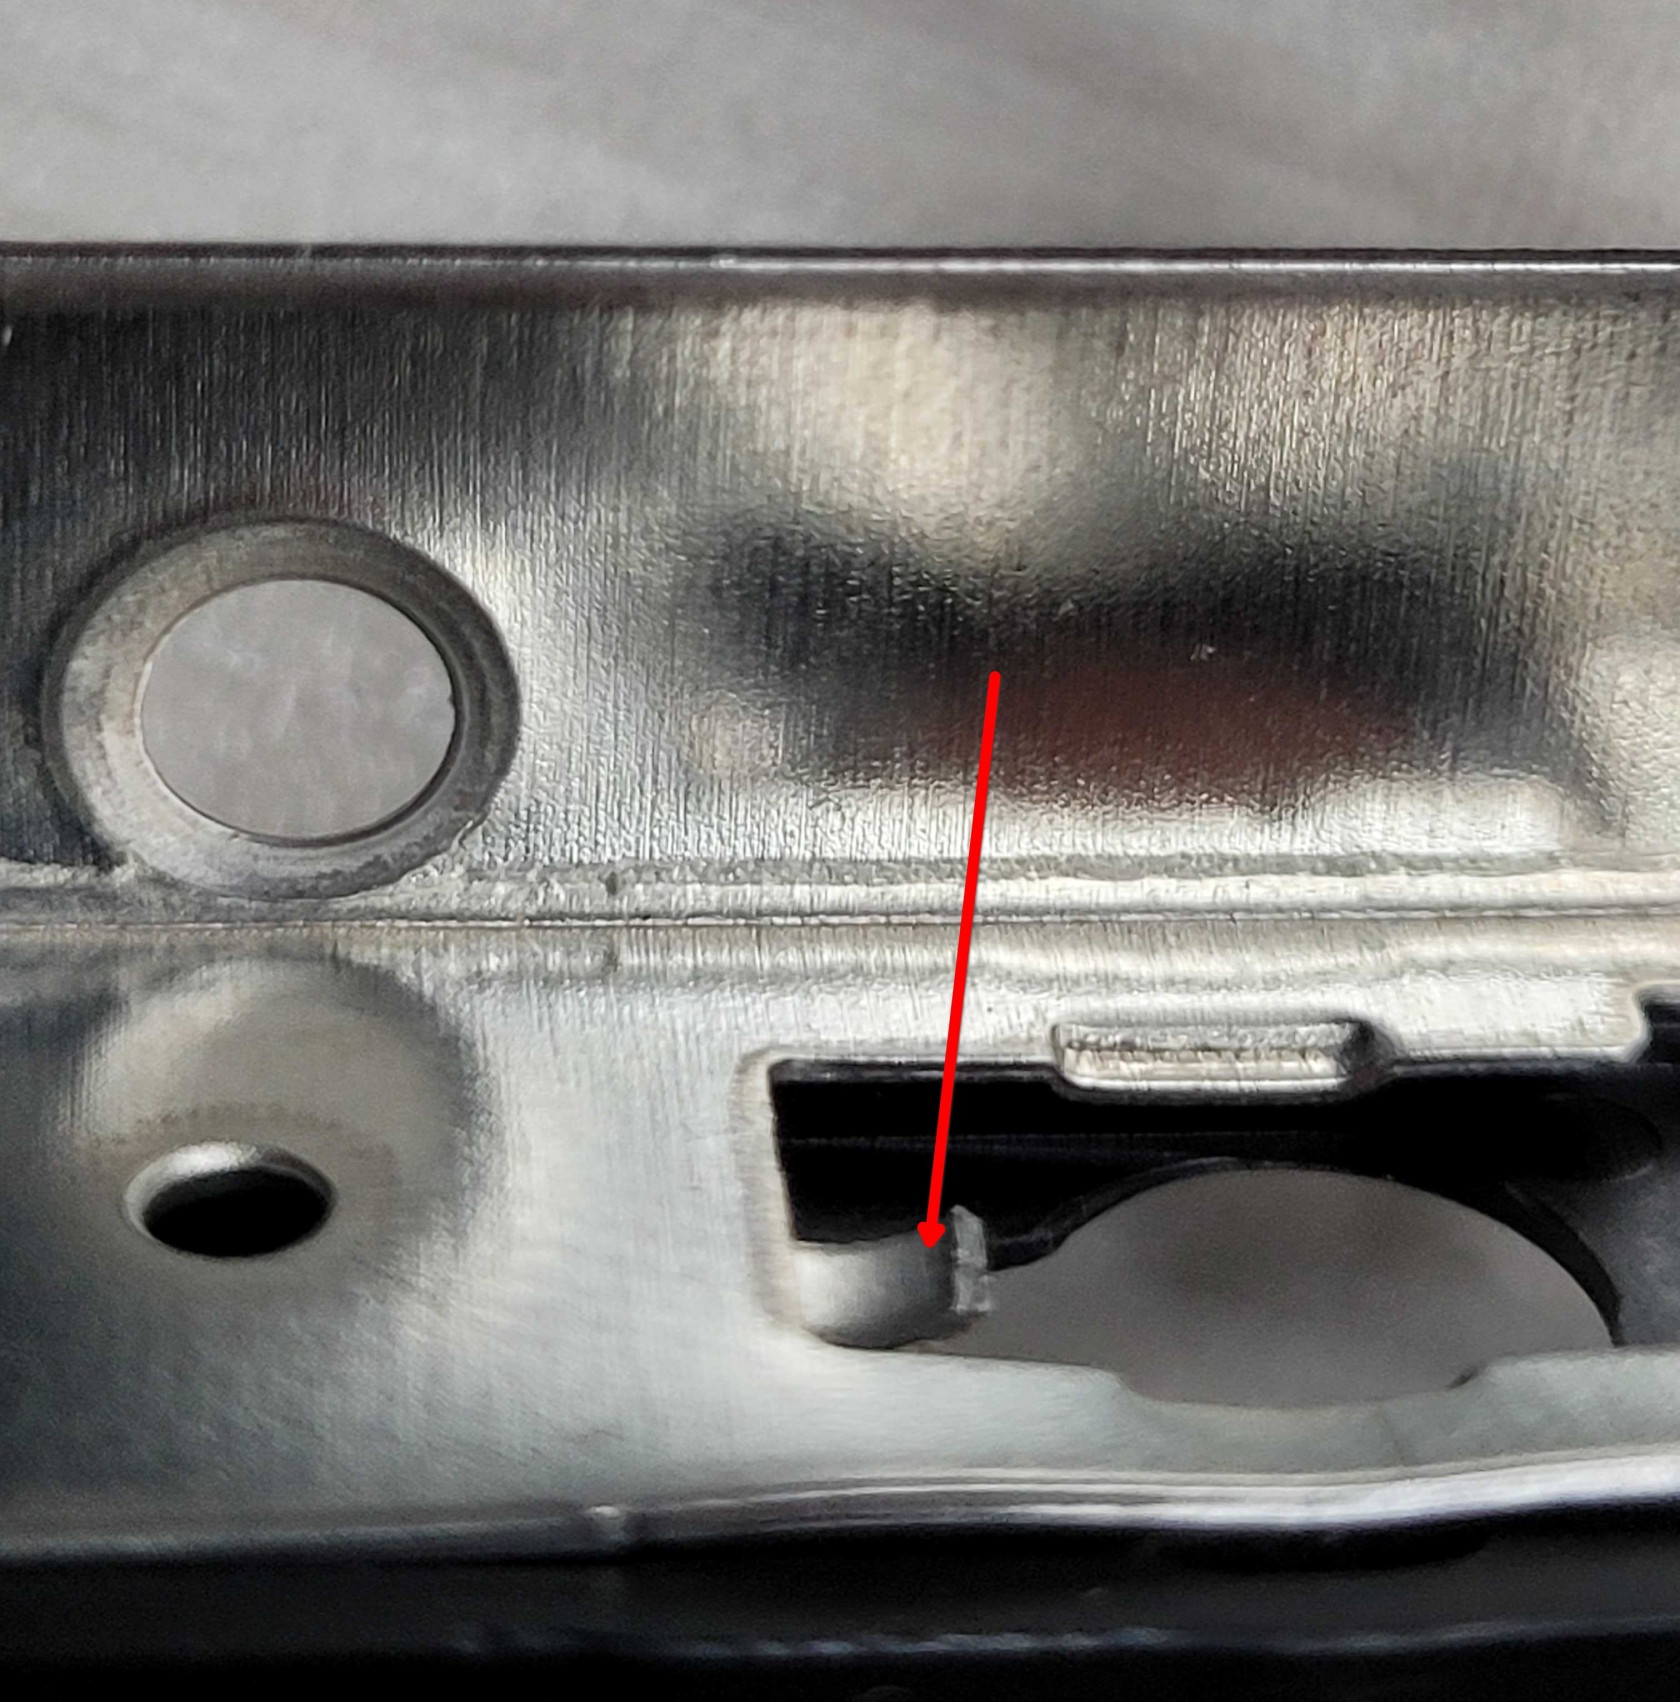
Flip the drive caddy on its side and use a slotted screwdriver and press downward on this tab until is sits below the side wall of the drive caddy.
The tab should be below the side wall face as shown.
Step 5:
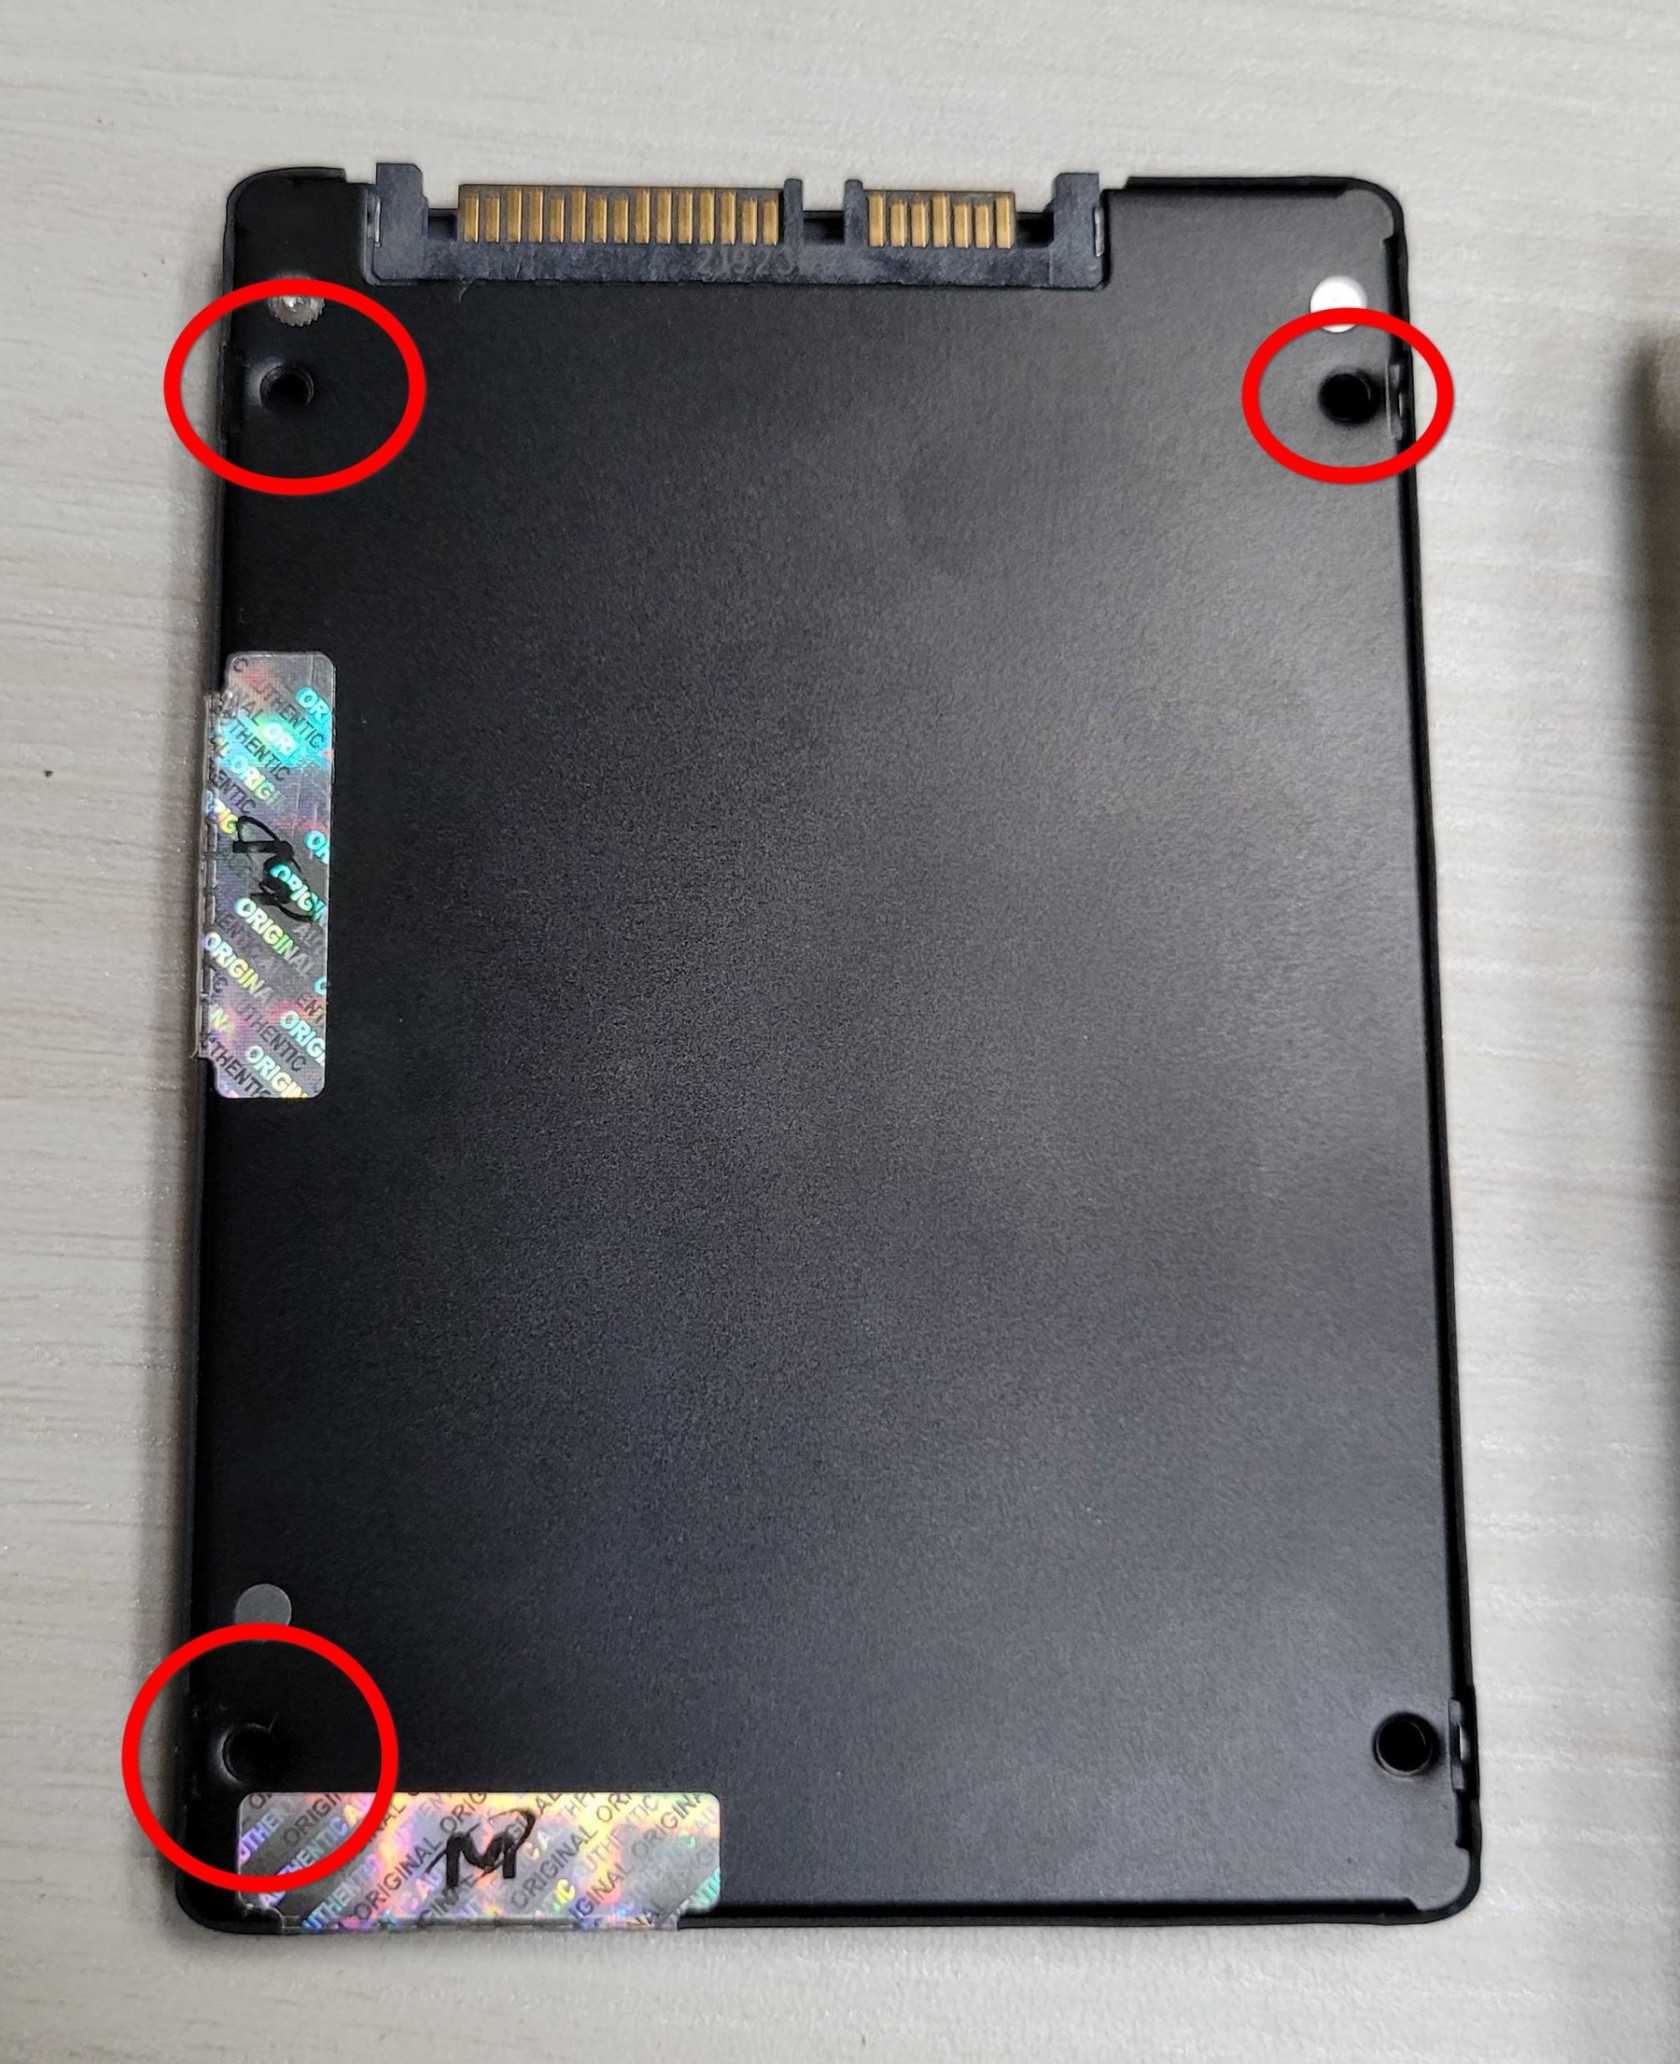
With the tab removed, we can now mount the SSD. We will use the three M3 holes shown on the SSD as the mounting points.
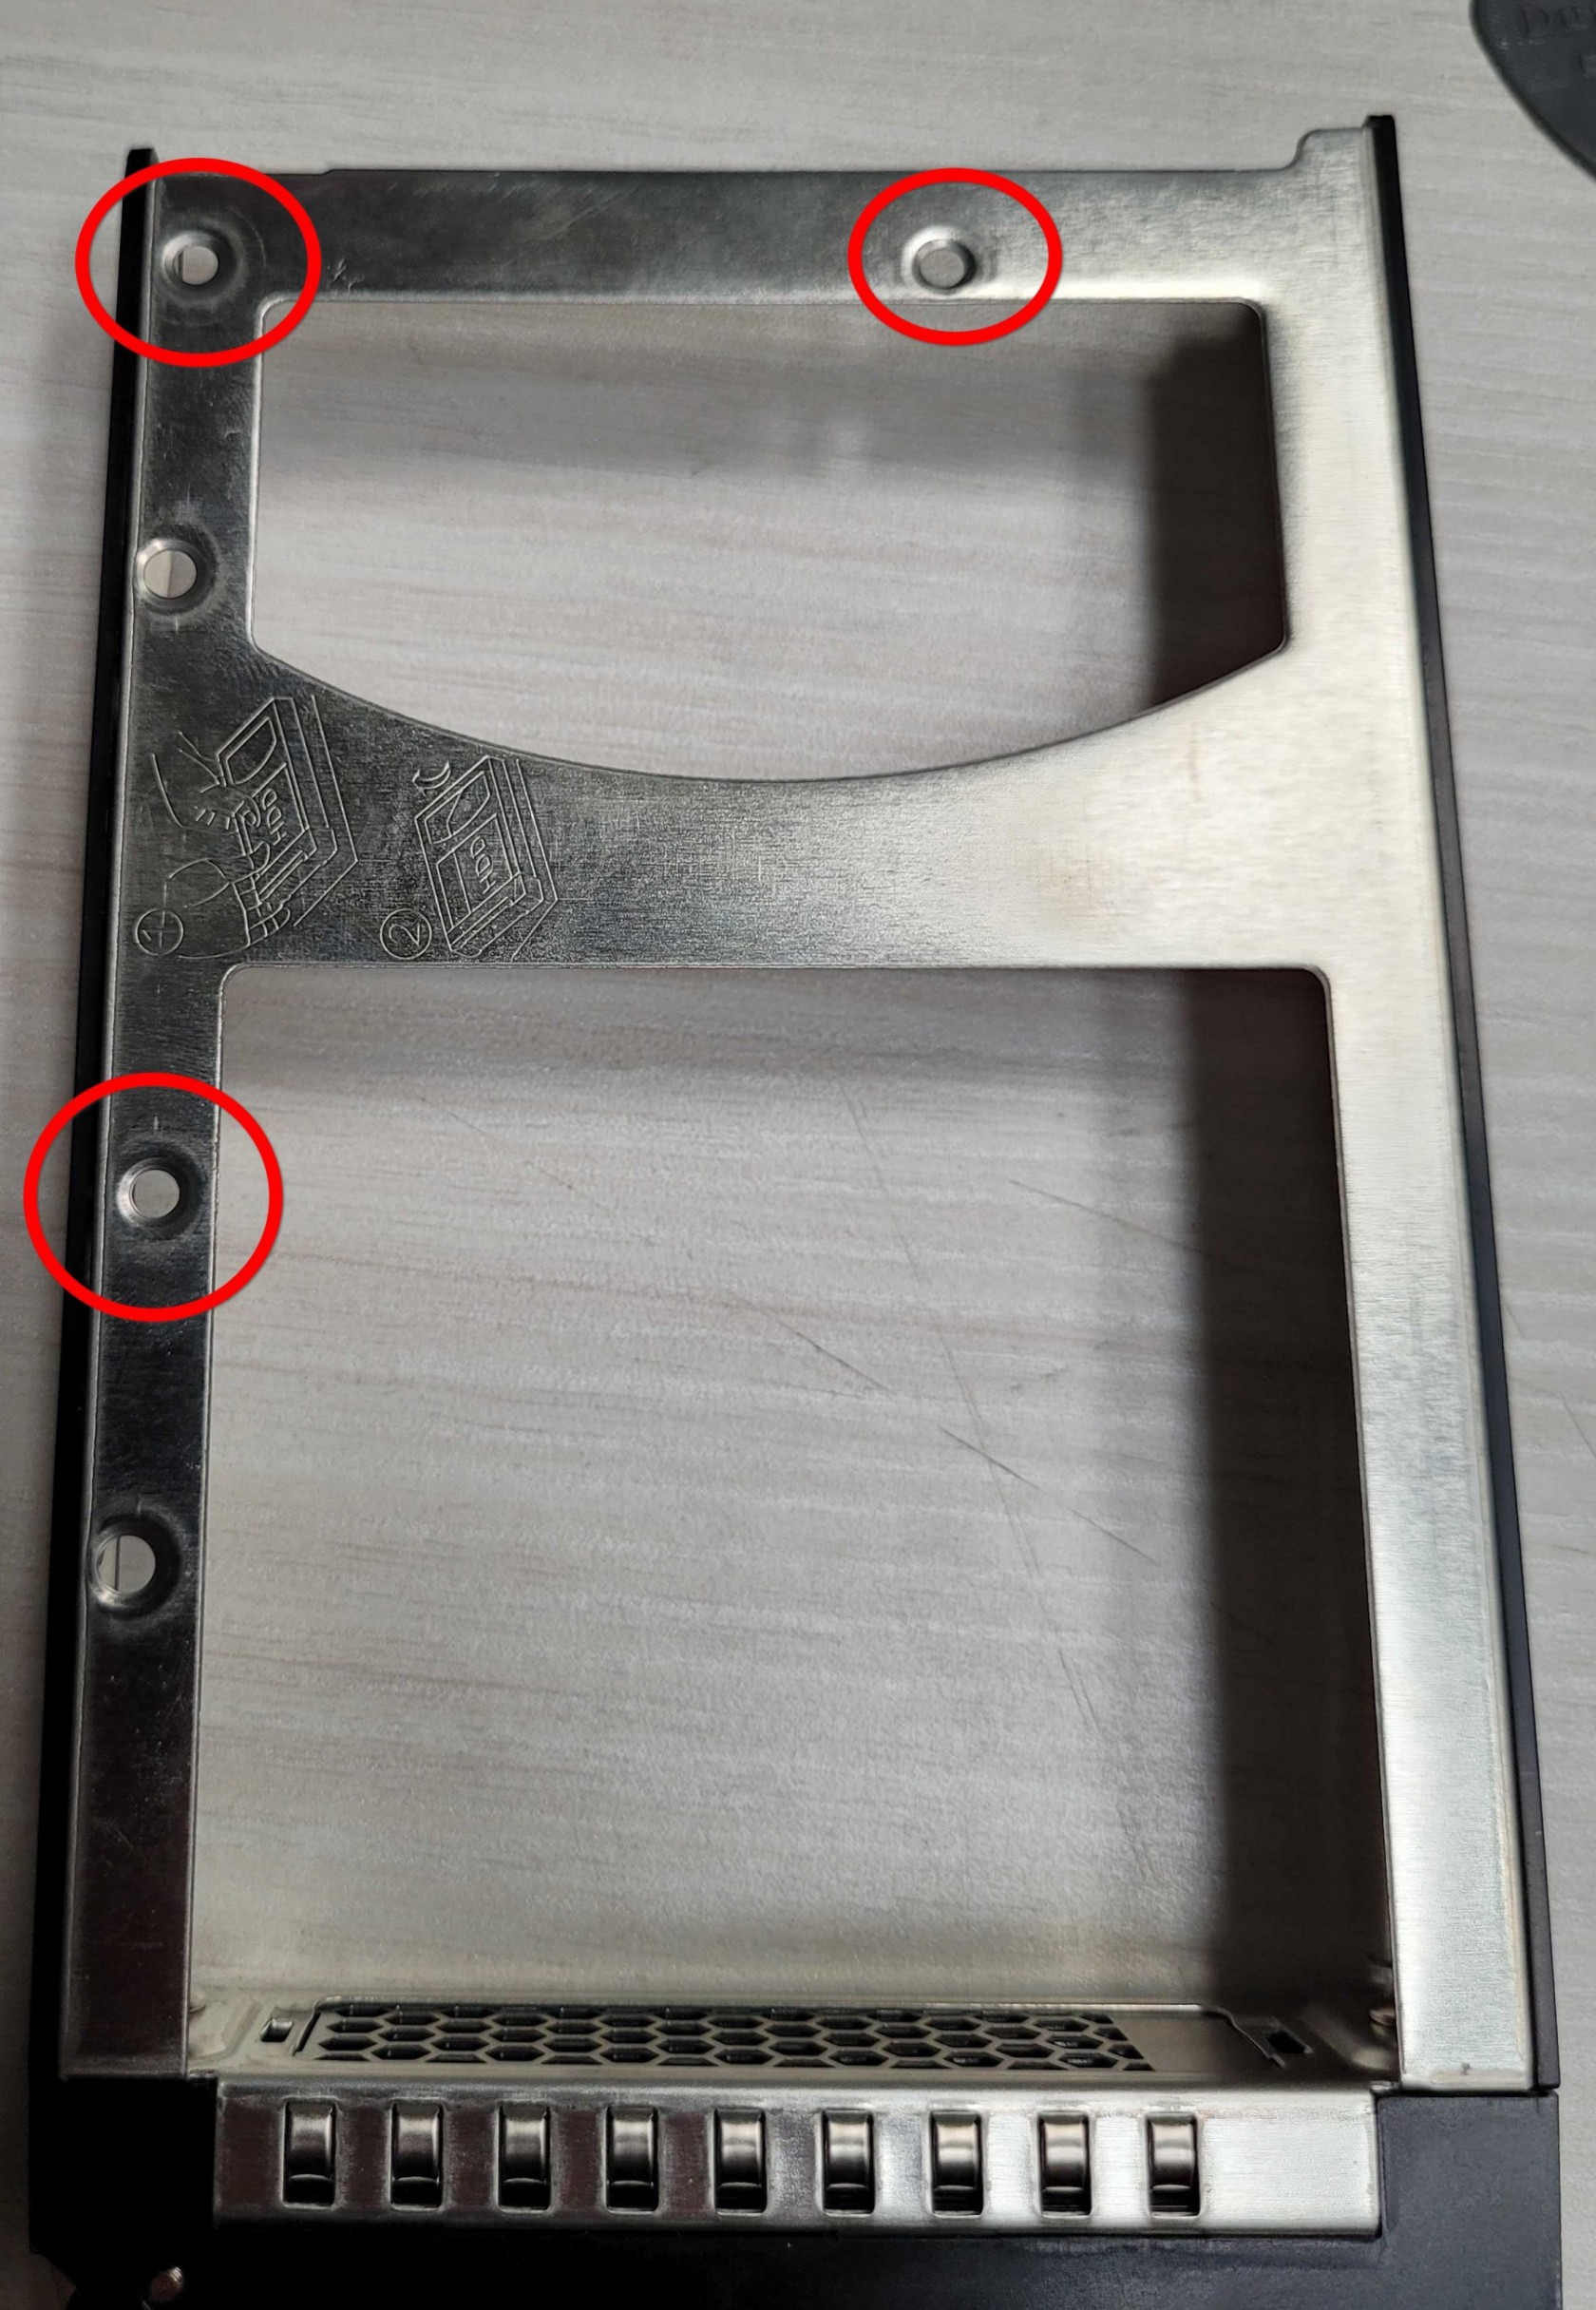
The corresponding holes on the drive caddy are located as shown.
Step 6:
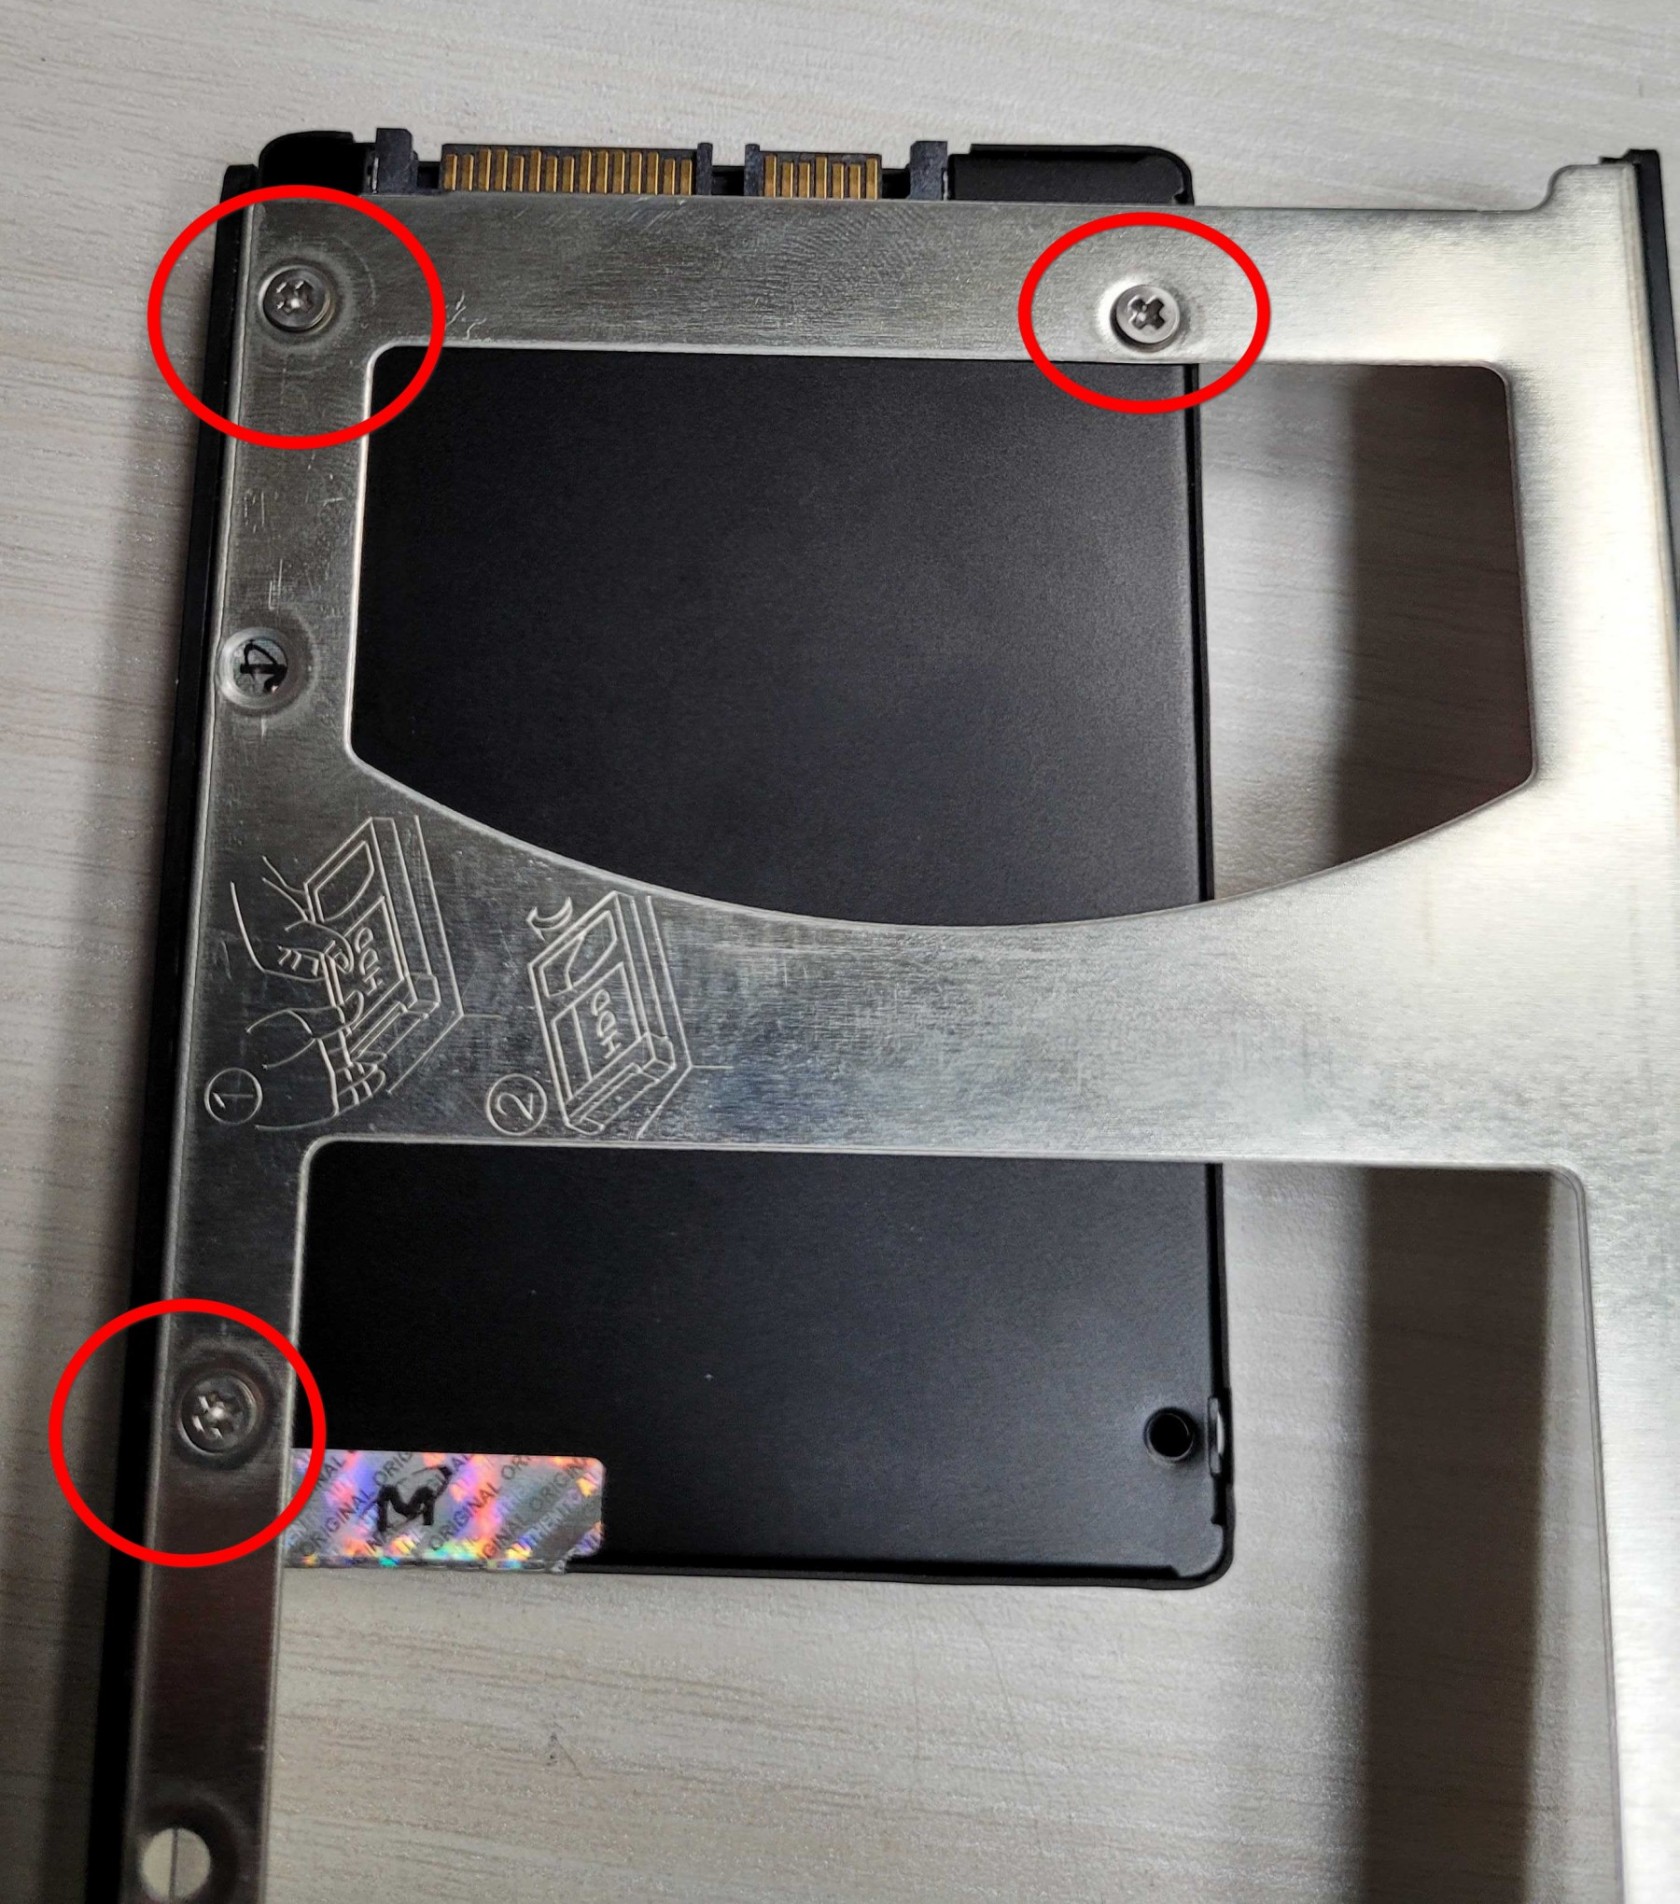
Mount the SSD to the Drive Caddy using the 3 M3 screws as shown. (It is important to use the low profile screws as higher profile heads will pose problems when installing the caddy in the servers later on.)
Step 7:
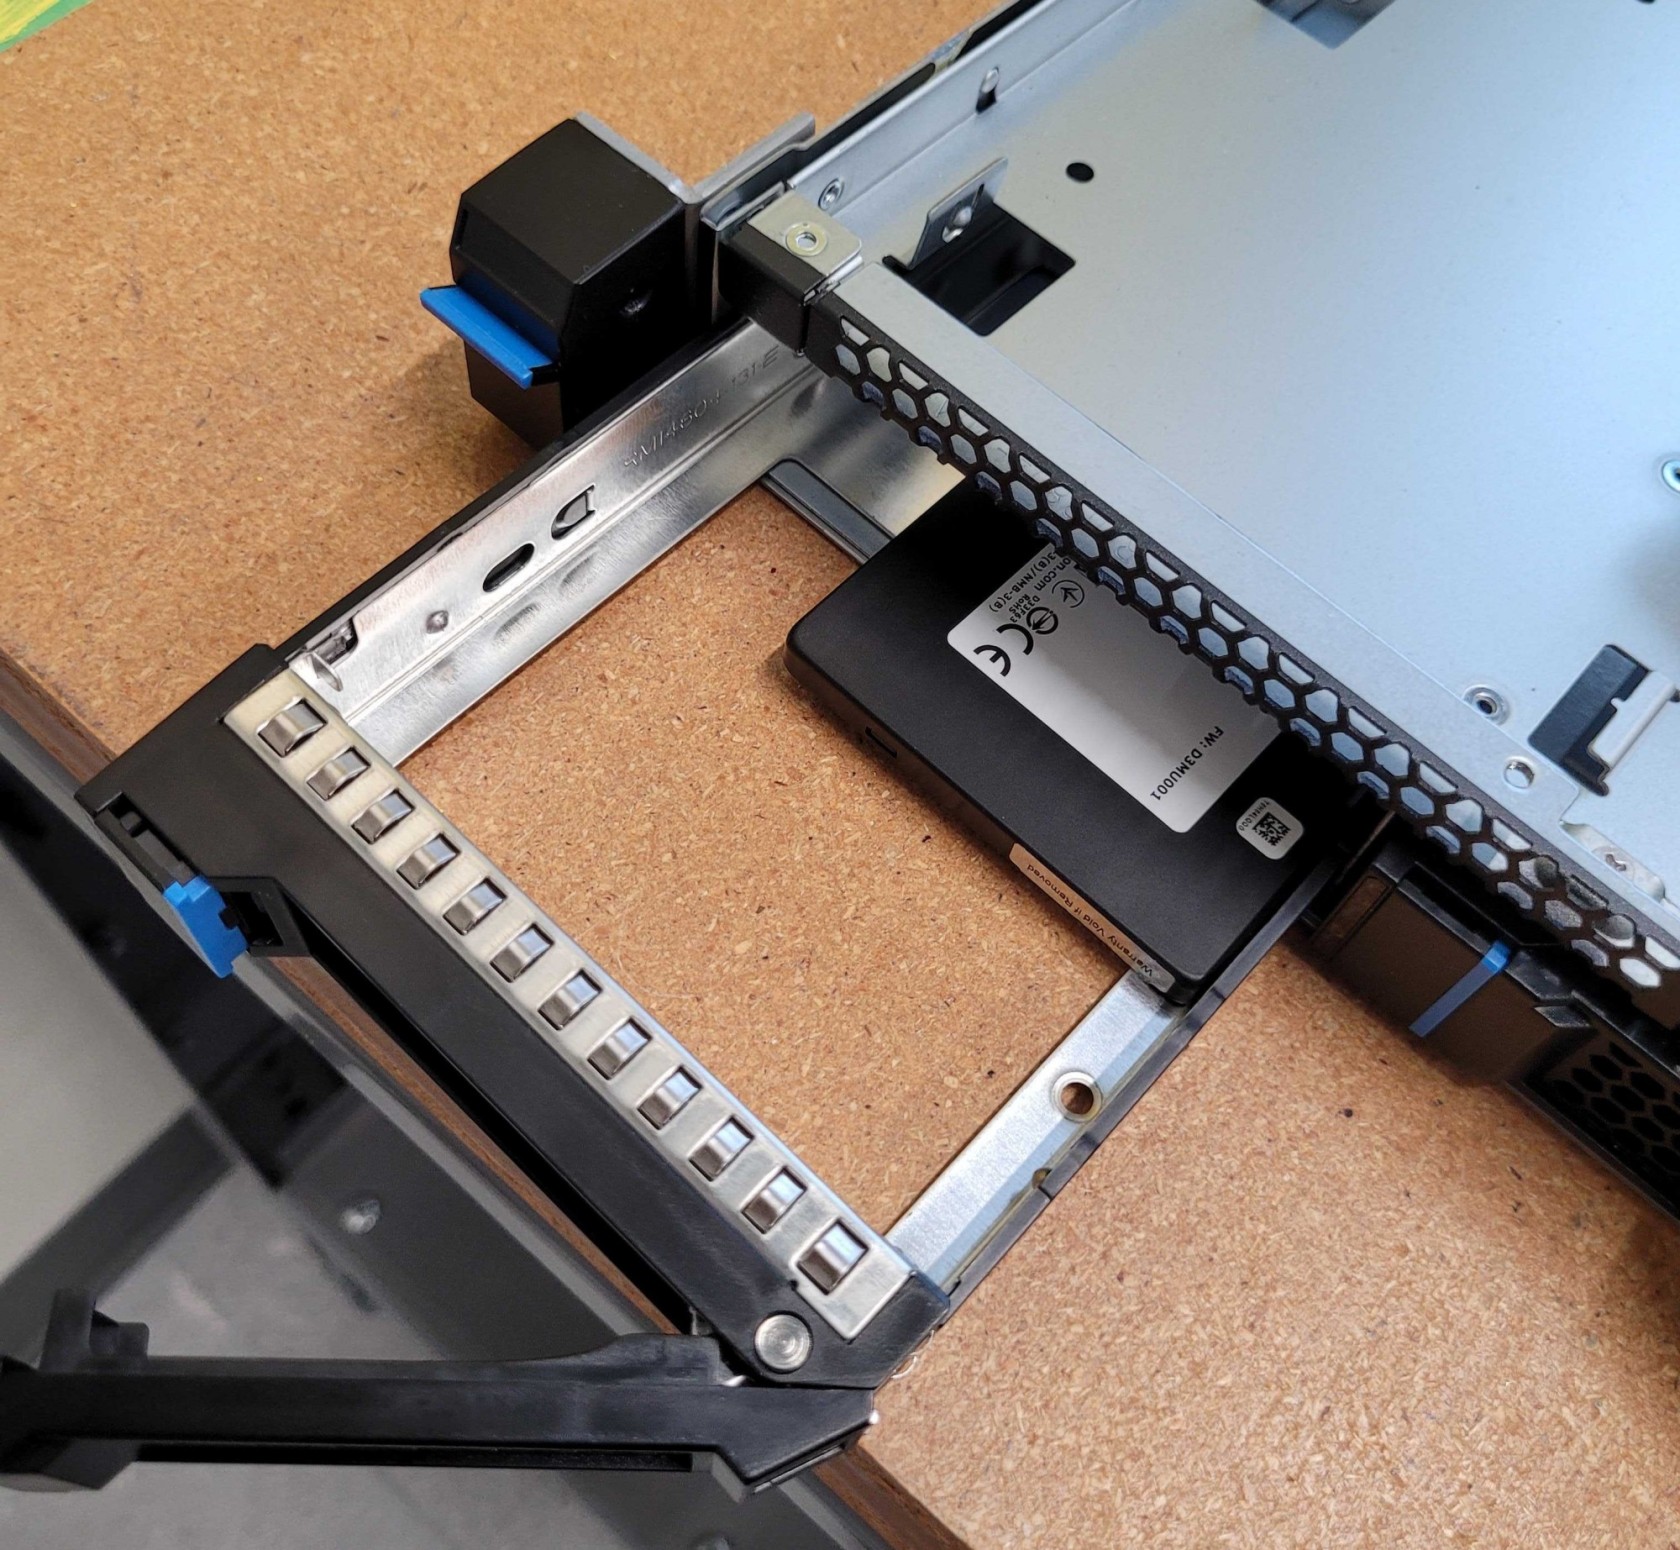
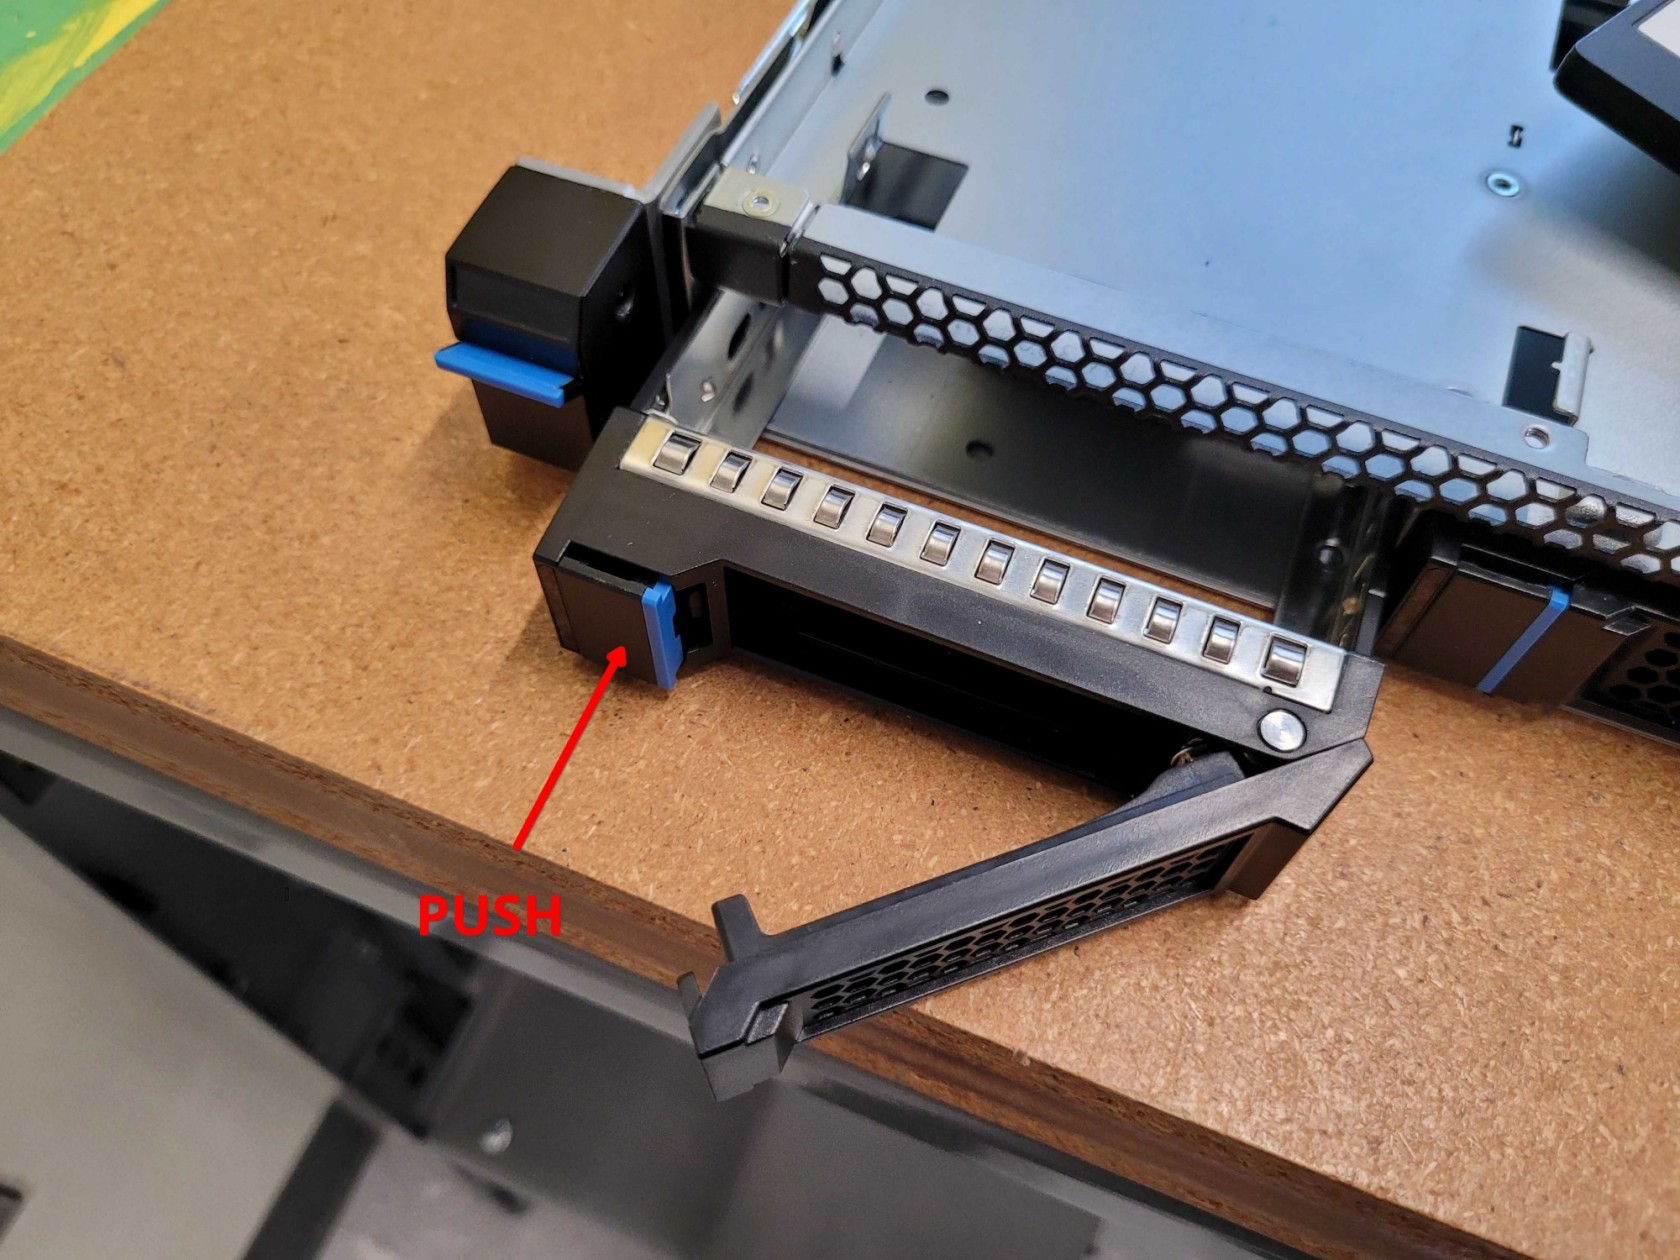
You can now install the caddy in the server. Start the insertion with the latch in the position indicated.
Step 8:
Push on the button until the drive is fully seated to the connector. The latch should start to swivel into the closed position as you approach the end of the drive caddy’s travel.
Example of a fully installed drive caddy:
