Scope/Description
This article details the process of cabling your 45Drives Unit. It will touch on the IPMI port, ethernet, keyboard(if needed), monitor and power supply.
Steps
- At this point, you should have the unit unboxed, racked, and storage drives installed. The next step is to connect the cables needed to connect and configure the unit.
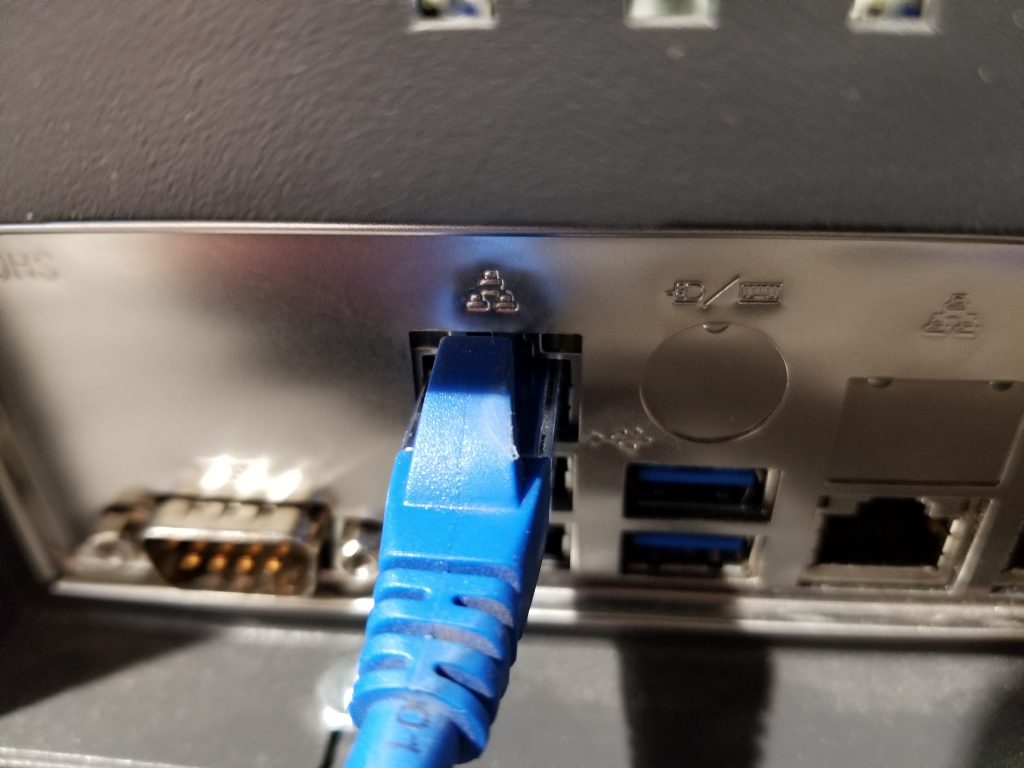
- For the initial connection to your unit, you will need to connect an ethernet cable to the IPMI port on the back of the unit.
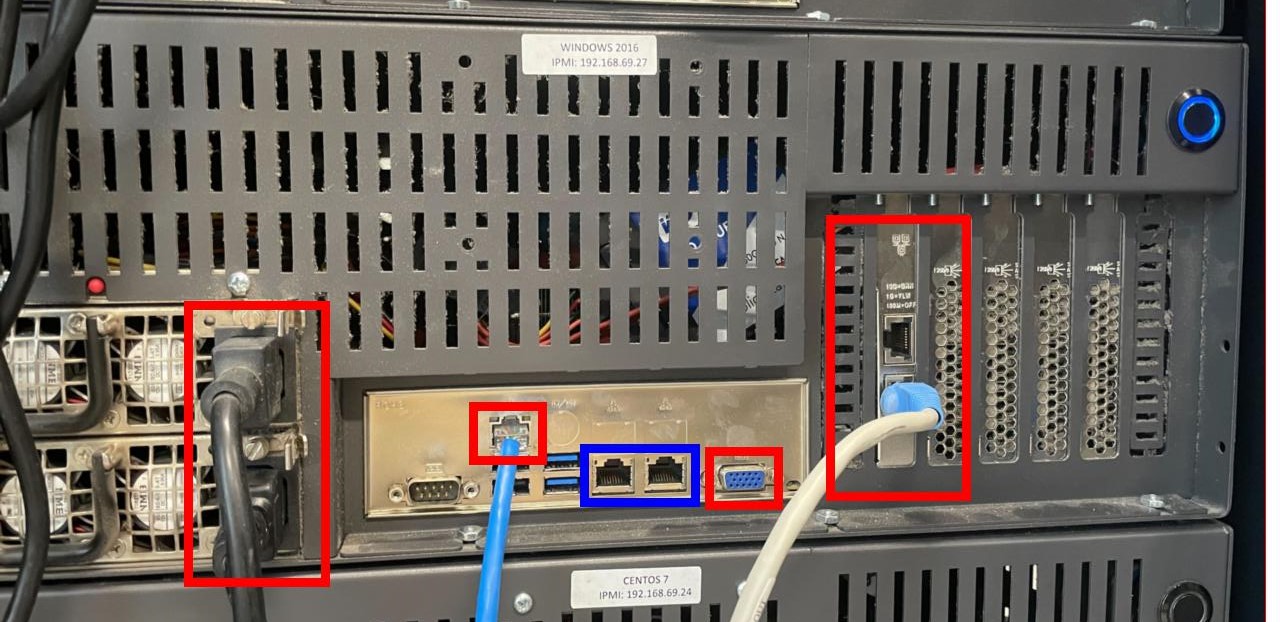
- An Ethernet cable to provide internet to the server and where we will be accessing the data from. (If you are Bonding plug both 10GB NIC ports in at this time.)

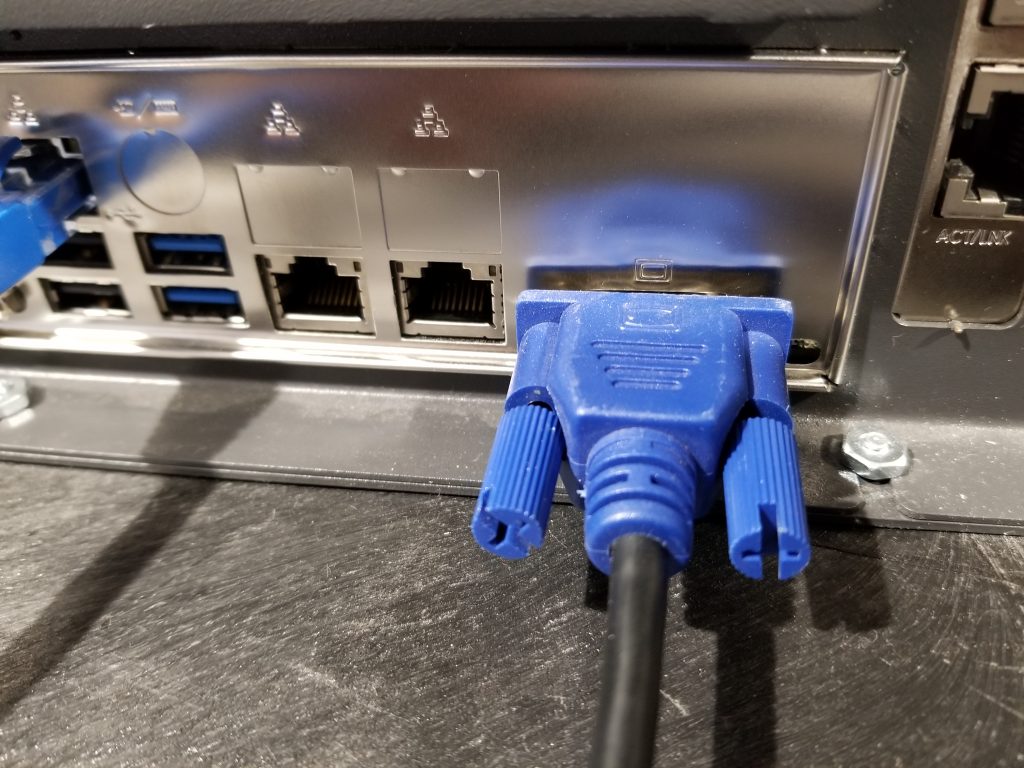
- A VGA monitor will also be connected initially so you can see the BMC IP address in the bottom right-hand corner of the screen when the unit first turns on.
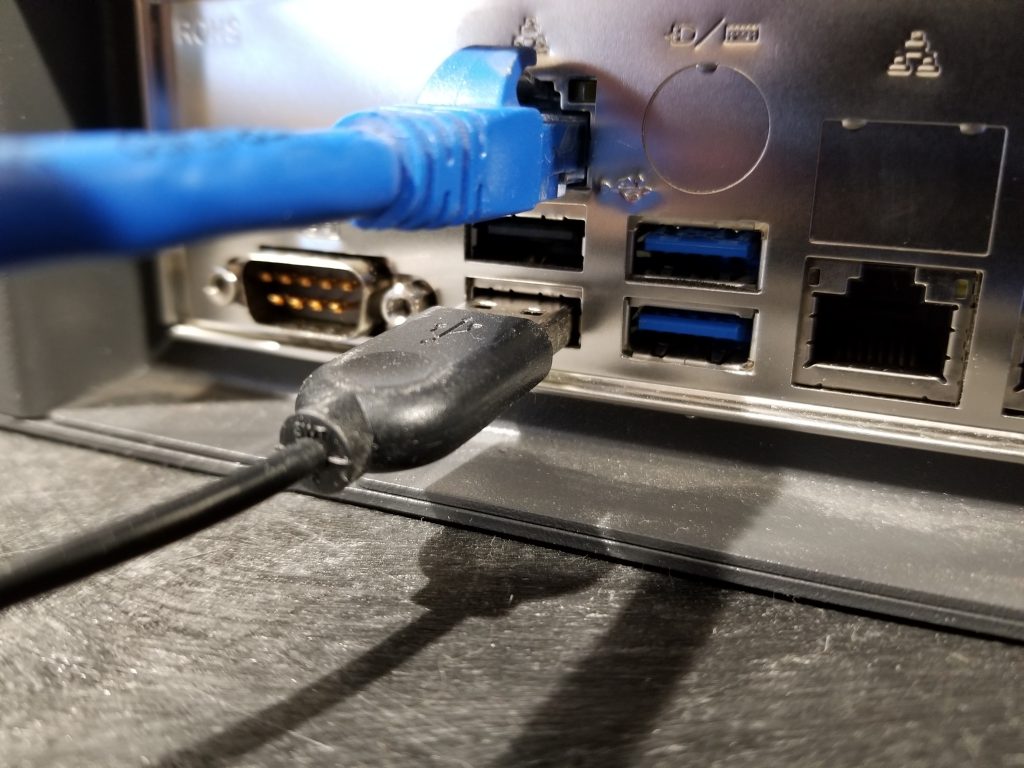
- A USB keyboard will also be beneficial in case you will be configuring the unit locally.
- And for the last step, you can plug in the power cable(s) to the power supply or redundant power supplies.

- Your server should now have the following plugged in. (the 2 x 1GB onboard ports are optional)
- Depending on your setup, you may want to add in a UPS or you may just be plugging directly into the wall receptacle.
- You can now move on to the next step of turning on the unit and gathering the necessary information for configuration.
Your new 45Drives unit should now be ready for configuration and if you want you can see the Power Requirements for the new unit to make sure you are within limits or you may want to add a UPS to your system to prevent power fluctuations and possible data corruption here is an article on UPS Sizing.